

How to Knit the Broken Rib Stitch — Easy, Stretchy Texture for Scarves, Hats & Sweaters
The broken rib stitch is a simple, highly wearable textured pattern that combines knit and purl stitches to create a stretchy, rib-like fabric with a subtle, staggered appearance. It works beautifully flat (back-and-forth rows) and in the round, making it ideal for scarves, hats, cuffs and body panels. Below you'll find clear instructions for both row and round methods, plus helpful tips for choosing yarn and finishing your work.
The knitted Broken Rib Stitch is a fun and versatile pattern that adds texture and depth to your knitting projects. By alternating knit and purl stitches in a specific sequence, you create a unique ribbed design that is both stretchy and eye-catching. This stitch is perfect for scarves, hats, and even sweaters, giving your creations a cozy and stylish look. So grab your needles and some yarn, and let's dive into the world of the Broken Rib Stitch together!
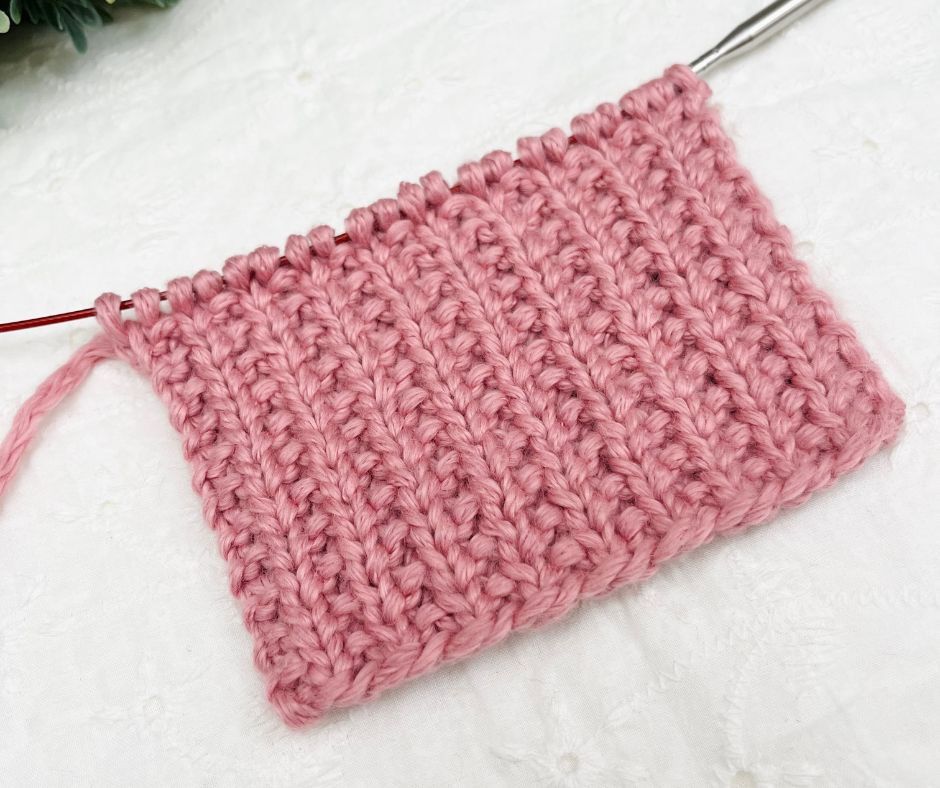
Flat swatch showing the broken rib stitch worked back-and-forth (rows).
Stitches Used & Code (US Term)
- CO = cast on
- K = knit
- P = Purl
- ST = stitch
- REP = repeat
- WS = (WS)
- RS = (RS)
Notes:
The broken rib stitch can be made in row and round and I’ll show both row and round instructions below — read the relevant section for your project.
Made in row: the broken rib stitch is worked in multiples of 2 + 1 stitches.
Made in round: the broken rib stitch is worked in multiples of 2 stitches (an even number of stitches).
Made in row and round this broken rib stitch is a 2-row (or 2-round) repeat (Row/Round 1 and Row/Round 2).
The broken rib knitting in row instructions
CO in multiples of 2 + 1 (example: I CO 21 ST).
Row 1 (WS): Turn, P1, *K1, P1* REP from * to * across the row. Total of 21 ST.
Row 2 (RS): Turn, K all ST across the row. Total of 21 ST.
Repeat Row 1 and Row 2 until desired length.
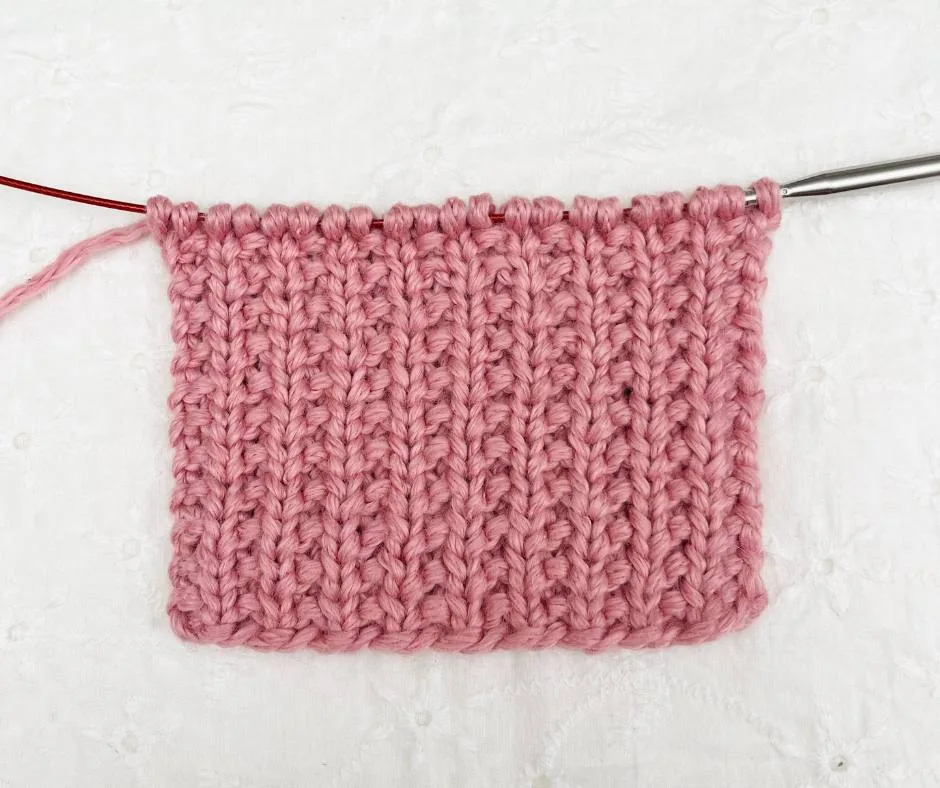
Close-up showing the texture and alternating knit/purl columns of the broken rib.
*In round instructions
Notes: Work in the round on the right side only. Slip the marker at the beginning of each round to mark the join.
CO in multiples of 2 (example: I CO 60 ST), place marker and join in the round.
Round 1: *K1, P1* REP from * to * around. Total of 60 ST.
Round 2: K all ST around. Total of 60 ST.
Repeat Round 1 and Round 2 until desired length.
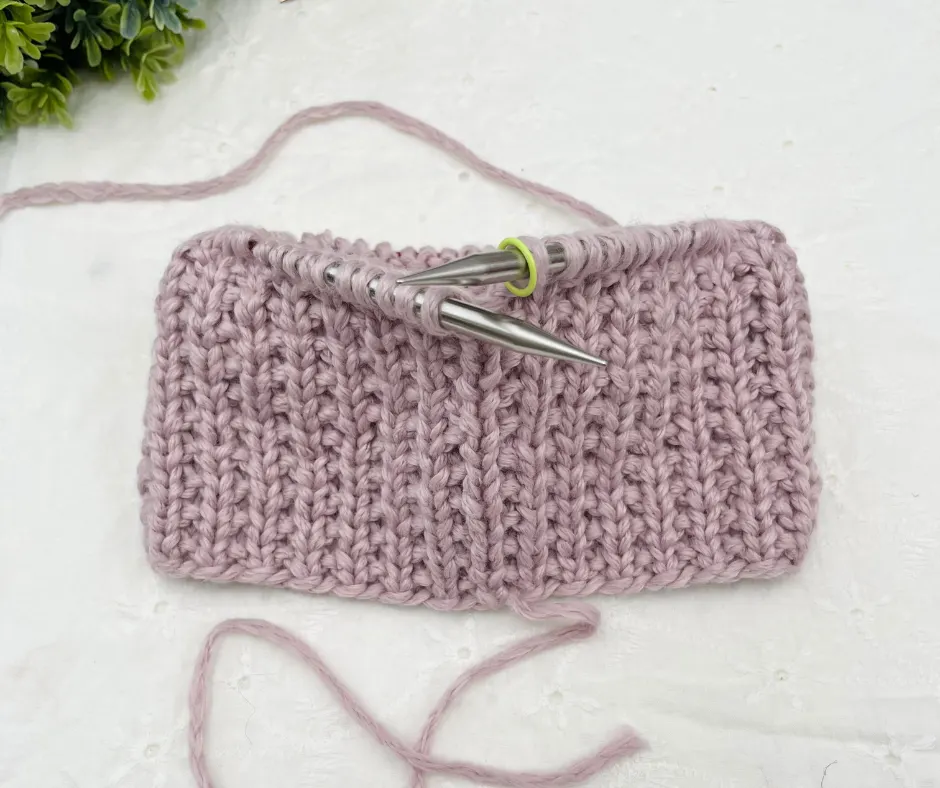
Sample worked in the round demonstrating how the broken rib forms a tubular fabric suitable for hats and cuffs.
Tips & Finishing
- Swatch first: Knit a small swatch in your chosen yarn and needles to check gauge and drape — the broken rib is moderately dense but stretchy.
- Yarn & needles: This stitch works well with most yarn weights. Use needle size recommended for your yarn and adjust if you want a tighter or looser texture.
- Edge treatment (flat work): When working flat, consider slipping the first stitch of each row or adding a garter border if you want a neater edge that doesn't roll.
- Joining in the round: Make sure your cast-on isn't twisted before joining; place marker to track the start of rounds.
- Variations: Try reversing the order (P1, K1) or using slipped stitches for a more broken-up texture; the basic repeat remains the same.
Quick Troubleshooting
- If your pattern looks off, check that your row/rnd repeats align — in flat knitting the WS row starts with P1, while in the round the pattern starts with K1, P1 around.
- To maintain consistent tension, try knitting a few stitches before and after stitch pattern repeats when practicing.
Enjoy knitting — the broken rib is an easy-to-memorize repeat that yields a polished, textured result for many wearable projects.