

DIY Knitted Fishnet Headband: Easy Pattern with Step-by-Step Photos
The knitted fishnet headband is a stylish, lightweight accessory that adds a boho-chic touch to any outfit. This easy-to-follow pattern combines simple knitting rows with a few crochet chain rows to create an open fishnet effect. The finished band is soft and breathable when worked in lace-weight yarn and can be adjusted to fit any head size. Below you'll find materials, abbreviations, the full pattern, step-by-step progress photos, and a few finishing tips to help you complete the project.
Required Materials
- DGY Lace Weight Silk Yarn
- 3.75 mm straight knitting needles
- 3.50 mm crochet hook
- Scissors
- Yarn needle
Abbreviations
- c/o - cast on
- k - knit
- p - purl
- ch - chain
- sl st - slip stitch
- sc - single crochet
- st(s) - stitch(es)
- *] - repeat to end
Pattern
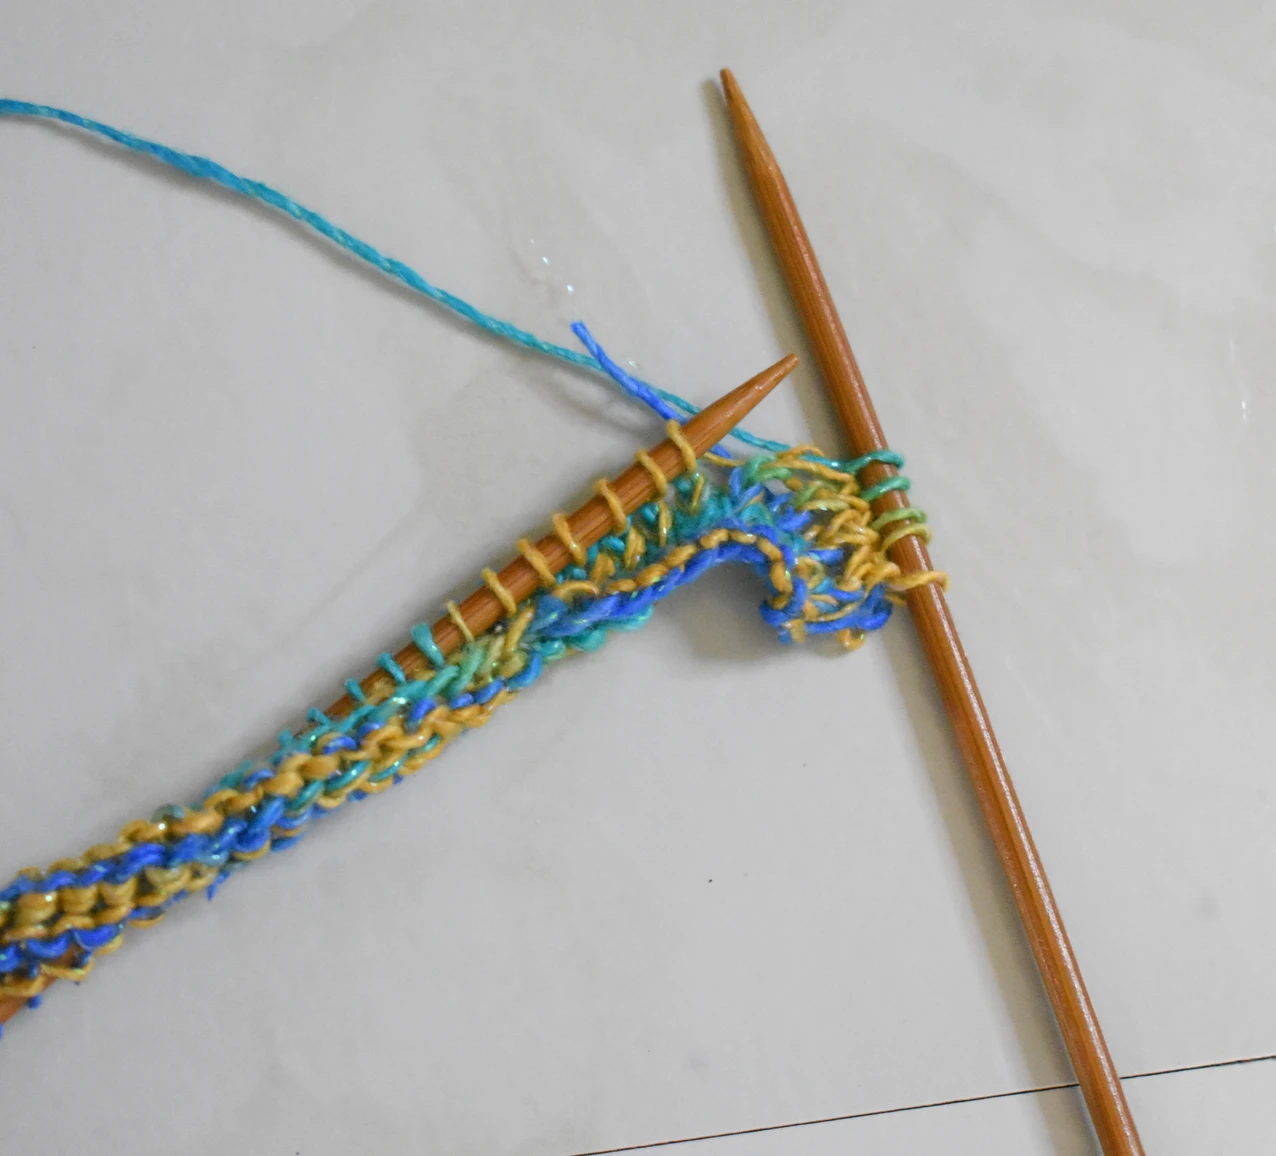
C/O 30 sts
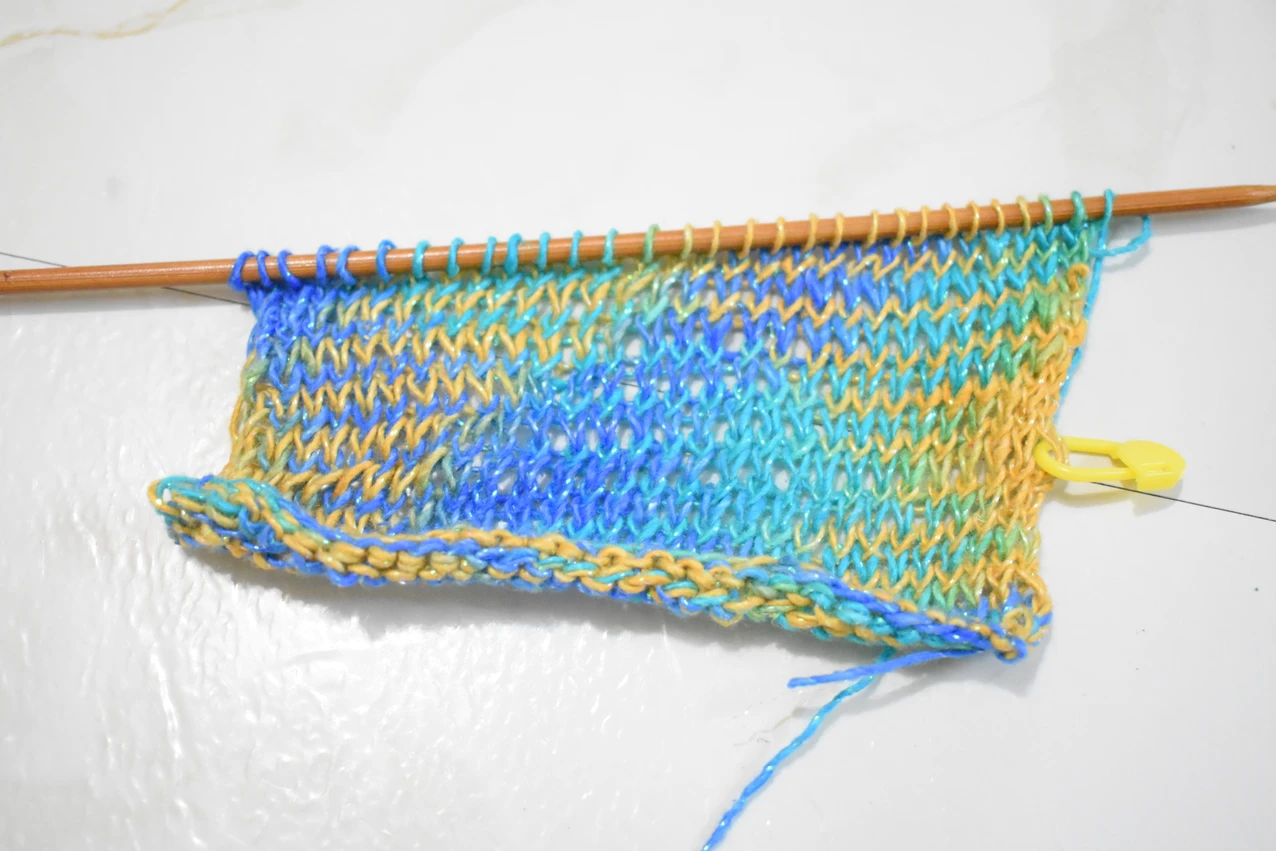
Row 1: K30
Row 2: P30
Rows 3 - 20: repeat rows 1 & 2
Row 21: Cast off until there is 1 loop on your needle
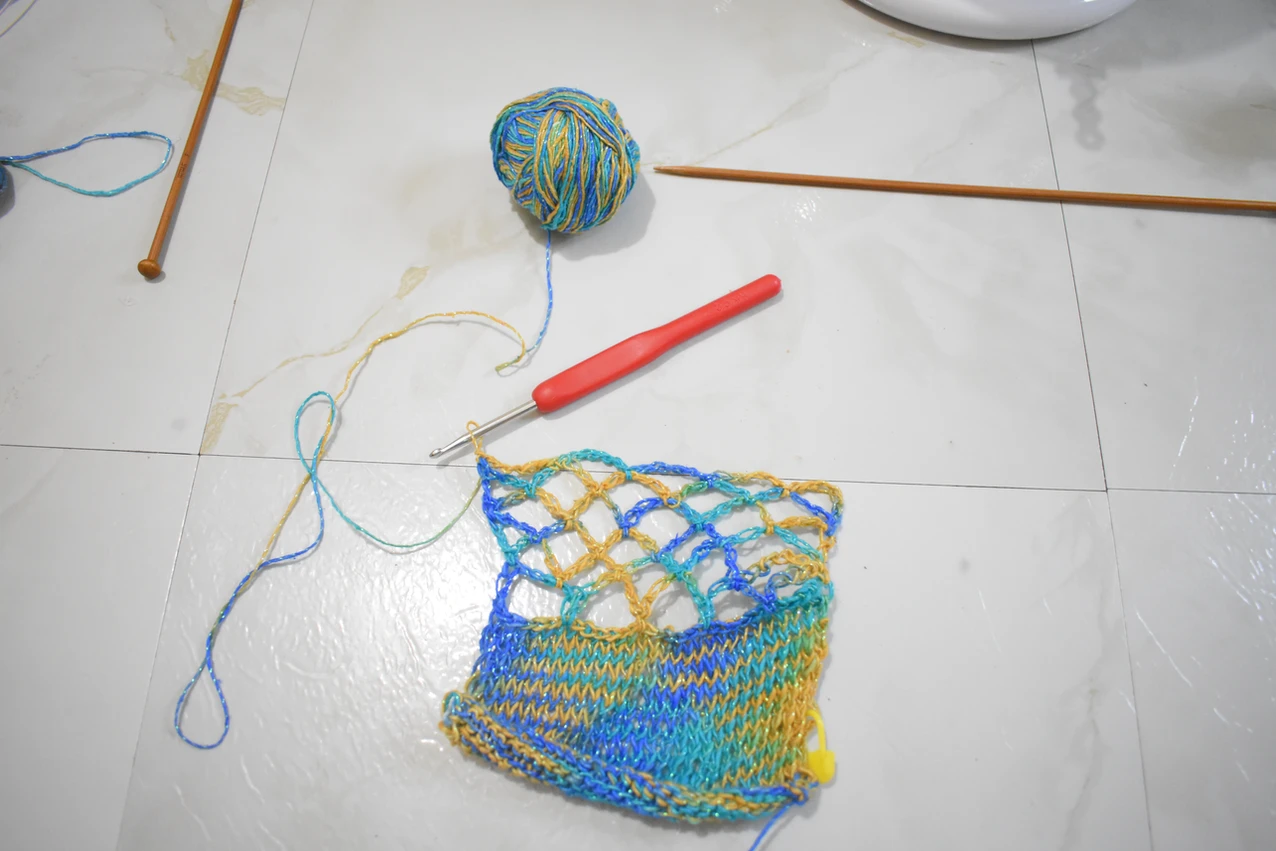
Row 22: With a crochet hook *ch 6, skip 5 sts, sc into the 6th st over] After last ch 6, sc into last st.
Rows 23 - 43: Ch 6, turn your work and sl st into the next ch space from the previous row. *Ch 6, and sl st into the next ch space from the previous row.] Sc into the 2nd ch up from the previous row to finish.
Row 44: Do not ch, pull up a loop and grab your knitting needles again. insert your needle purl-wise into the loop and begin to c/o each ch st from the previous row. You should have 30 sts on your needle.
Row 45: P30
Row 46: K30
Rows 47 - 64: Repeat Rows 45 & 46
Bind off and seam headband together.
Finishing tips:
- Block the headband gently to open the lacework and even out stitches—steam or light wet-blocking works well for silk blends.
- Adjust length by adding or subtracting repeats in the initial plain-knit section to fit your preferred width before working the fishnet rows.
- Use a neat mattress stitch or whipstitch with a yarn needle to join the ends so the seam lies flat when worn.
Step-by-step progression photos and captions:
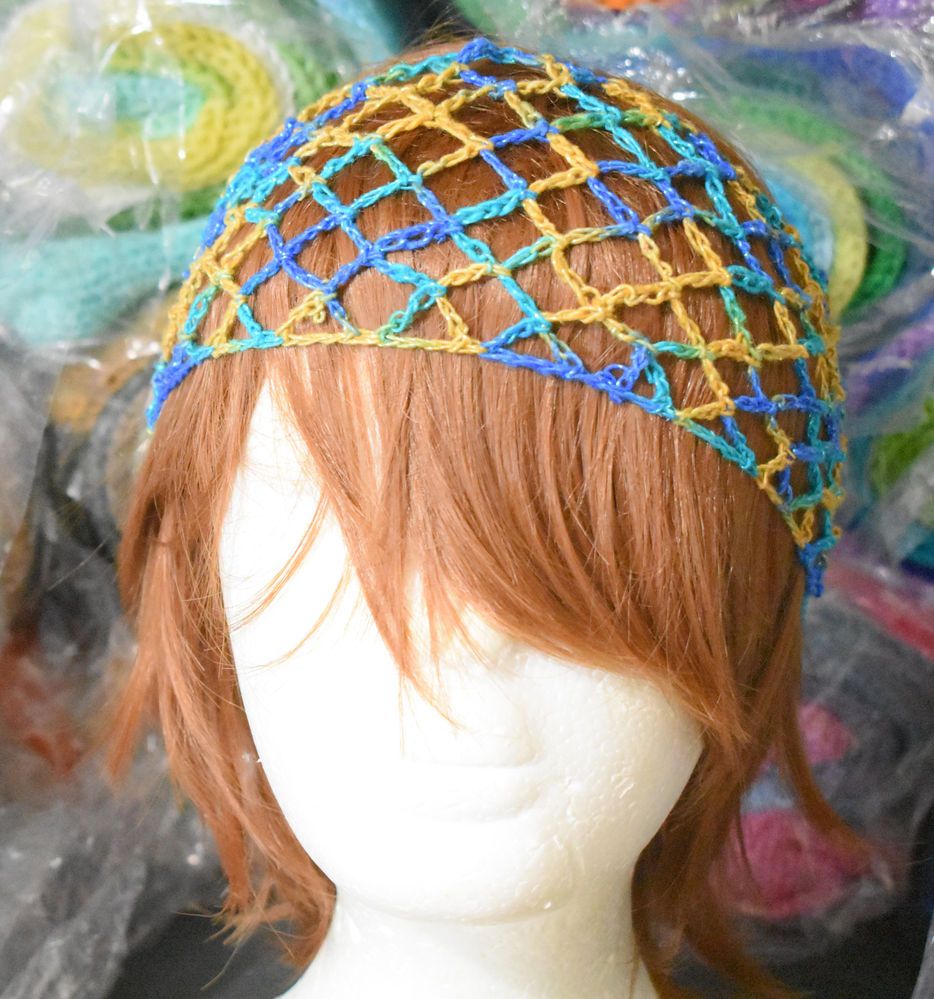
Finished knitted fishnet headband laid flat to show the openwork pattern.
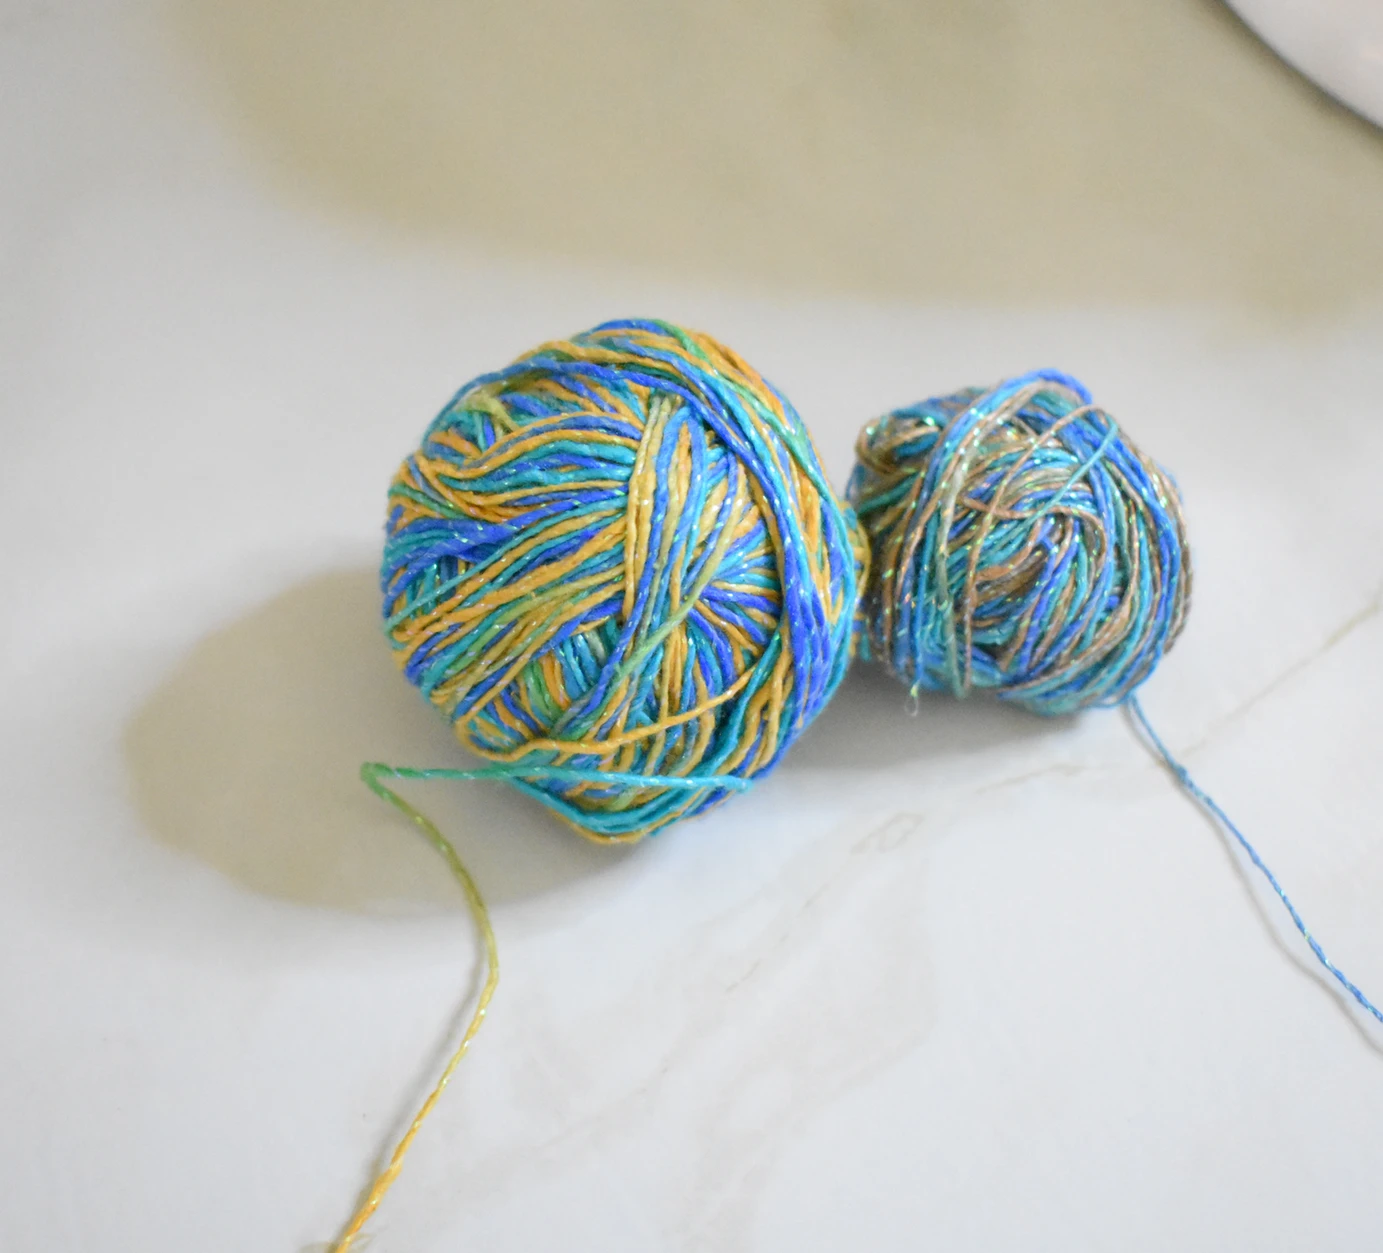
Starting the band: cast on and work the first knit rows.
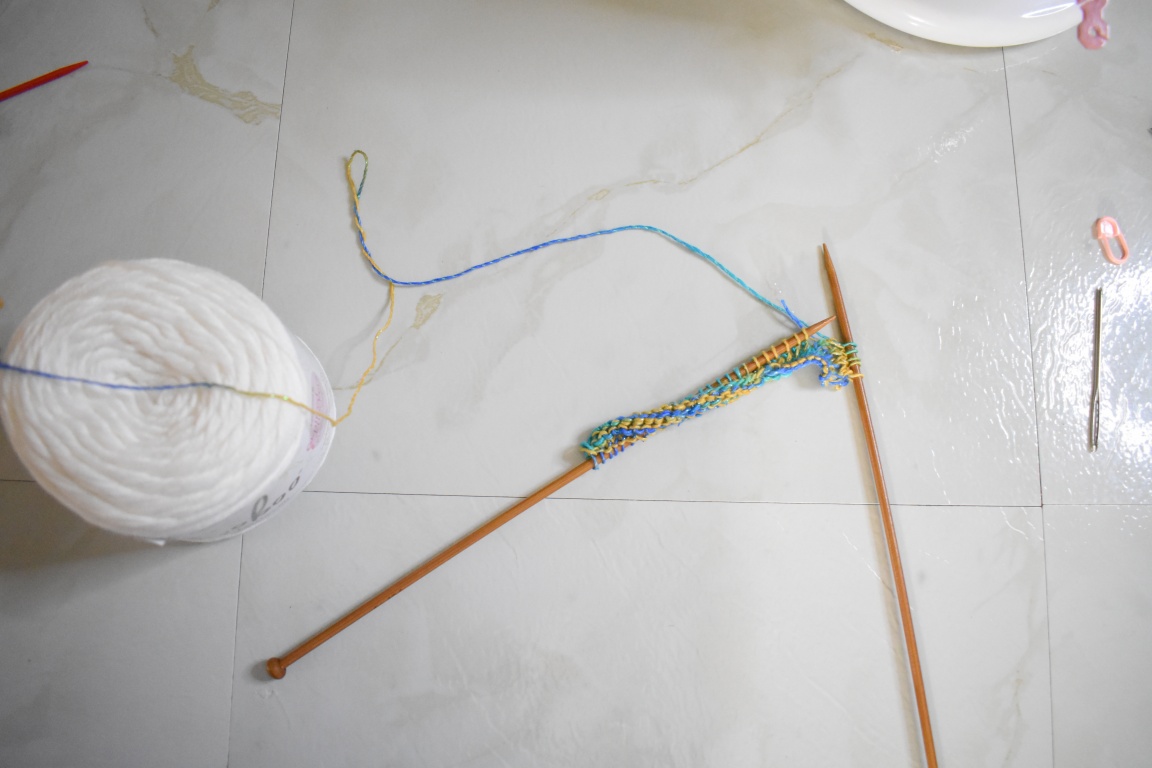
Close-up of the fishnet stitch pattern showing the airy openwork.
Creating chain loops with a crochet hook for the fishnet rows.
Rejoining to the knitting needles after the crochet chain section to continue working in knit/purl.
Final step: seam the ends and inspect the headband for a neat finish before wearing.