

Master the Knitted Spike Stitch: Easy 4-Row Pattern, Photos & Tips
The knitted spike stitch is a decorative technique that creates raised elongated stitches (spikes) which run down the fabric, adding texture and visual interest to scarves, blankets and garment panels. It's achieved by dropping down to earlier rows and drawing up long loops through the fabric, then working those loops together on the following row. The result looks more complicated than it is — a great stitch to learn if you want a dramatic-but-easy texture.
The knitted spike stitch is a fun and unique technique that adds texture and visual interest to your knitting projects. By dropping down several rows and picking up the stitches to knit on the current row, you create a lovely raised spike that stands out from the fabric. It's a great way to add depth and dimension to your knitting, and the best part is that it's easier to do than it looks! So grab your needles and yarn, give the knitted spike stitch a try, and get ready to impress everyone with your new knitting skills!
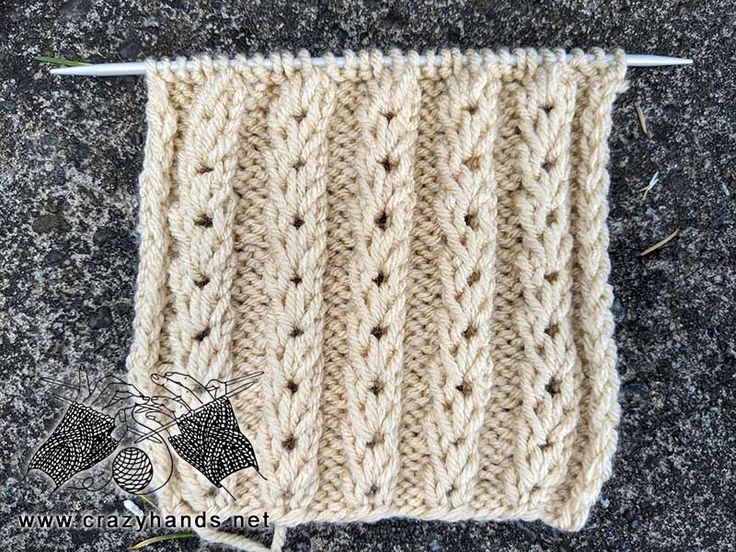
Sample swatch showing vertical spike stitches worked into a stockinette-style background.
Knitting materials and tools:
- DPN 4 mm (UK 8 or US 6)
- In my example I was using medium worsted weight yarn.
Common abbreviations of knit stitches:
- k – knit
- p – purl
- st(s) – stitch(es)
- sel s – selvage stitch: always slip the first stitch knitwise, work to the last stitch, purl the last stitch
Spike stitch instructions (4-row pattern):
Cast on a multiple of 5 sts, plus 3 extra sts, plus 2 selvage stitches. I cast on 30 sts.
Row 1: sel s, *p3, k2 – repeat from *, p3, sel s.
Row 2: sel s, *k3, p2 – repeat from *, k3, sel s.
Row 3: sel s, *p3, k1, insert the needle underneath the second bar between the last and the next stitch and draw up a long loop, k1, insert the needle underneath the same bar and draw up a long loop again – repeat from *, p3, sel s.
Row 4: sel s, *k3, p2tog (loop and stitch), p2tog – repeat from *, k3, sel s.
Repeat Rows 1–4 to form the pattern. The long loops you draw up on Row 3 create the spike; on Row 4 you work those long loops together with the adjacent stitch to secure the spike and form the textured column.
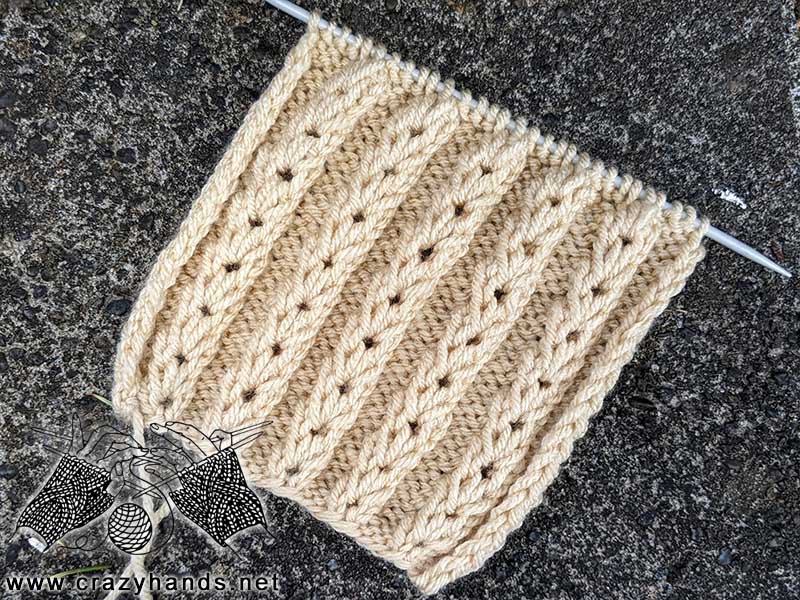
Close-up detail of the long loops pulled up to form the spike stitches and how they sit against the surrounding fabric.
Tips:
- Practice the technique on a small swatch before working it into a larger project so you can get comfortable dropping down to the correct bar and drawing up even loops.
- Maintain even tension when you draw up the long loops — too tight and the spikes will be pulled in, too loose and they will stand away from the fabric unevenly.
- Use the selvage stitches as noted to keep neat edges that are easy to seam or pick up stitches from.
- Experiment with different yarn weights and needle sizes to see how the spike stitch reads — thicker yarns will produce chunkier spikes; finer yarns will give a subtler texture.
With a little practice the spike stitch becomes quick to work and gives a striking textured result — ideal for adding vertical interest to any knitting project.