Knitted Kids' Banana Beanie
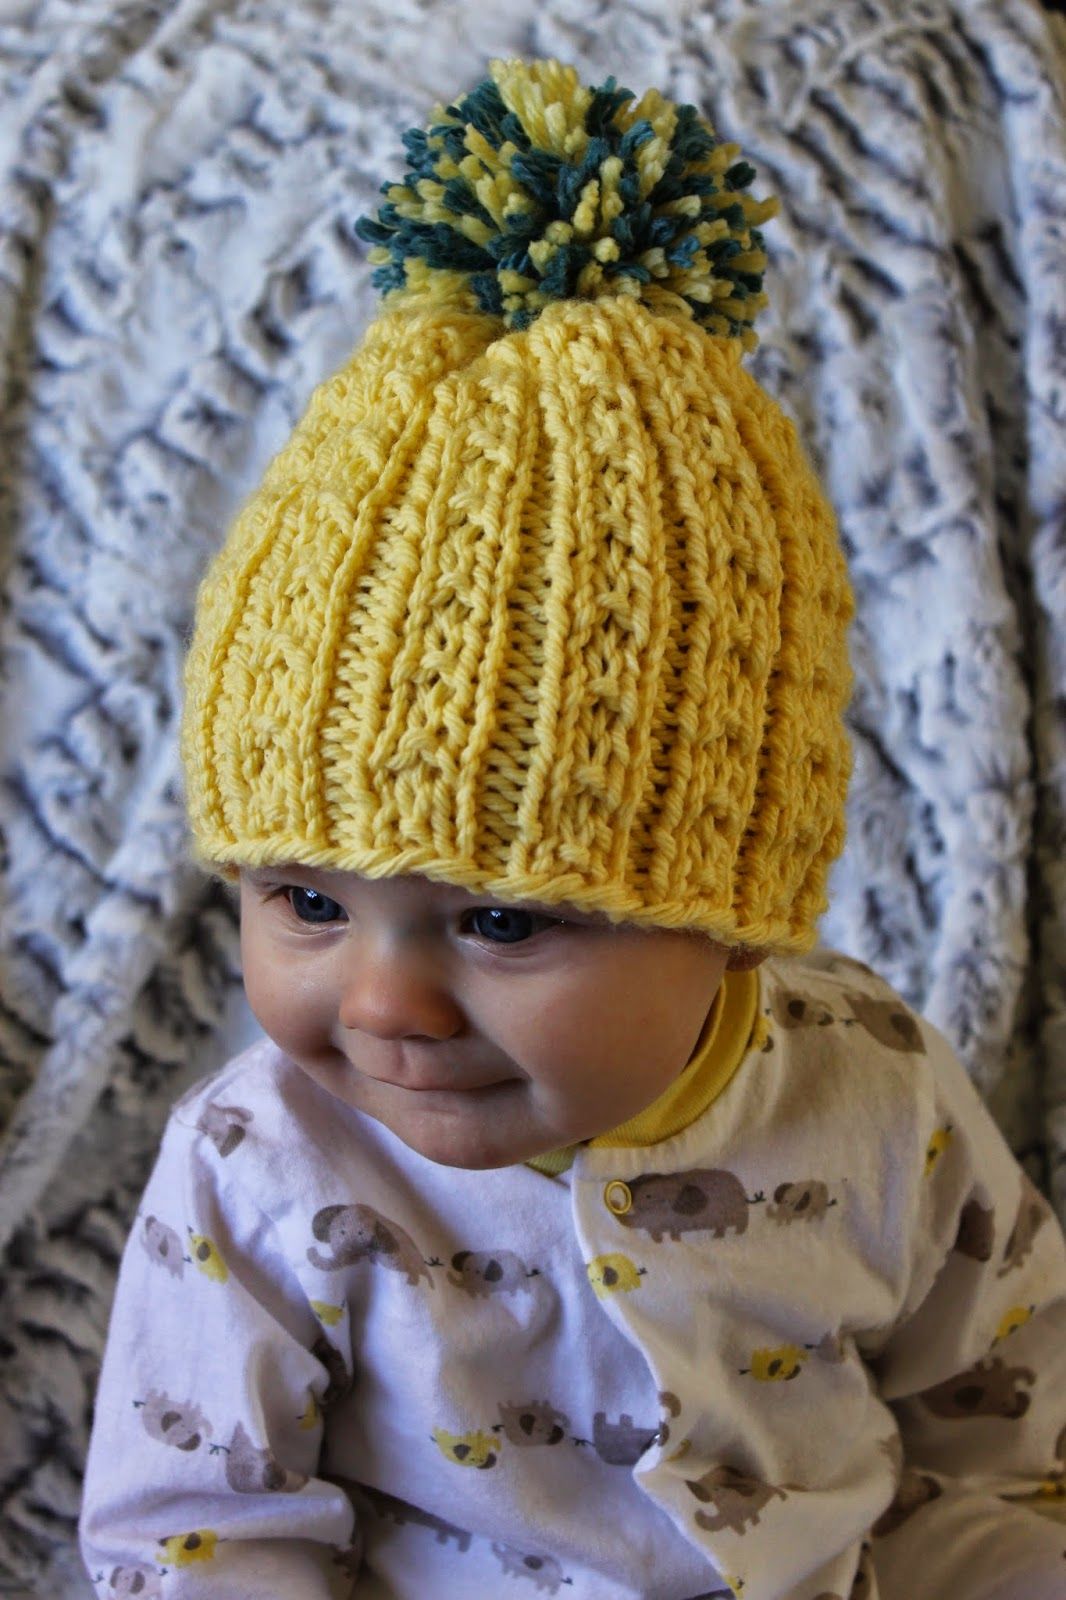
Oh, the Knitted Kids' Banana Beanie is just the cutest accessory for your little one! This adorable beanie is not only stylish but also super cozy, keeping your child warm and looking absolutely adorable. The bright yellow color and fun banana design will surely bring a smile to everyone's face. Made with soft, high-quality yarn, this beanie is gentle on delicate skin and perfect for chilly days. Whether your child is heading to the park or out for a family stroll, the Knitted Kids' Banana Beanie is a must-have addition to their wardrobe. It's the perfect blend of fun and functionality for your little fashionista!
Sizes: 6 months (9 months; 12 months; up to 3 years; up to 12 years) (to be clearer on sizes: the 6 month will fit up to a 16" head, the 9 month a 17" head, the 12 month an 18" head, the 3 year a 19" head, and the 12 year up to a 21" head)
Yarn: Berroco Vintage Chunky (50% Acrylic, 40% Wool, 10% Nylon; 130 yards [120 meters]/100 grams); #6122 Banana - 1 skein, plus roughly 10 yards of contrasting color, if desired for pompom
Needles: 16" circular needle in size US 10, one set of double pointed needles (dpns), also in size US 10
Notions: Tapestry needle, stitch marker
Gauge: 14 stitches = 4 inches on size 10 needles
So let's get started! First, as a side note, I knit this entire hat with my size 10 needles. However, you could cast on and knit the first five-ish rows with a size 9, if you desired, for a bit of extra snugness at the bottom of the hat. And now that the note is out of the way - using the 16" circular needle of your desired gauge, cast on 52 (56; 60; 64; 68) stitches, place marker, and join in round. Then we'll knit one set-up row, like so:
Set-up Row: * k3, p1; rep from *
And once that's done, let's move straight to our main pattern, which goes as follows:
Row 1: * k1, p1 *
Rows 2 & 4: * k1, slip 1 with yarn in back, k1, p1 *
Row 3: * k3, p1 *
Knit rows 1 - 4 until hat measures roughly 5.5" (6"; 6.5"; 7"; 7.5") and you've just finished row 2 or 4 of the pattern. Now it's time to move on to our deceases, which will be the same for each hat until you reach row 5. Also, you'll want to switch to your dpns the row before you reach 48 stitches.
Decrease Row 1: * k3, p1 *
Decrease Row 2: * k1, k2tog, p1 * (39 stitches [42 stitches; 45 stitches; 48 stitches; 51 stitches])
Decrease Row 3: * k2tog, p1 * (26 stitches [28 stitches; 30 stitches; 32 stitches; 34 stitches])
Decrease Row 4: * k2tog * (13 stitches [14 stitches; 15 stitches; 16 stitches; 17 stitches])
Decrease Row 5: k1, * k2tog * (* k2tog *; k1, * k2tog *; * k2tog *; k1, * k2tog *) (7 stitches [7 stitches; 8 stitches; 8 stitches; 9 stitches])
Clip tail, thread through final stitches, and pull tight. Thread to inside of hat and knot. Tuck in ends. If desired, make pompom and attach to top of hat.