


Knitted Scalloped Garland
The knitted scalloped garland is a delightful addition to any home decor, adding a touch of cozy charm and whimsy. Perfect for sprucing up your space for a special occasion or simply to add a pop of color to your everyday surroundings. With its intricate design and handcrafted appeal, this garland brings a warm and inviting feel to any room. Whether hung on a mantel, draped across a mirror, or strung along a wall, this charming accessory is sure to bring a smile to your face every time you see it. Brighten up your space with the knitted scalloped garland and enjoy the cozy vibes it brings!
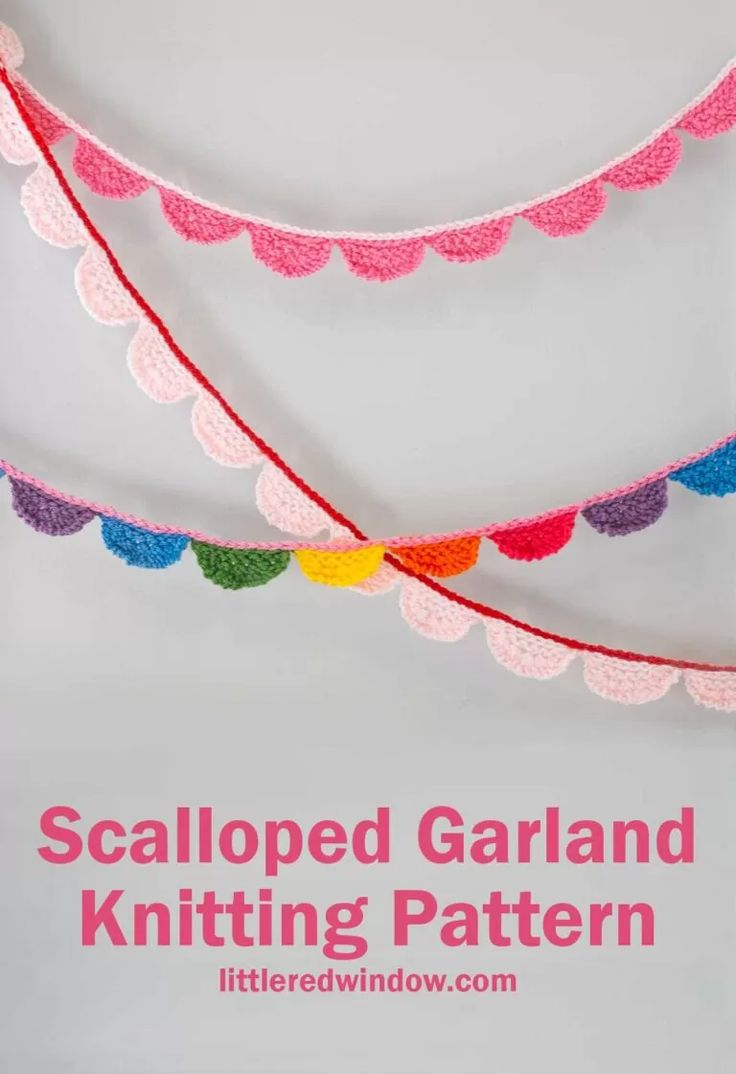
Scalloped Garland Knitting Pattern
Size: each scallop is approx. 2 inches wide and 1 inch tall, knit to any length that you like.
Gauge: 19 stitches = 4 inches
- Worsted weight yarn
- US 7 (4.5 mm) double pointed needles used as straight needles or US 7 (4.55 mm) straight knitting needles
- G/6 crochet hook
- Yarn needle
Scalloped Bunting Knitting Pattern Instructions:
To Begin:
Using double pointed needles as straight needles, cast on 25 stitched with a knitted cast on.
Row 1: k2, k2togtbl 5 times, k2tog 5 times, turn your work and bring the yarn to the back
Row 2: k10, turn your work and bring the yarn to the back
Row 3: k2togtbl 3 times, k2tog 2 times, k1, turn your work and bring the yarn to the back
Row 4: k7, turn your work and bring the yarn to the back
Row 5: k8, sl1wyif, turn your work and bring the yarn to the FRONT
Row 6: sl1 wyif, bring the yarn to the back, k1, pass slipped stitch over to bind off 1 stitch. Continue loosely binding off with Jeny’s Surprisingly Stretchy Bind Off until you have one stitch left.
Setup next scallop: cast on 24 more stitches with knitted cast on for a total of 25 stitches, repeat rows 1-6.
Finishing: When your garland is long enough, cut the yarn and pull through the last single stitch to end. Then using a contrasting color of yarn, crochet a chain for 6 inches, then, on the right side, crochet through the top of each stitch with a slip stitch to stabilize the top edge of your garland. End with another 6 inch crochet chain.