

Knitted Farfalle Butterfly Stitch — Step-by-Step Pattern & Tips for Beautiful Butterfly Motifs
The Knitted Farfalle (Butterfly) Stitch creates a delightful, dimensional motif of tiny butterfly shapes cascading across the fabric. It’s ideal for scarves, baby blankets, trims and playful garments. The pattern uses a repeat of slipped stitches and gathered strands to form each butterfly; it’s easy to memorise once you’ve worked a couple of repeats. Take your time with the strand-lifting steps and practise on a swatch until the butterflies sit evenly.
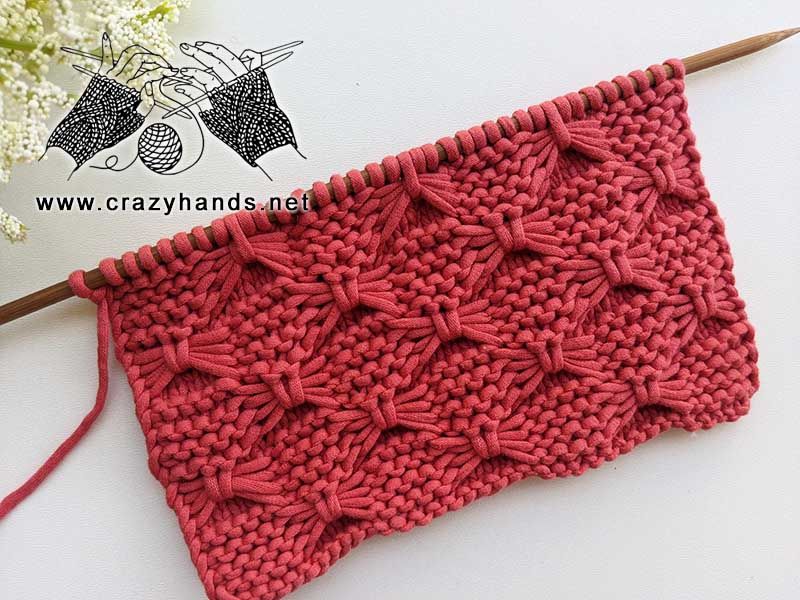
Knitting materials and tools:
- DPN 4.5 mm (US 7/ UK7)
- Bernat, Maker Home Dec (5) – 72% cotton, 28% nylon.
Common abbreviations of knit stitches:
- k – knit
- p – purl
- sel s – selvage stitch: always slip the first stitch knitwise, work to the last stitch, purl the last stitch
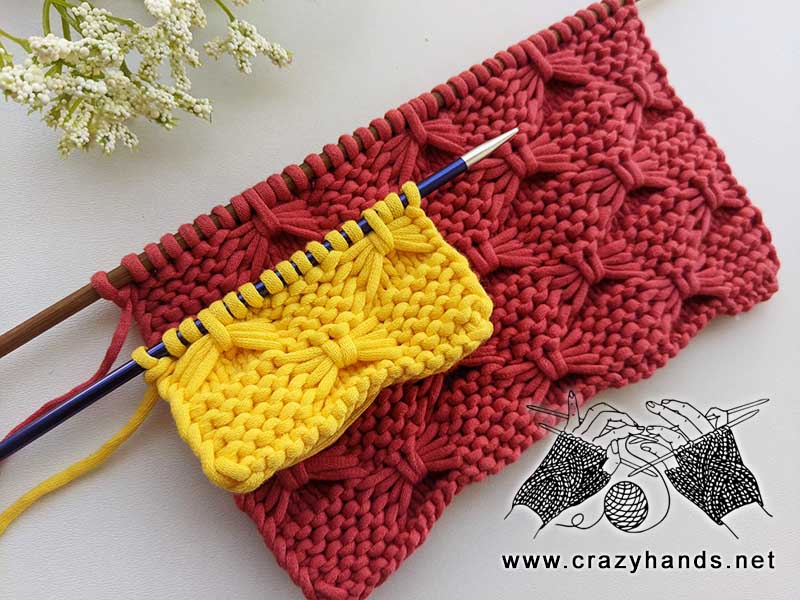
Farfalle (butterfly) stitch knitting pattern:
Cast on the number multiple of 10 stitches, plus 5 extra stitches and plus 2 selvage stitches. For example 37 sts.
Row 1: sel s, knit all stitches, sel s.
Row 2: sel s, repeat [k5, slip next 5 sts holding working yarn in back] across, k5, sel s.
Row 3: sel s, knit all stitches, sel s.
Row 4: sel s, repeat [k5, slip next 5 sts holding working yarn in back] across, k5, sel s.
Row 5: sel s, knit all stitches, sel s.
Row 6: sel s, repeat [k5, slip next 5 sts holding working yarn in back] across, k5, sel s.
Row 7: sel s, knit all stitches, sel s.
Row 8: sel s, repeat [k5, slip next 5 sts holding working yarn in back] across, k5, sel s.
Row 9: sel s, repeat [k7, using the right-hand needle, lift the four loose strands from underneath , then insert the needle into the next stitch on the left needle and knit all the strands together with that stitch as one, k2] across, k5, sel s.
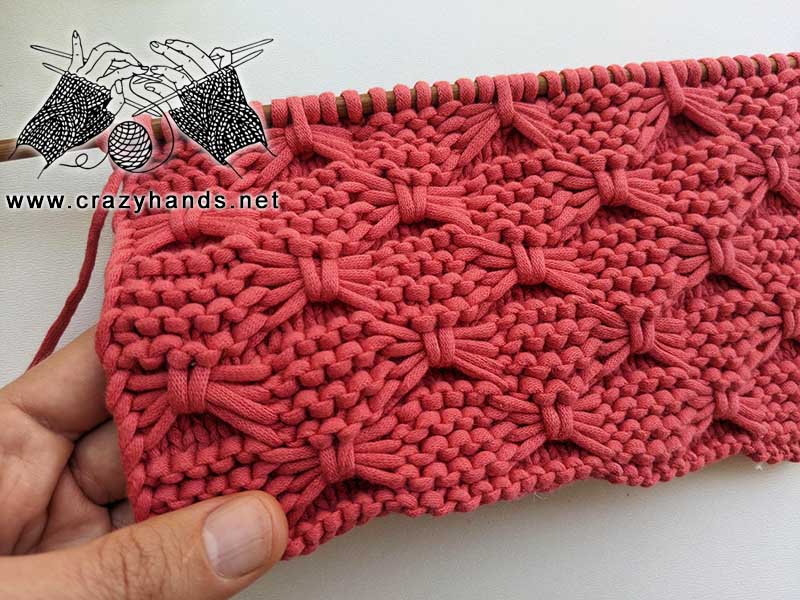
Row 10: sel s, repeat [slip next 5 sts holding working yarn in back, k5] across, slip next 5 sts holding working yarn in back, sel s.
Row 11: sel s, knit all stitches, sel s.
Row 12: Repeat Row 10.
Row 13: Repeat Row 11.
Row 14: Repeat Row 10.
Row 15: Repeat Row 11.
Row 16: Repeat Row 10.
Row 17: sel s, repeat [k2, using the right-hand needle, lift the four loose strands from underneath , then insert the needle into the next stitch on the left needle and knit all the strands together with that stitch as one, k7 ] across, k2, using the right-hand needle, lift the four loose strands from underneath , then insert the needle into the next stitch on the left needle and knit all the strands together with that stitch as one, k2 sel s
Repeat Rows 2-17 to form the pattern.
Bind off all stitches on the wrong side using the Scandinavian Bind-Off method (also known as the Icelandic Bind-Off) for a stretchy, neat edge.
Tips
- Practice the strand-lifting step on a small swatch to get an even look for each butterfly wing.
- Use smooth, plied yarn so the lifted strands are easy to see and pick up.
- Maintain consistent tension when slipping and holding stitches to keep the butterflies uniform.
- Block gently after finishing to help the butterflies open and lie flat.