

Cozy Knitted Douglas Fir Mittens — Free Pattern & Step-by-Step Instructions
Keep your hands warm with these cozy Knitted Douglas Fir Mittens — a whimsical winter accessory featuring a simple Douglas fir tree motif. This free pattern includes sizes, yarn and needle requirements, gauge, and step-by-step instructions for ribbing, thumb gusseting, shaping and finishing. Recommended for knitters comfortable working in the round, using double-pointed needles, and doing basic increases and decreases.
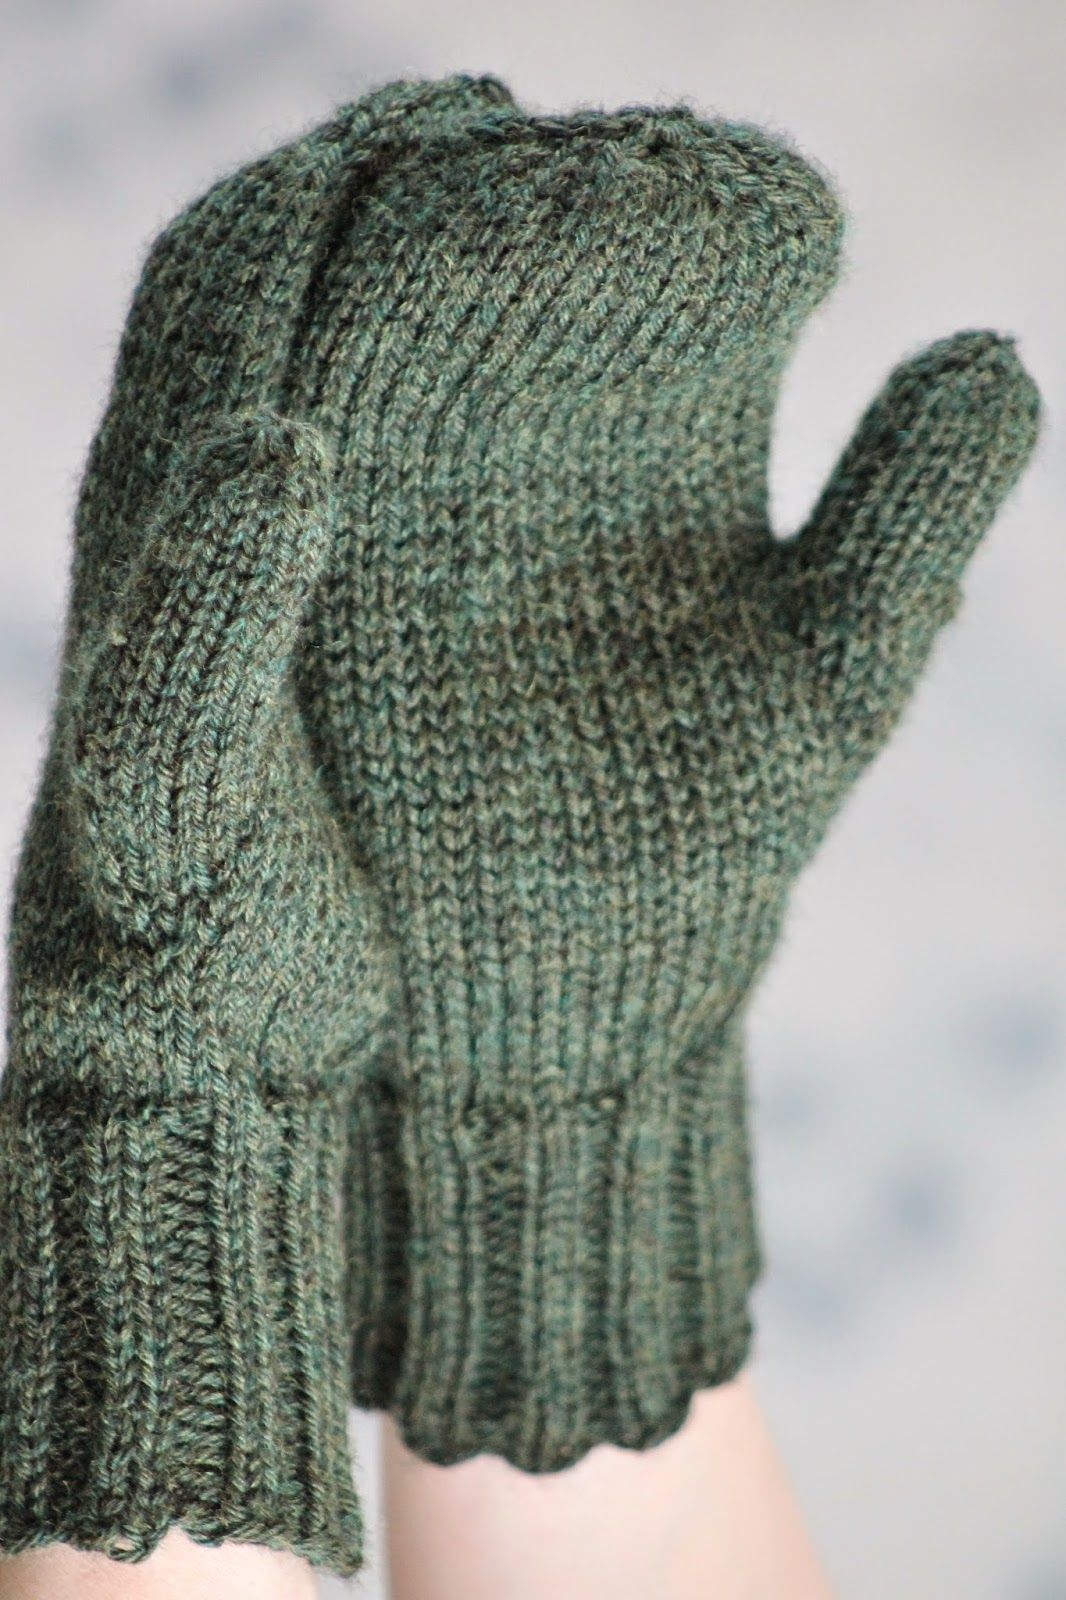
Photo: Knitted Douglas Fir mittens in Berroco Vintage yarn, featuring a small fir-tree motif for a seasonal touch.
Sizes: Small Adult (Medium Adult; Large Adult) (the small is for a hand roughly 7 1/2" - 8" in circumference at the base of the thumb and 7" from base of palm to fingertips, and the large for a hand roughly 8 1/2" - 9" in circumference at the base of the thumb and 8" from base of palm to fingertips - and finally, go medium if you're between)
Yarn: Berroco Vintage (52% Acrylic, 40% Wool, 8% Nylon; 218 yards [200 meters]/100 grams); #5177 Douglas Fir – one skein (all sizes)
Needles: one set of double-pointed needles (dpns) in size US 7, one set of dpns in size US 5
Notions: Tapestry needle
Gauge: 20 stitches = 4 inches on size 7 needles
So let's get started! Using your size 5 needles, cast on 40 (40; 44) stitches and then distribute the stitches between your needles as follows: 12 stitches on the first needle, 16 stitches on the second needle, and 12 stitches on the third needle (12 stitches on the first needle, 16 stitches on the second needle, and 12 stitches on the third needle; 14 stitches on the first needle, 16 stitches on the second needle, and 14 stitches on the third needle). Join in round, and then proceed as follows:
Ribbing Row 1: * p1, k2, p1; rep from *
Knit this ribbing row until piece measures 3" (all sizes). Then, switch to your size 7 needles and knit 8 (9; 10) rows around. And once that's done, it's time to begin gusseting in the thumb. So we'll knit one set-up row, as follows:
Set-up Row 1: m1r, knit across remainder of row
And once that's done, we'll continuing gusseting like so:
Gusset Row 1: knit
Gusset Row 2: knit until you have 12 (12; 14) stitches left on your first needle, m1r; then, knit across remainder of first and second needles, k12 (k12; k14) from third needle, m1l, and knit until the end of the round (yes, this means that your first repeat of this row you will not have any stitches to knit after your m1l)
Knit gusset rows 1 & 2 until you have 19 (19; 21) stitches on your first needle and you've just finished row 1 of the pattern. On your next row, clip yarn and transfer first 7 (7; 8) stitches from your first needle and final 6 (6; 7) stitches your third needle onto a scrap of yarn, to work later as thumb. And now, we'll resume our stockinette pattern beginning at the first stitch left on needle 1, joining the mitt back in the round at the thumb break. Knit until piece measures roughly 3 1/2" (4"; 4 1/2") inches from the thumb break, and then we'll move to the decreases, which you'll find below. It no longer matters how many stitches you have on each needle, so you can rearrange as need be to complete the decreases.
Decrease Row 1: (ssk, k18, k2tog) twice (large size only; all other decrease rows will apply to all three sizes)
Decrease Rows 2 & 3: knit
Decrease Row 4: (ssk, k16, k2tog) twice
Decrease Rows 5 & 6: knit
Decrease Row 7: (ssk, k14, k2tog) twice
Decrease Row 8: knit
Decrease Row 9: (ssk, ssk, k8, k2tog, k2tog) twice
Decrease Row 10: (ssk, ssk, k4, k2tog, k2tog) twice
Decrease Row 11: (ssk, ssk, k2tog, k2tog) twice
Clip tail of yarn, thread through final 8 stitches, and pull tight. Thread to inside of mitten and knot. Finally, using your size 7 dpns, pick up your thumb stitches again, taking care not to put a seam where the break in the stitches occurs (where you rejoined your glove in the round after removing the thumb stitches from your dpns). Knit around, picking up one extra stitch at the break, until thumb measures 2" (2 1/4"; 2 1/2"). Then knit the following row:
Thumb Row 1: * k2tog *
Clip tail of yarn, thread through final 7 (7; 8) stitches, and pull tight. Thread to inside of mitten and knot. Tuck in ends. Make another.