
DIY Knitted Kitchen Towel Holder — Easy Pattern with Buttonhole & I‑Cord Loop
Looking to add a touch of charm to your kitchen? This simple knitted kitchen towel holder is a quick, functional project that keeps a towel handy while adding a cozy, handmade accent. The pattern uses basic stitches, a small buttonhole, and a short i-cord loop — no button required if you simply pull the loop through the buttonhole to hang.
The finished holder slips over a towel and secures with the i-cord loop through the buttonhole, so the towel stays in place when you pull on it.
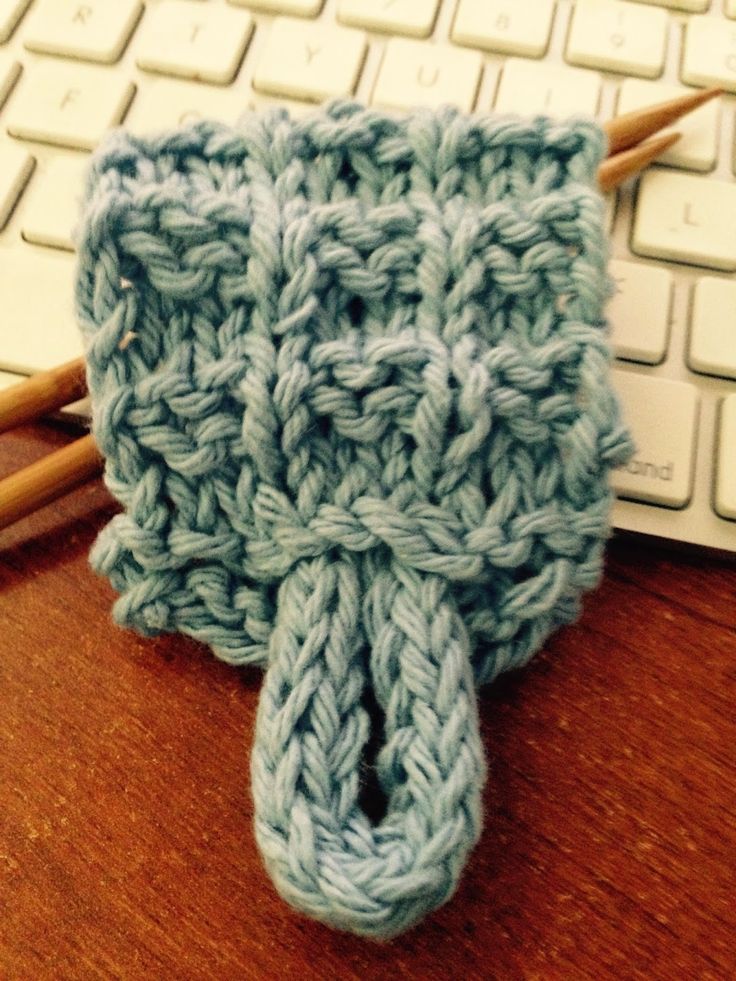
Caption: Finished knitted kitchen towel holder hanging on a towel, ready for use.
Materials:
- Sugar & Cream yarn (or similar cotton kitchen yarn)
- Size 8 double-pointed needles
- Tapestry needle
Gauge and finished measurements will vary with tension. This pattern is worked flat and finished by creating a short i-cord from the remaining stitches and sewing it to the side.
Instructions:
Cast on 10 stitches.
Row 1: Knit all stitches.
Row 2: Knit all stitches.
Row 3: Knit 3, work the buttonhole across the next 4 stitches (see buttonhole instructions below), knit 3.
Row 4: Knit all stitches.
Row 5: Purl all stitches.
Row 6: K1, P2, K1, P2, K1, P2, K1.
Row 7: P1, K2, P1, K2, P1, K2, P1.
Repeat rows 4–7 four more times (so rows 4–7 are worked a total of five times).
Next row: Bind off 6 stitches, knit the remaining 4 stitches.
With the 4 remaining live stitches, knit an i-cord approximately 4 inches long. Bind off the i-cord and attach it to the right side of the towel holder by sewing with the tapestry needle.
Note: I have found that a button is not necessary — hang the towel and pull the i-cord loop through the buttonhole to secure.
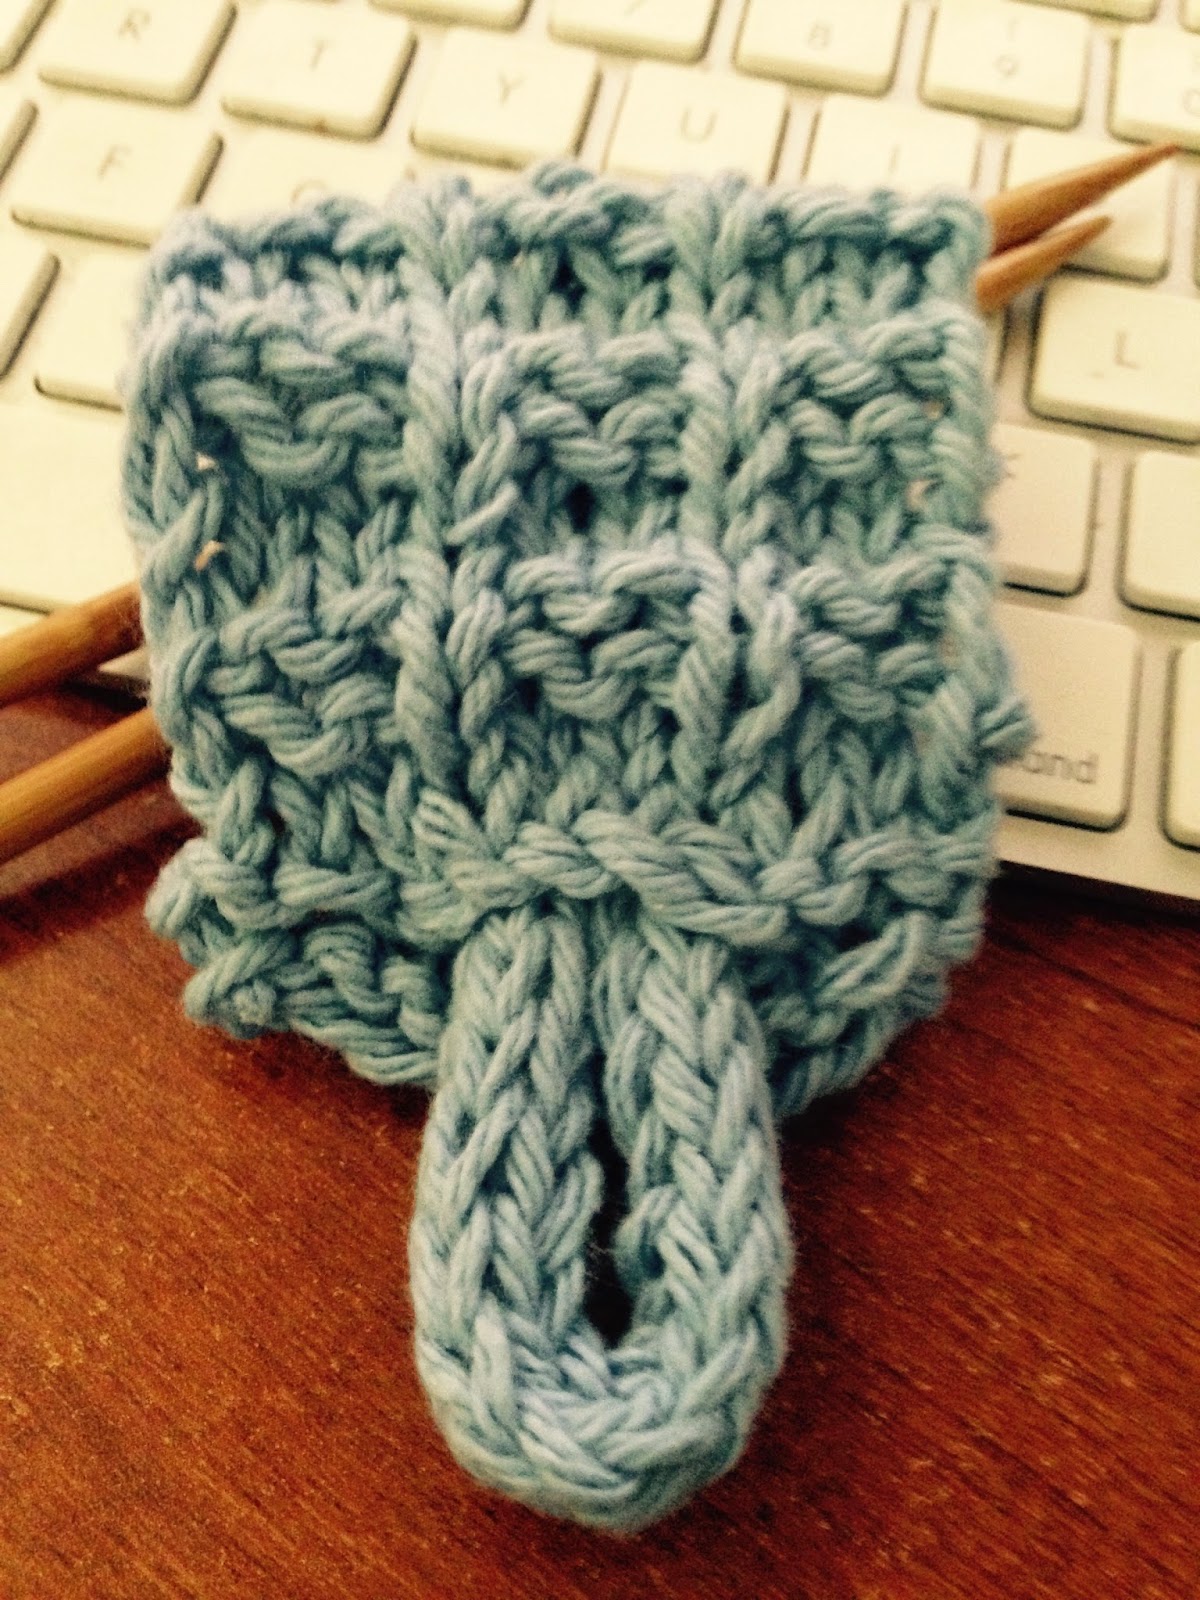
Caption: I-cord loop attached to the right side of the holder; loop is used to secure the towel through the buttonhole.
Buttonhole
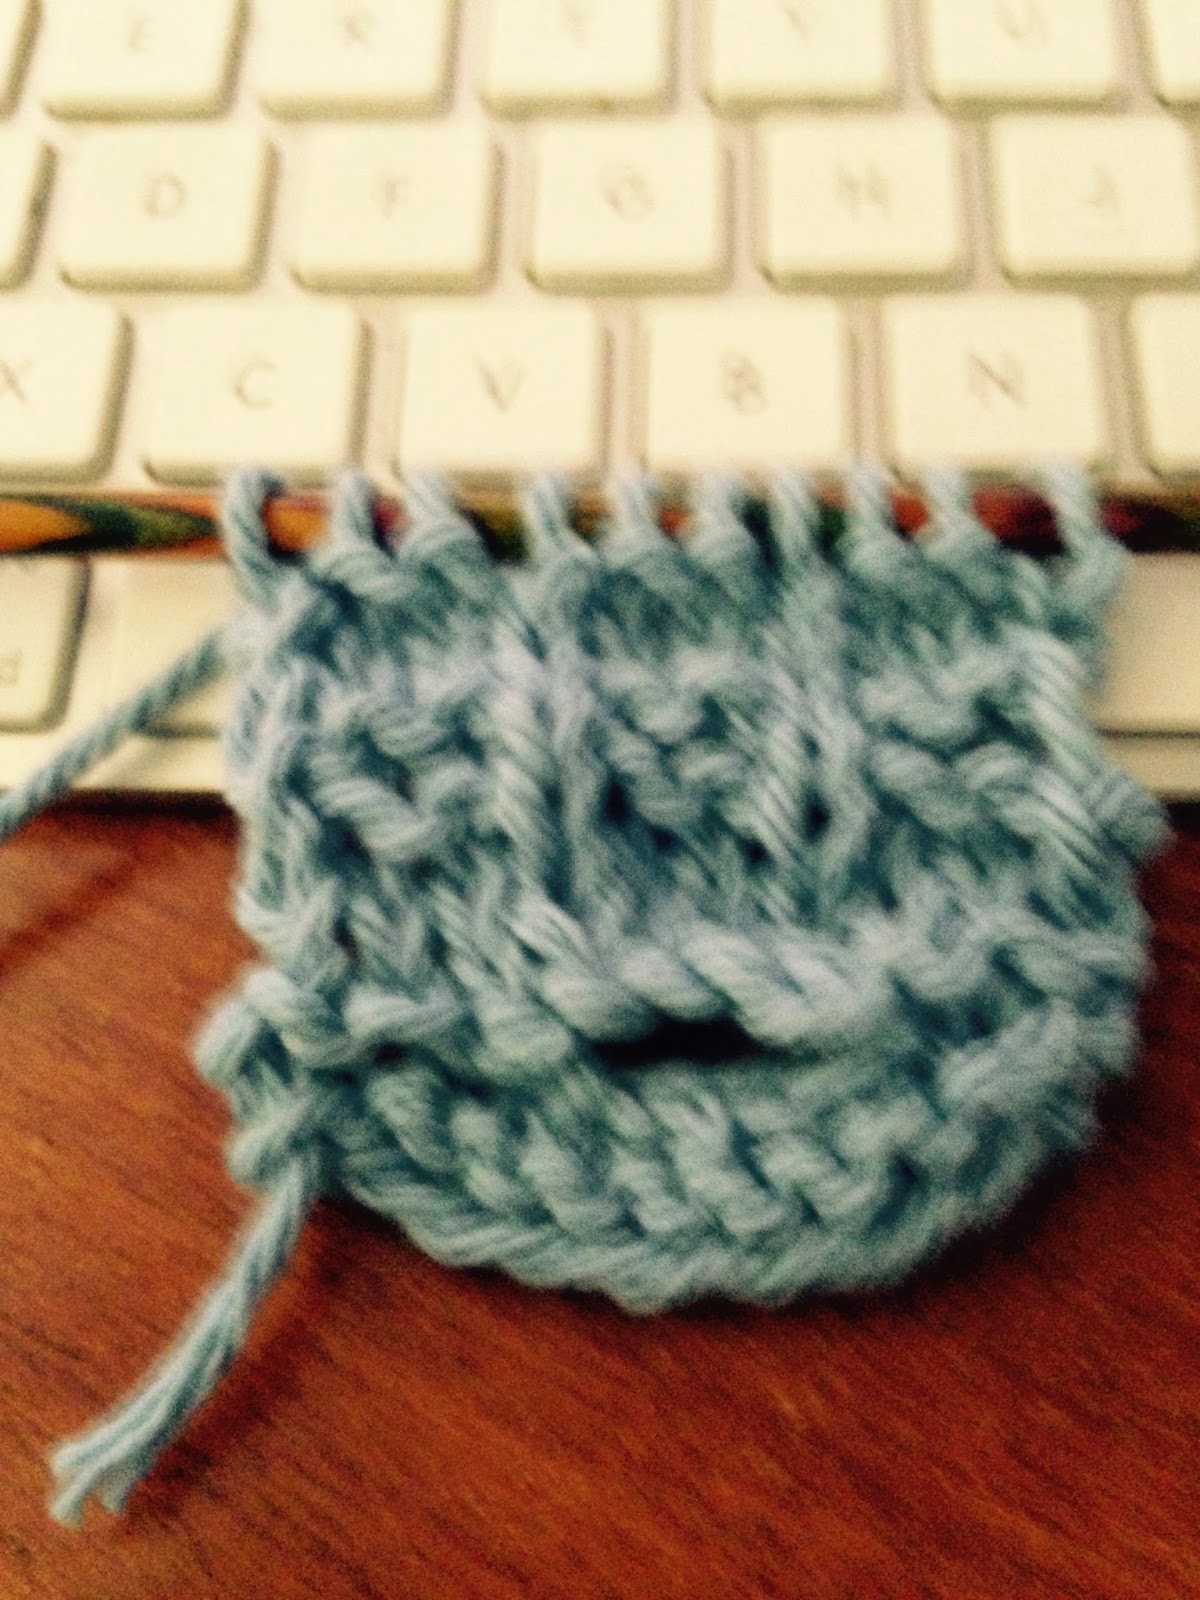
Caption: Close-up of the buttonhole technique demonstrating slipped stitches and cast-on reconstruction.
Buttonhole steps (worked where indicated in the pattern):
Step 1 — Work to the point where you want the buttonhole to begin. Bring the yarn to the front; slip 1 stitch purl-wise; bring the yarn to the back.
Step 2 — Slip 1 purl-wise, pass the first slipped stitch over the second. Repeat this passing-over action two more times (passing over a total of 3 stitches) to create a 3-stitch bind-off for the buttonhole. Place the last stitch back on the left needle. Turn the work.
Step 3 — Cast on 4 stitches (to replace the 3 bound-off stitches plus 1) using the cable cast-on method.
Step 4 — Turn the work so the right side is facing. Bring the yarn to the back; slip the first stitch of the left needle onto the right needle and pass the last cast-on stitch over it to secure. Continue working to the end of the row or to the next buttonhole as instructed.
Finishing: Weave in ends with the tapestry needle. Sew the i-cord loop securely to the right side of the holder. Hang on a towel bar or appliance handle and pull the loop through the buttonhole to keep the towel in place.