

Master the Knitted Seed Stitch: Simple Step-by-Step Guide & Tips
The knitted seed stitch is a versatile, textured pattern created by alternating knit and purl stitches. It produces a bumpy, reversible fabric that adds visual interest to scarves, hats, sweaters, and swatches. Below you'll find clear written directions for both even- and odd-stitch counts, plus a few practical tips to help you get a neat, consistent result.
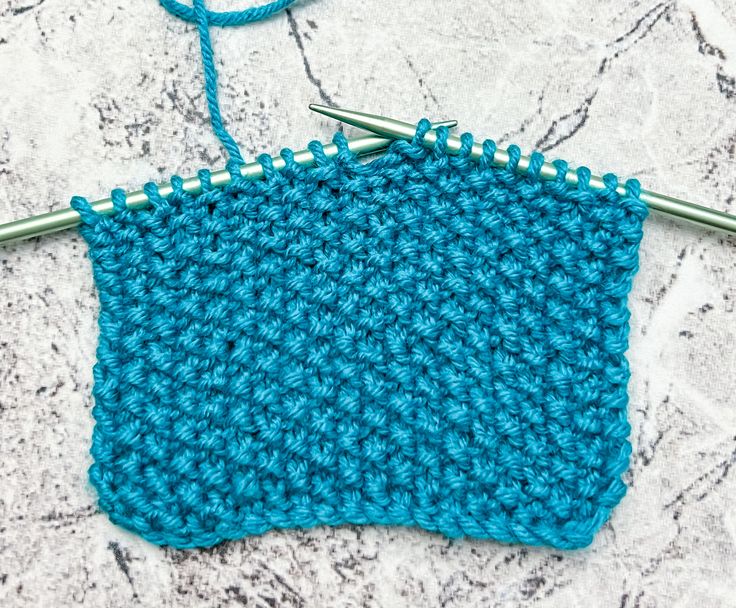
Sample of seed stitch fabric: alternating knit and purl stitches create a dense, bumpy texture.
How to Knit the Seed Stitch
Written directions for the seed stitch:
If you have an even number of stitches:
Row 1: *K1, P1* repeat from * to * across
Row 2: *P1, K1* repeat from * to * across
Continue repeating rows 1 and 2 until piece reaches desired length.
If you have an odd number of stitches:
Row 1: *K1, P1* repeat from * to * until you reach the last stitch, then K1 in the last stitch
Row 2 and on: Repeat Row 1
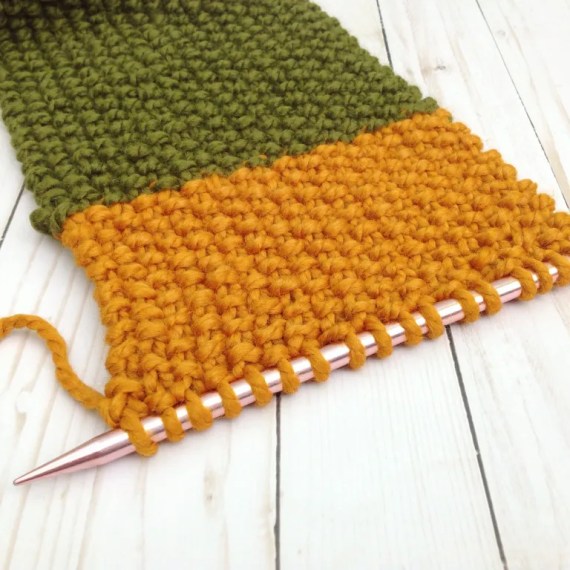
Seed stitch swatch showing the pattern repeated across rows; useful for checking tension and appearance.
Quick Tips
- Make a small swatch before starting a project to check tension and how the stitch looks with your yarn and needle size.
- Keep your tension consistent when switching between knit and purl to maintain even bumps.
- Count your stitches regularly to ensure the correct even/odd sequence is preserved.
Common Uses
The seed stitch works well for accessories and garments where a textured, non-curling (compared to plain stockinette) appearance is desired—popular choices include scarves, hat bands, sweater panels, and borders.