

Garter Stitch Made Easy: A Step-by-Step Knitting Guide for Beginners
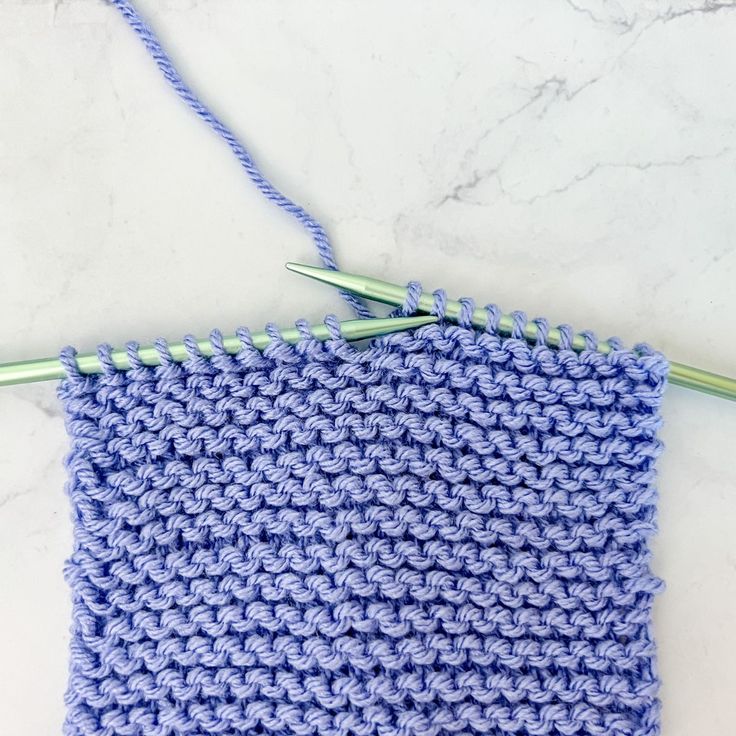
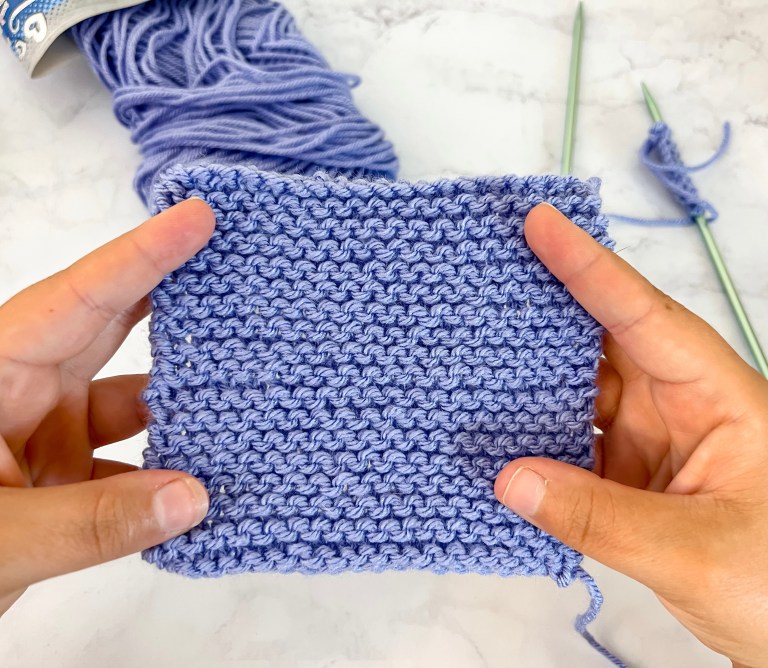
Garter stitch is one of the simplest and most comforting knitting patterns — perfect for beginners and quick projects. It’s created by knitting every row, producing a soft, squishy fabric of horizontal ridges that’s fully reversible. This short guide covers materials, the basic knit stitch used for garter stitch, and clear, pictured steps so you can start a scarf, dishcloth, blanket or swatch today.
Materials
- Any yarn and a pair of compatible knitting needles
- A cast-on method of your choice (you can cast on any number of stitches)
Getting started
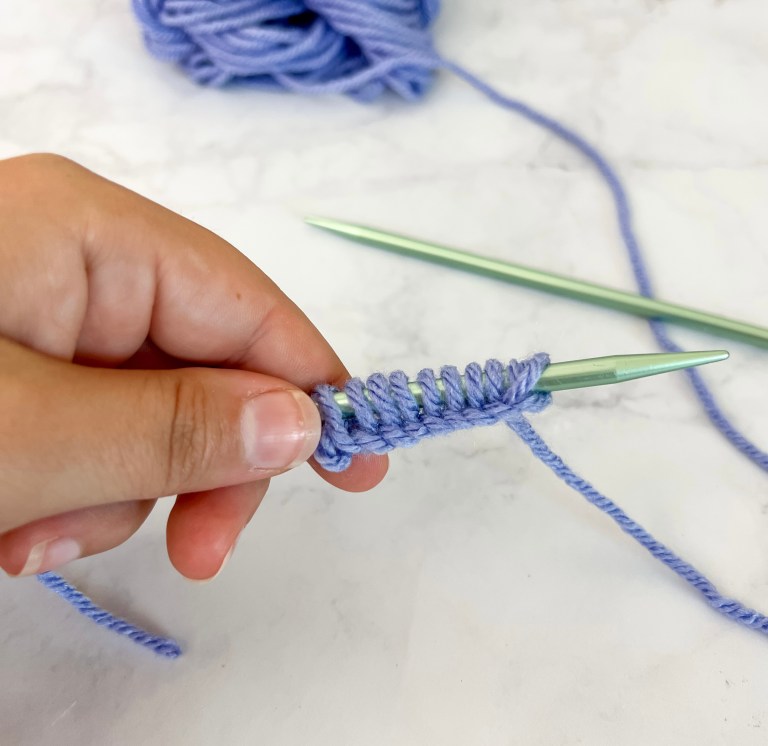
After you have cast on the number of stitches you want, hold the needle with the cast-on stitches in your left hand and the empty needle in your right. Make sure the working yarn is toward the back of the work.
Row 1 (and every row for garter stitch)
Knit each stitch across.
How to do the Knit Stitch
Step 1: Insert the right-hand needle into the first stitch from left to right, passing it under the left-hand needle.
Step 2: Wrap the working yarn around the right-hand needle.
Step 3: Pull the wrapped yarn through the stitch to form a new loop on the right-hand needle.
Step 4: Slide the old stitch off the left-hand needle.
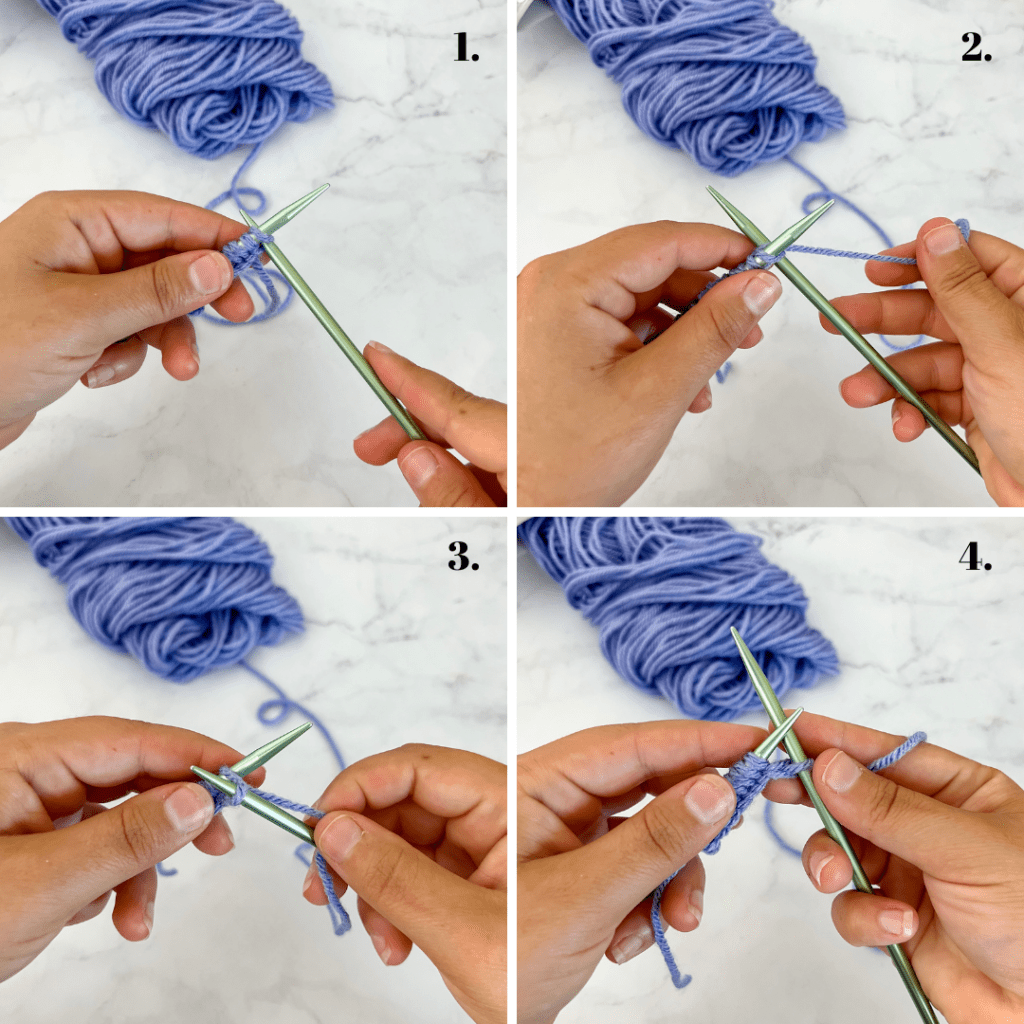
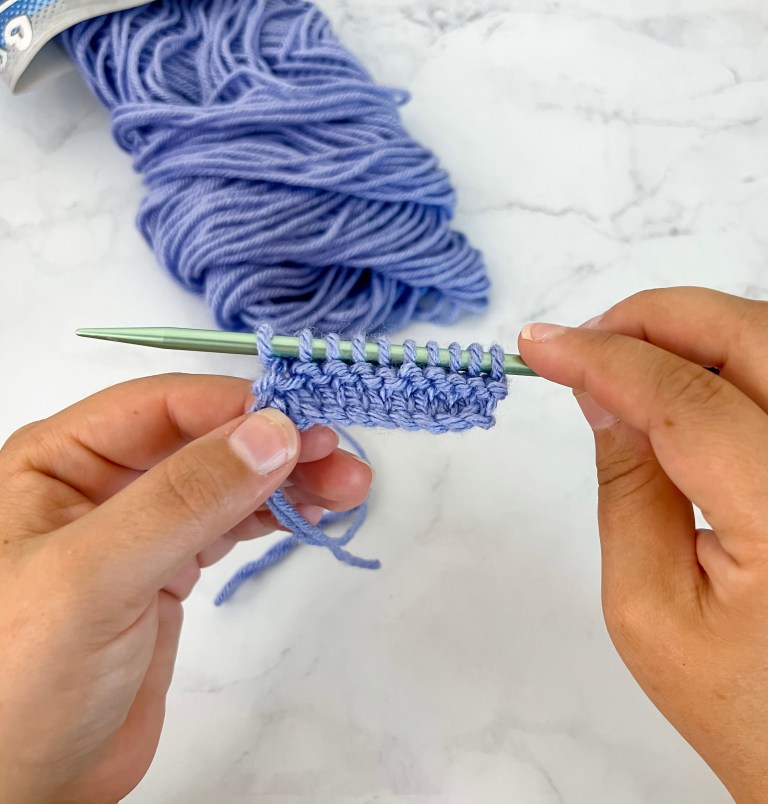
Repeat the knit stitch for each stitch across the row. After you finish the row, turn your work so the needle with the unworked stitches is in your left hand, keep the yarn toward the back, and knit the next row. For garter stitch, every row is a knit row.
Finishing tips
When your piece reaches the desired length, bind off in knit to match the garter texture. Keep an even tension and practice a few swatches to find the needle/yarn combination that gives the feel and drape you want.
That’s all there is to it—garter stitch is simple, relaxing, and endlessly useful. Happy knitting!