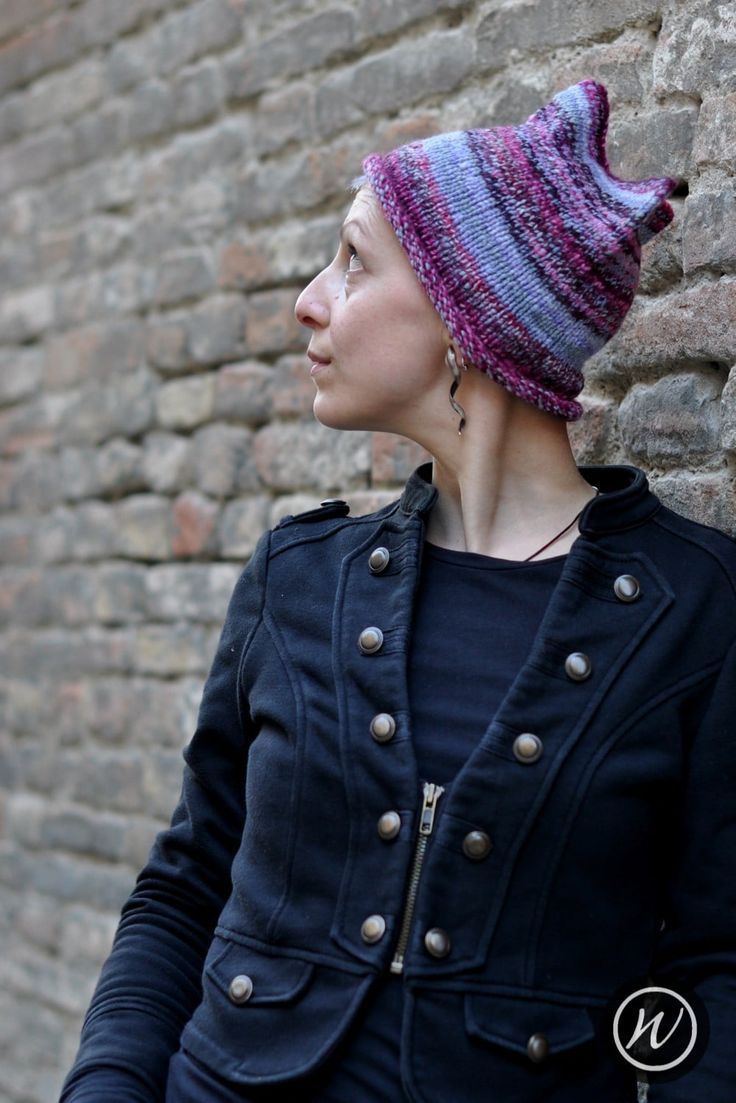
Knitted Tri-Peak Hat
The Knitted Tri-Peak Hat is a cozy and stylish accessory perfect for chilly days. With its unique tri-peak design, this hat not only keeps your head warm but also adds a fun and trendy touch to your outfit. Crafted with high-quality materials and attention to detail, you can count on this hat to keep you comfortable and looking good all winter long. Whether you're heading out for a casual stroll or hitting the slopes, the Knitted Tri-Peak Hat is sure to become your go-to accessory for any cold-weather adventure.
Yarn
160yd/146m/100g
Chunky weight, single or multi-ply yarn.
Needles & Notions
Set 5mm/UK6/US8 DPNs/Circular or size needed to obtain gauge
Stitch marker as necessary
Tapestry needle
Sample Details
Shown in handspun yarn
Note
It is really easy to adjust this Hat to fit different sizes or accommodate different gauges of yarn. All you need is to cast-on with a multiple of 6 sts – check your gauge, measure the head of the recipient, and allow an inch or two of negative ease (i.e make the Hat smaller than required so it fits snuggly)
Gauge
16 sts x 20 rows to 4in/10cm on 5mm needles over St.St.
Sizes
To fit sizes: 19 [21, 23] in/48 [53, 58] cm
Finished size: 18 [19.5, 21] in/45 [49.5, 53] cm
Not sure which size to make? Check my handy size and measuring guide!
Skills Required
Cable Cast-on
Knitting in the round
Increases and Decreases
Grafting Stocking Stitch
Crochet Bind-off
Modified 3-needle Bind-off
Blocking a Hand Knit Hat
Abbreviations
K: knit
rpt: repeat
R/rnd(s): rounds
st(s): stitch(es)
How To
Cast on 72 [78, 84] sts
Join in the round, being careful not to twist sts.
Place st marker to indicate start of round.
Body
Knit every round to create stocking st.
Continue until length of tube is 10 in/25 cm or desired length allowing for a rolled brim.
Crown
Slip the first 12 [13, 14] sts (or one sixth of total st count) from the next needle directly after marker (start of round) onto a 5mm DPN (or spare needle)
You are now at the tip of the first point. Count off & slip the next 12 [13, 14] sts onto another spare 5mm DPN. Leave rest of sts on other needles or st holders, as you’ll need them later for the other peaks.
These two needles are now your working needles. With this set of working needles, both should have 12 [13, 14] sts on them. Hold them so that they are parallel and wrong sides together. You are ready to start the crochet 2-needle cast off.
Peak 1
With your crochet hook, slip the 1st st off the first working needle onto the hook. Do the same with the 1st st of the 2nd working needle. Pass the 1st st on the hook over the 2nd. Slip the 2nd st of the 1st needle onto the hook, and again pass over the previous st. Keep going like this until you have one st remaining – you are crocheting alternate sts from the working needles and passing over the previous st on the crochet hook.
Note: you do not need the yarn for this method, so leave it attached and trailing at the start of the rnd. The remaining one st should be held on a marker until you have finished all 3 peaks. You should have a visible seam, which looks a little plaited. This helps keep the peaks ‘crisp’.
Peak 2
Slip next 12 [13, 14] sts onto a working DPN. And again the following 12 [13, 14] sts onto 2nd working DPN. Repeat the cast-off process, saving the remaining st with the first, on a st holder.
Peak 3
You should have 24 [26, 28] sts remaining. Divide these evenly across 2 needles and repeat this crochet 2-needle cast off again.
You will have 3 sts remaining; the finishing sts from each peak. Break yarn and thread through remaining sts.
Finishing
Weave in all ends and block as required.