

Knitted Daylily Stitch Tutorial: Create a Beautiful Daylily Flower Texture
The Knitted Daylily Stitch is a decorative textured stitch that produces a flower-like motif with overlapping petal shapes. It adds an elegant, raised surface ideal for scarves, blankets, cushions, or panels on sweaters. With the eight-row repeat below and a little practice, you can produce a rhythmic, tactile pattern that looks more complex than it is.
The written instructions and materials follow. Work a small swatch first to get comfortable with the repeat and your chosen yarn and needle combination.
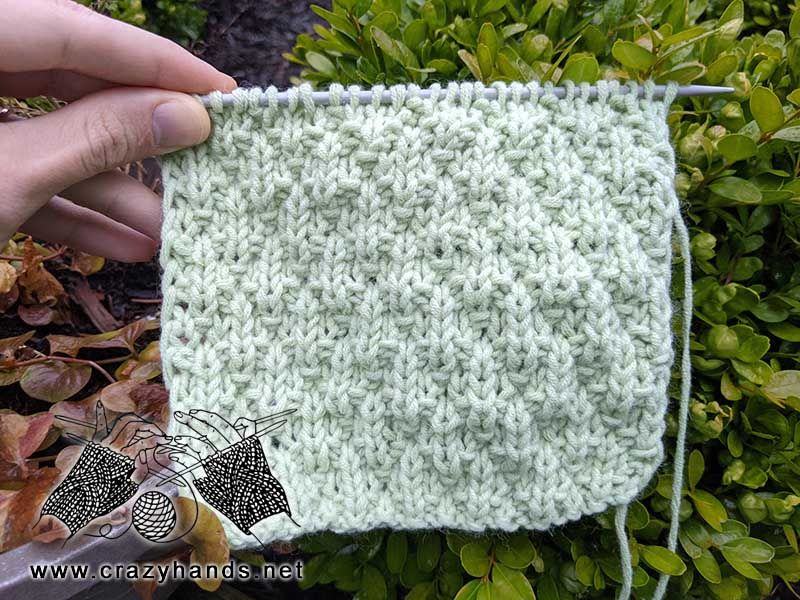
Swatch showing the daylily stitch pattern and its flower-like raised texture.
Knitting materials and tools:
- DPN 4 mm (US6 / UK8)
- Marks & Kattens Dream: 50 grams -100 m per skein.
Common abbreviations of knit stitches:
- k – knit
- p – purl
- st(s) – stitch(es)
- sel s – selvage stitch: always slip the first stitch purlwise, work to the last stitch, purl the last stitch
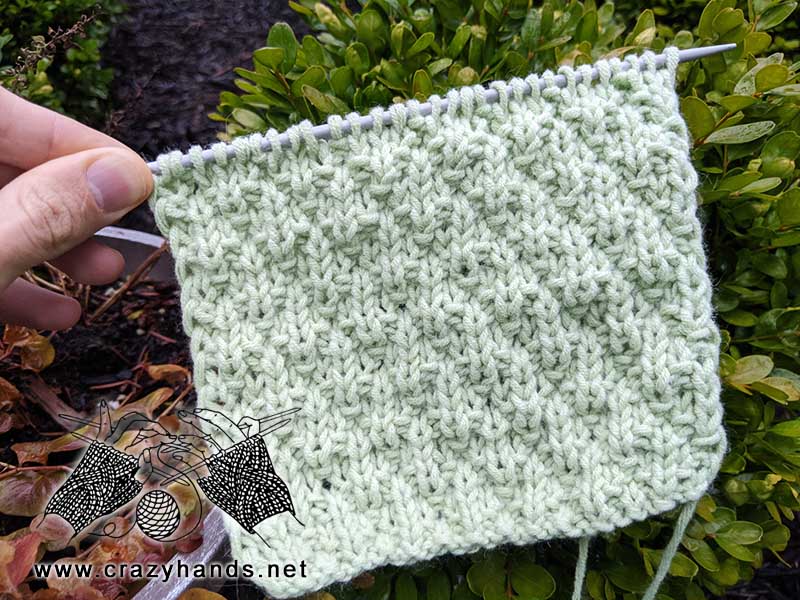
Close-up detail of the daylily stitch showing the raised petals and texture.
Daylily knit stitch instructions:
Cast on a multiple of 4 sts plus 2 selvage stitches. I cast on 30 sts for my example.
Row 1 (RS): sel s, *k1, p1– repeat from *, sel s.
Row 2: sel s, *k1, p1– repeat from *, sel s.
Row 3 (RS): sel s, *p1, k3 – repeat from *, sel s.
Row 4: sel s, *p3, k1 – repeat from *, sel s.
Row 5 (RS): sel s, *k1, p1– repeat from *, sel s.
Row 6: sel s, *k1, p1– repeat from *, sel s.
Row 7 (RS): sel s, *k2, p1, k1 – repeat from *, sel s.
Row 8: sel s, *p1, k1, p2 – repeat from *, sel s.
Repeat Rows 1-8 as many times as needed.
Tips:
- Work a small swatch to check how the pattern and yarn interact; the texture shows best with smooth, plied yarns.
- Maintain neat selvedge stitches (sel s) to create clean edges for seaming or picking up stitches.
- When first learning the repeat, place a stitch marker every 4 stitches to help track the pattern segments.
- Block your finished pieces lightly if desired to even out stitches and show the flower-like texture.