

One-Hour Coffee Cozy: Quick Knit Cozy Pattern for Beginners
Make a cozy in about an hour with this quick, beginner-friendly cozy pattern. This simple tube-style cozy protects your hands from hot cups and adds a handmade touch to your morning coffee. The project is compact, portable and great for practicing basic knit stitches.
Note: Although the original title referenced crochet, the instructions below use knitting needles and knitting stitch abbreviations.
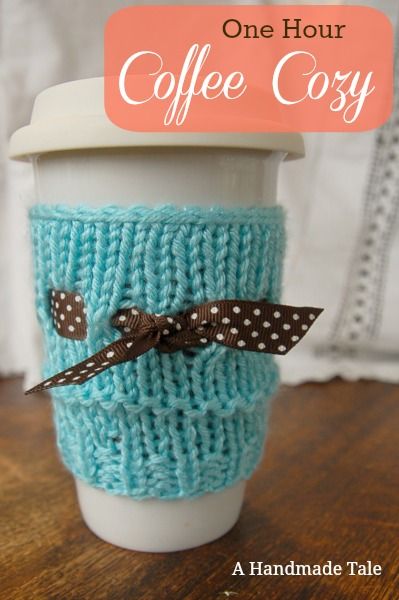
You will need:
- 5mm straight knitting needles
- Worsted weight yarn
- Tapestry or wool needle
- Co-ordinating ribbon
Time: about 1 hour
Skill level: Beginner
Abbreviations:
- k - knit
- p - purl
- yo - yarn over hook
- k2tog - knit two stitches together
- stockinette stitch - knit the 'right side' and purl the 'wrong side'
Pattern:
Cast on 30 stitches
Rounds 1 - 5: work ribbed pattern of k1, p1
Rnd 6: purl, increase 3 stitches evenly across row; 33 stitches
Rnds 7 - 9: knit
Rnds 10 and 12: purl
Rnd 11: knit
Rnd 13: k1, *yo k2tog* repeat * to end.
Rnd 14: purl
Rnd 15 - 22: continue in stockinette stitch
Rnd 23: bind off, leave a long tail (30cm or 12") for sewing the seam.
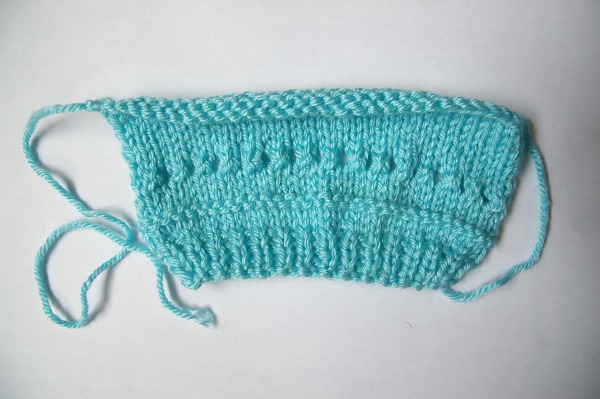
When you've cut your long sewing tail, you'll have something that looks like the photo above.
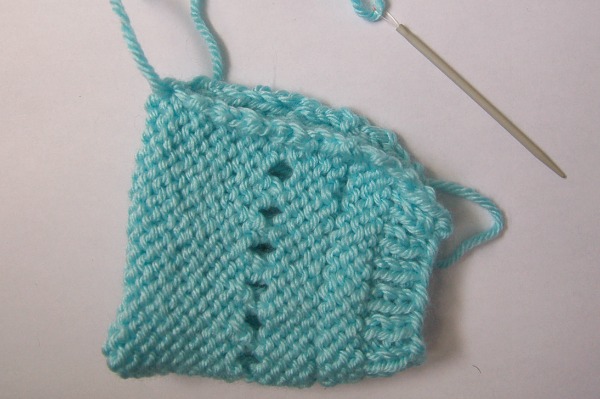
Fold right sides together and sew seam. Fasten off and weave in tail.
Weave your ribbon in and out of the little holes made in Round 13. I would suggest sliding the cozy over a cup before knotting the ribbon; you don't want to tie it too tight!
To prevent the ends of the ribbon from fraying, melt the cut edge ever so slightly with a lighter.
Finishing tips:
- Try the cozy on a cup before knotting the ribbon to ensure it fits comfortably.
- If your gauge is different, adjust the cast-on stitch count to fit your mug circumference.
- Weave in ends neatly and trim excess ribbon to your preferred length.