

Easy Knitted Baby Beanie with Layered Crochet Flower (6–12 Months)
Make a cozy, stylish hat for a 6–12 month-old with this easy knitted baby beanie pattern finished with a large layered crochet flower. The hat is worked in the round with a 2x2 rib brim and stockinette body, then shaped with simple decrease rounds. The flower is crocheted in three layered petals for a full, decorative look.
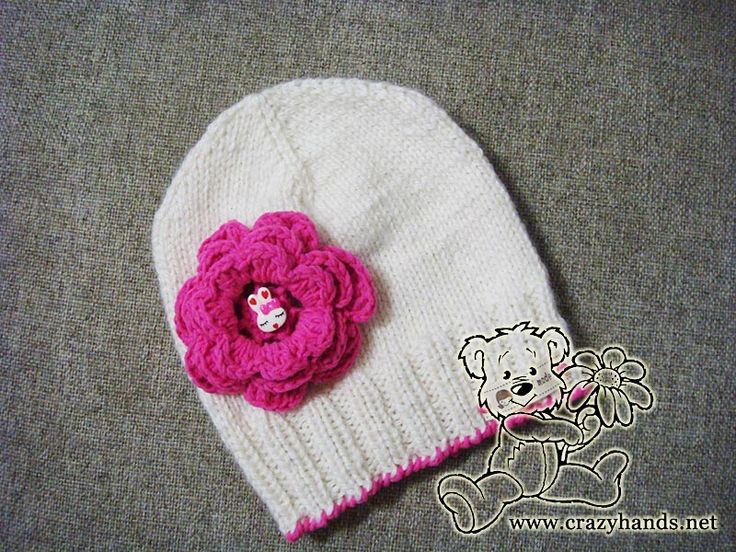
Finished white baby beanie with a layered pink crochet flower — ready to wear.
Baby knit beanie size:
Gauge: 19 stitches = 4 inches in stockinette stitch
Age: 6-12 months
Knitting materials and tools:
- 5 Double Pointed Knitting Needles 3.5 mm. You can choose circular needles as well;
- Yarn – Alpacana Lanoso 35% wool, 40% acrylic, 25% alpaca. White color – for hat. (0.5 skein);
- Hook – 3 mm;
- Jeans YarnArt 55% cotton, 45% acrylic. Pink color – for flower.
Common abbreviations of knitting stitches
- k – knit
- p – purl
- k2tog – knit two together
- dc – double crochet stitch
- sc – single crochet stitch
- sl st – slip stitch
Notes: You can work the hat on double-pointed needles (as shown in the photos) or on circular needles using the magic loop or small-circumference circulars. Maintain the gauge for the best fit; adjustments to needle size or stitch count will change the finished size.
Baby knit beanie pattern
Knitting the ribbing of baby beanie:
Begin at bottom edge. Cast on 68 stitches for the hat. Any cast on method you know can be used here.
Round 1: Begin with rib 2 by 2 *knit 2, purl 2* keep repeating till the end of round. Repeat Round 1 until piece will be 4-4.5 cm (measuring from the edge).
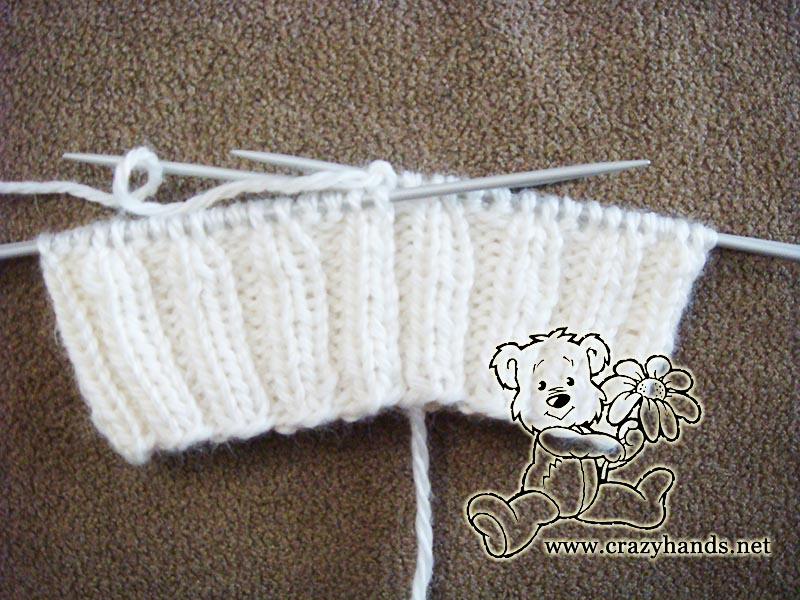
Ribbing detail: 2x2 rib worked at the hat's brim.
Knitting the body of baby beanie:
Continue knitting in stockinette stitch until the piece measures 13-14 cm from the edge. From this point we start decreasing the hat.
If you are using circular needles, divide all your stitches in 4 and place markers. In case you are using double pointed needles as I am, we are going to decrease from the beginning and at the end of each needle.
Round 1: *k2tog, 13k, k2tog, repeat from* to end of round.
Round 2: knit in stockinette stitch.
Round 3: *k2tog, 11k, k2tog, repeat from* to end of round.
Round 4: knit in stockinette stitch.
Round 5: *k2tog, 9k, k2tog, repeat from* to end of round.
Round 6: knit in stockinette stitch.
Round 7: *k2tog, 7k, k2tog, repeat from* to end of round.
Round 8: knit in stockinette stitch.
Round 9: *k2tog, 5k, k2tog, repeat from* to end of round.
Round 10: knit in stockinette stitch.
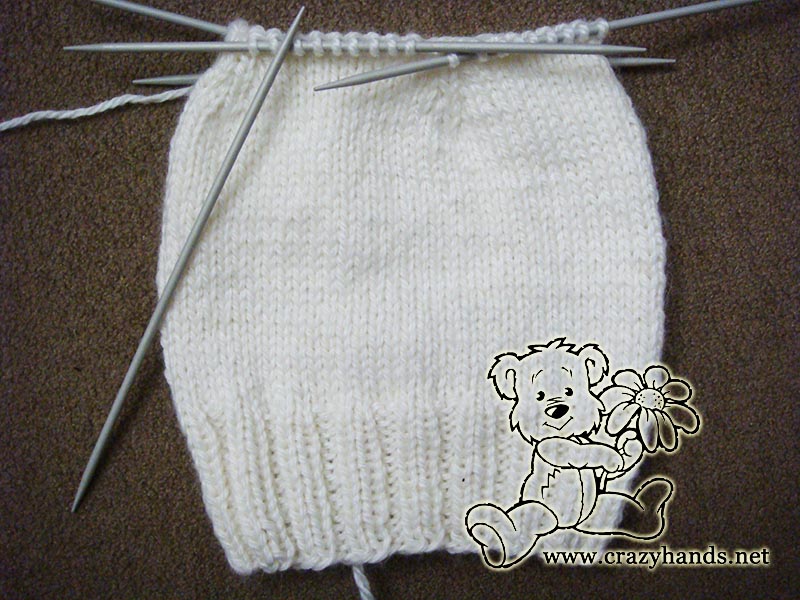
Crown shaping: decrease rounds forming the top of the beanie.
Round 11: *k2tog, 3k, k2tog, repeat from* to end of round.
Round 12: knit in stockinette stitch.
Round 13: *k2tog, 1k, k2tog, repeat from* to end of round.
Round 14: knit in stockinette stitch.
Cut yarn leaving 10 cm tail. Use hook or tapestry needle to pull yarn tail through the last remaining stitches. Pull tight to close the hole. Hide the tail inside of the hat and weave it in into the backside of our stitches.
Baby beanie is ready.
Crochet triple layer flower pattern
My idea was to make a massive flower that’s why I decided to crochet with 2 strands of yarn at the same time. I didn’t have the second ball so I was using technique where you hold yarn that comes from the outside with the yarn that comes from the center.
I am using 3 mm hook.
Round 1: 16 sc into magic ring. Pull tight to get rid of the hole.
Round 2: ch3 (count as dc), *ch2, skip next 2sc, dc, ch2, repeat from * to end of round, sl st with 3d st of ch3.
Round 3: *sc, 4dc, sc* all in 2 ch space – first petal. Repeat same pattern all way around until you get 7 petals.
If you like the flower then you can stop at this point, but if you want more layers please continue crocheting following the pattern.
This round we are going to work behind 3d round.
Round 4: go underneath first spoke and make a sl st, ch 3, *go underneath the neхt spoke and make sc, ch3 – repeat from * all way around until you get 7 ch3 spaces. Slip stitch into beginning chain.
Round 5: *sc, 6dc, sc* all in 3 ch space – first petal. Repeat same pattern all way around until you get 7 petals.
Round 6: go underneath first spoke and make a sl st, ch 4, *go underneath the neхt spoke and make sc, ch4 – repeat from * all the way around until you get 7 ch4 spaces. Slip stitch into beginning chain.
Round 7: *sc, 8dc, sc* all in 4 ch space – first petal. Repeat same pattern all the way around until you get 7 petals. For those of you who likes the schemes here is one as well.
Three layers flower is ready. Sew the flower to the hat and decorate the center of the flower with a rabbit or a bear. If you have something other in your mind as a decoration – feel free to do so.
Finishing tips: Secure the flower well so it holds through wear and gentle washing. Weave in all ends and block lightly if desired. For a firmer center, sew on a small button or applique (supervise if used on baby garments).