

Charming Knitted Daisy Pillow — Easy DIY Pattern & Embroidery Guide
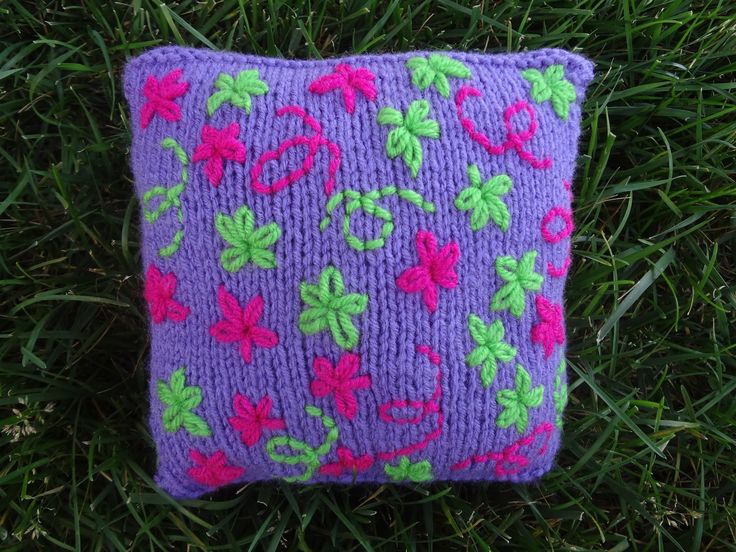
Bring a touch of handmade charm to your sofa or bedside with this knitted embroidered daisy pillow. This simple pillow combines basic knitting panels with cheerful lazy-daisy embroidery and backstitched curlicues for a whimsical, cozy accent. The pattern is compact (about 7 x 9 inches) and a great project for knitters who want to practice stockinette, simple seaming and surface embroidery.
Materials
- Worsted weight yarn in three of your favorite colors
- US 7 (4.5 mm) straight needles
- Tapestry needle (yarn needle)
- Fiberfill for stuffing the pillow (or scrap yarn for stuffing)
Abbreviations
- BO: Bind Off
- CO: Cast On
- RS: Right Side
- WS: Wrong Side
Sizing
Finished pillow measures approximately 7 inches wide and 9 inches tall.
Flower panel (front) Instructions
CO 35 sts
Knit 4 rows
Row 1: k2, purl to last 2 sts, k2
Row 2: Knit
Repeat rows 1 and 2 until piece measures 8.5 inches, ending on a RS row
Knit 4 rows
BO
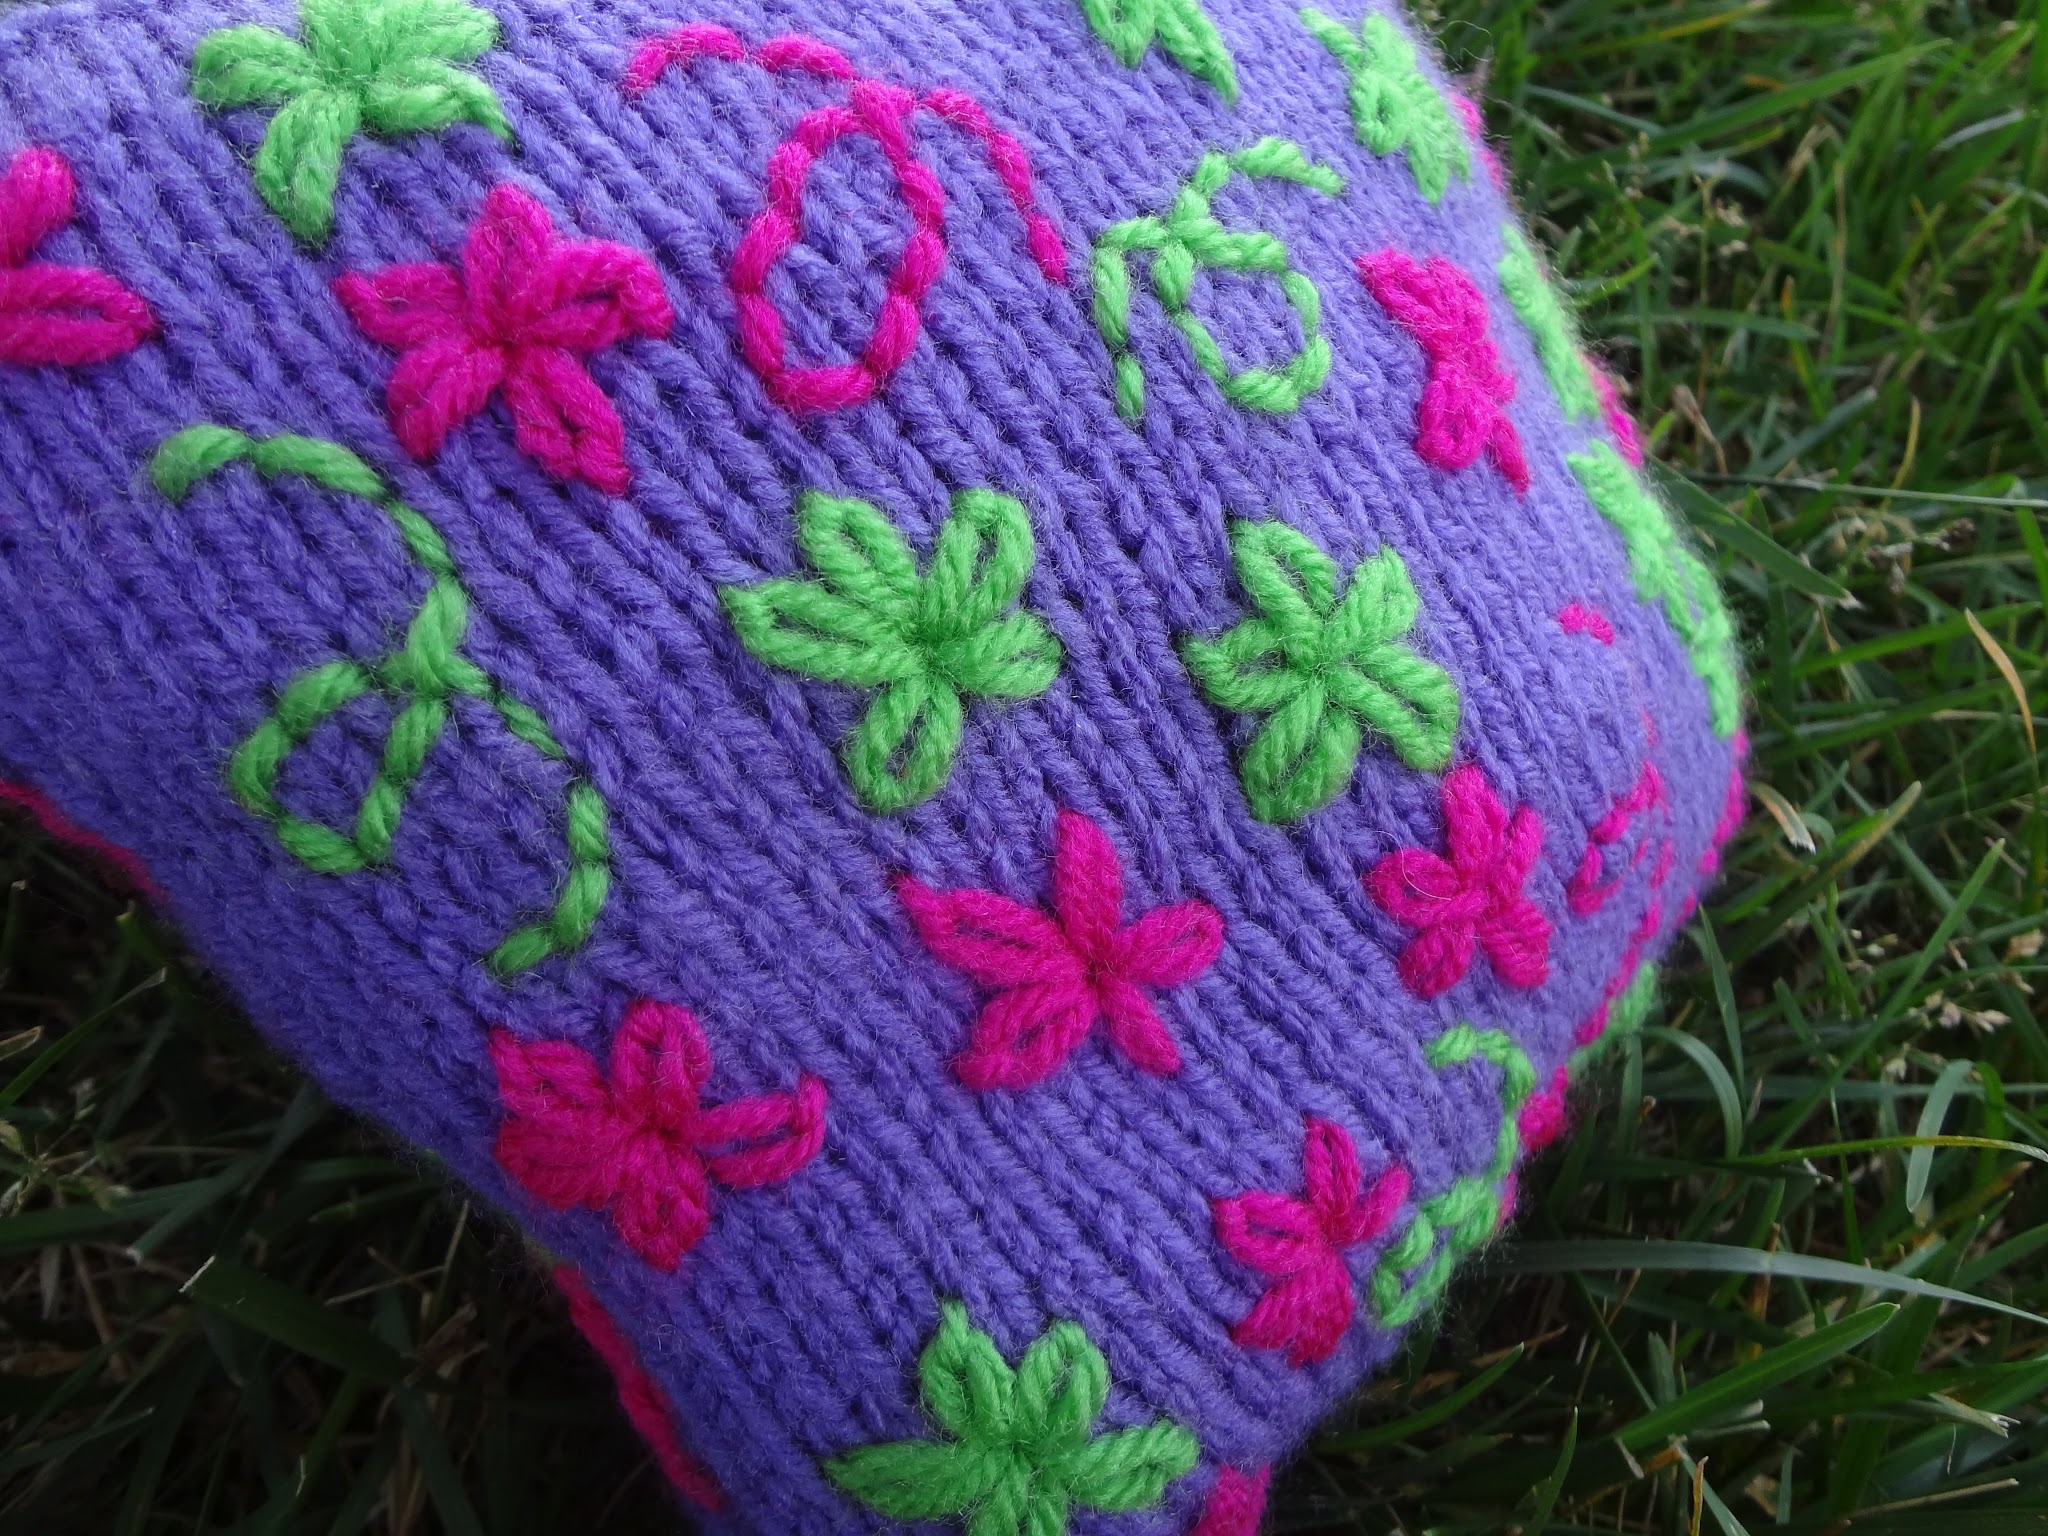
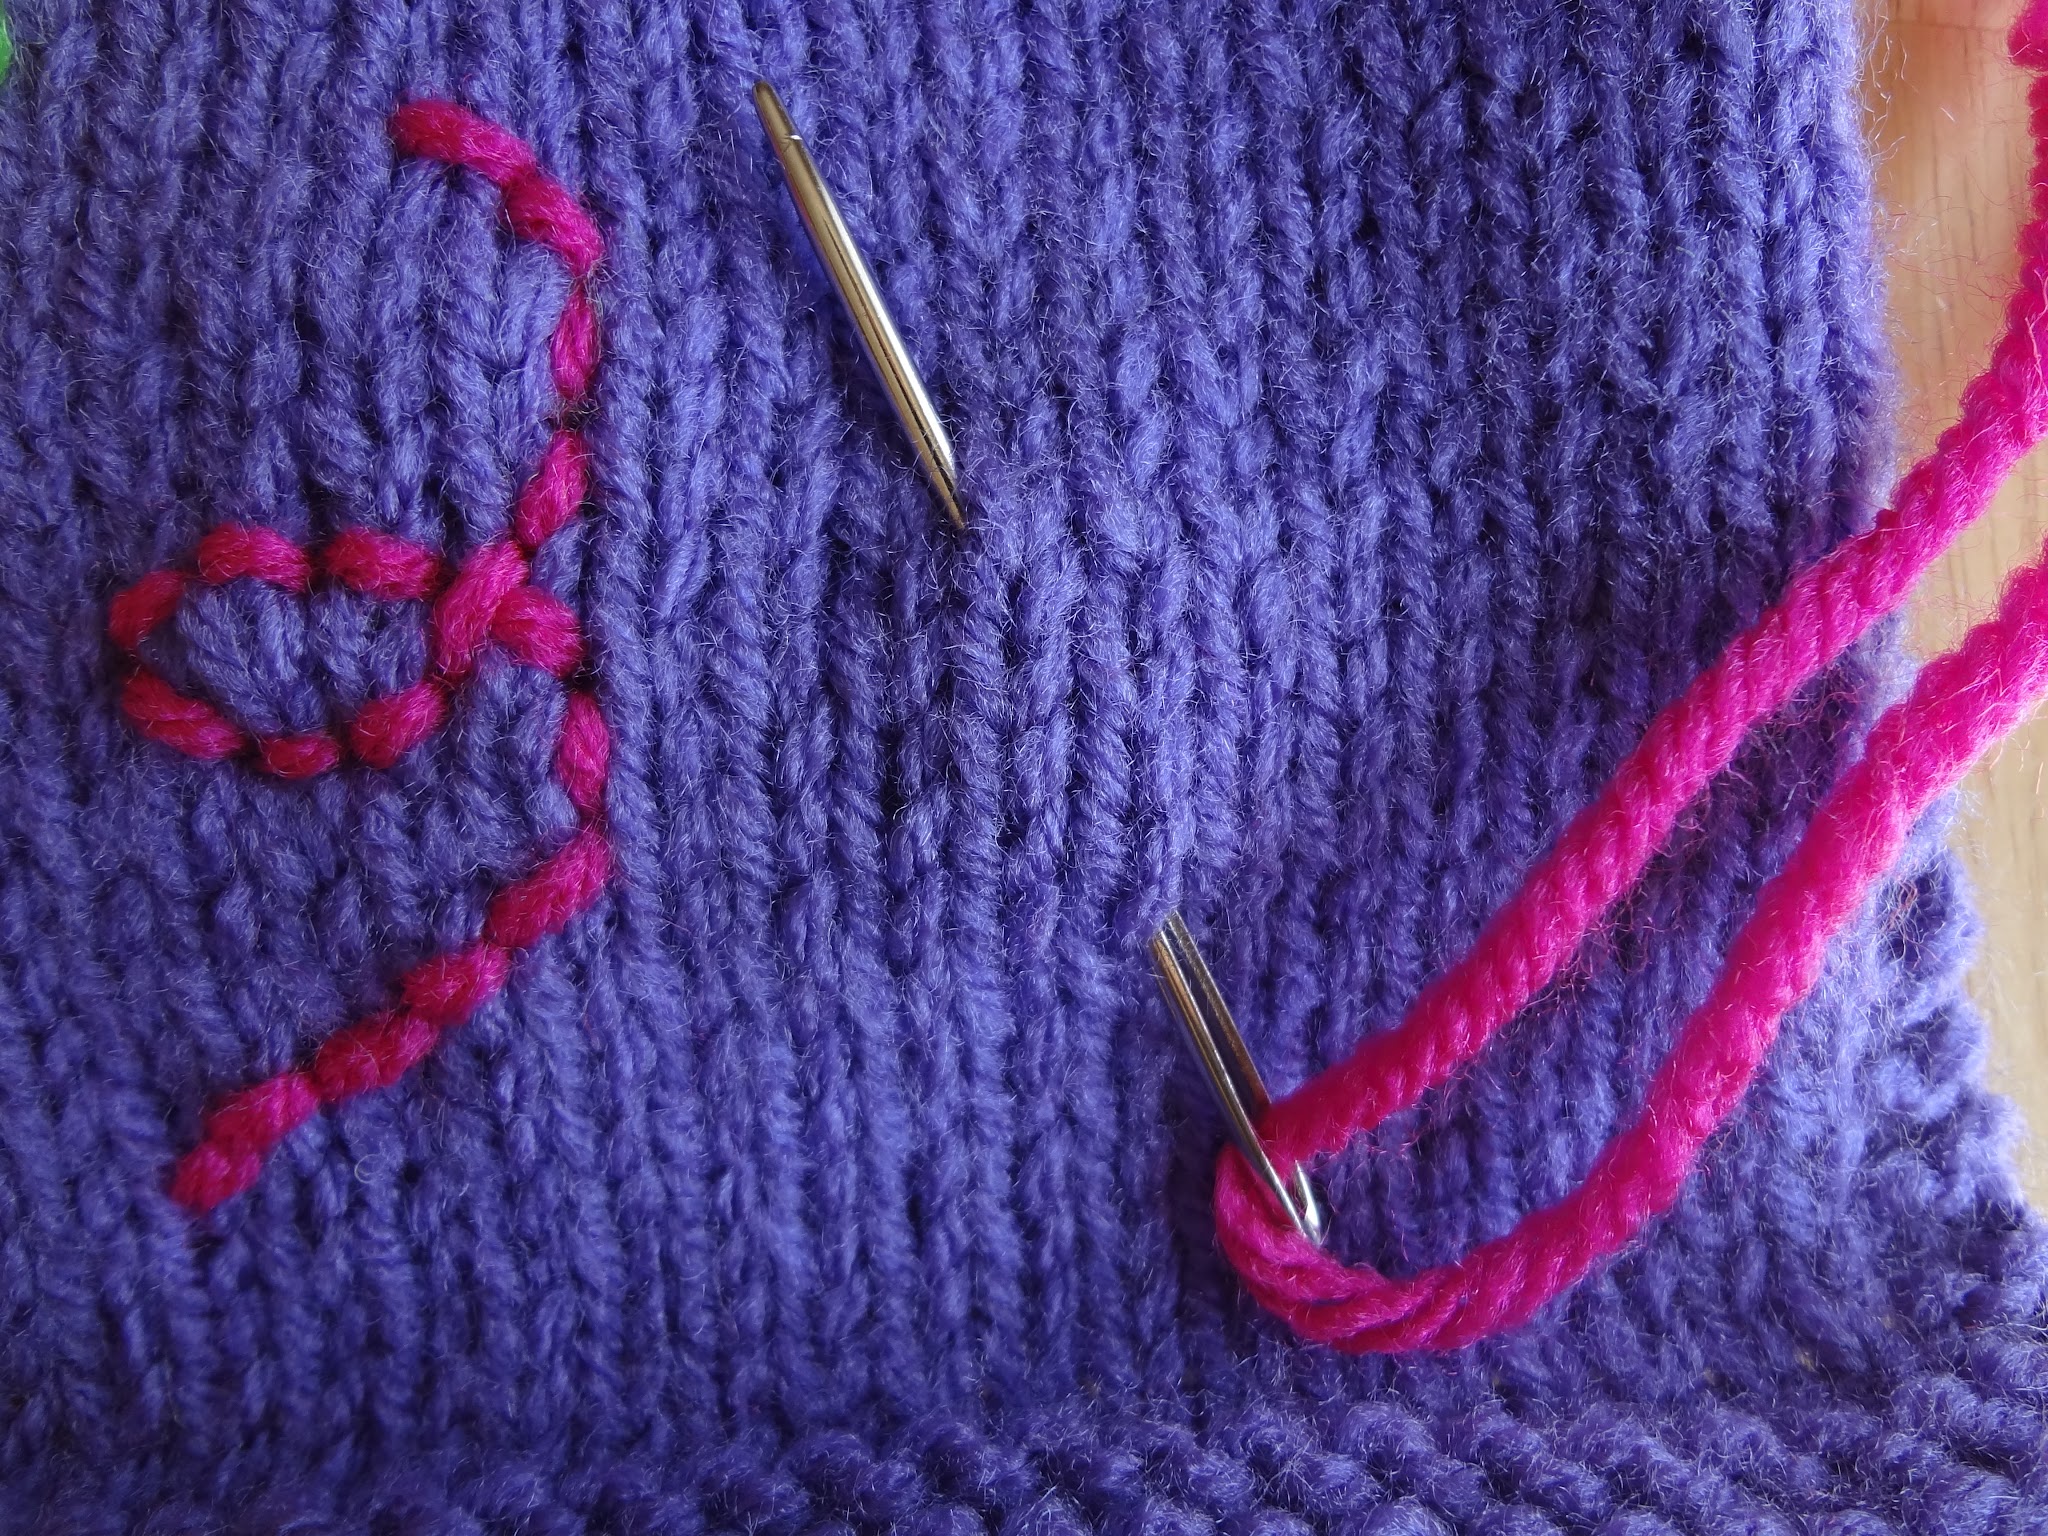
Embellish the front panel all over with lazy daisy stitches for the petals and add backstitch curlicues for stems and details.
Striped panel (back) Instructions
Note: Stripes are 6 rows of each color
CO 35 sts
Work in stockinette stitch (knit one side, purl the other) for 9 inches, working the striped color pattern as desired
BO
Finishing
With the WS of both panels facing outward, seam pieces together leaving a small opening for stuffing. Turn the sewn piece right side out. To get crisp corners, gently push the corners out using the end of a knitting needle or similar tool.
Stuff the pillow with fiberfill (or scrap yarn) to your desired firmness, then sew the opening closed.
Tips
- Lazy daisy embroidery is worked by making a small loop secured with a tiny stitch; use matching or contrasting yarn colors for different effects.
- Keep your seams even and use a mattress stitch for a nearly invisible join if you prefer a neat edge.
- Experiment with stripe widths or daisy placement to personalize the design.