Knitted Mountain Road Pumpkin
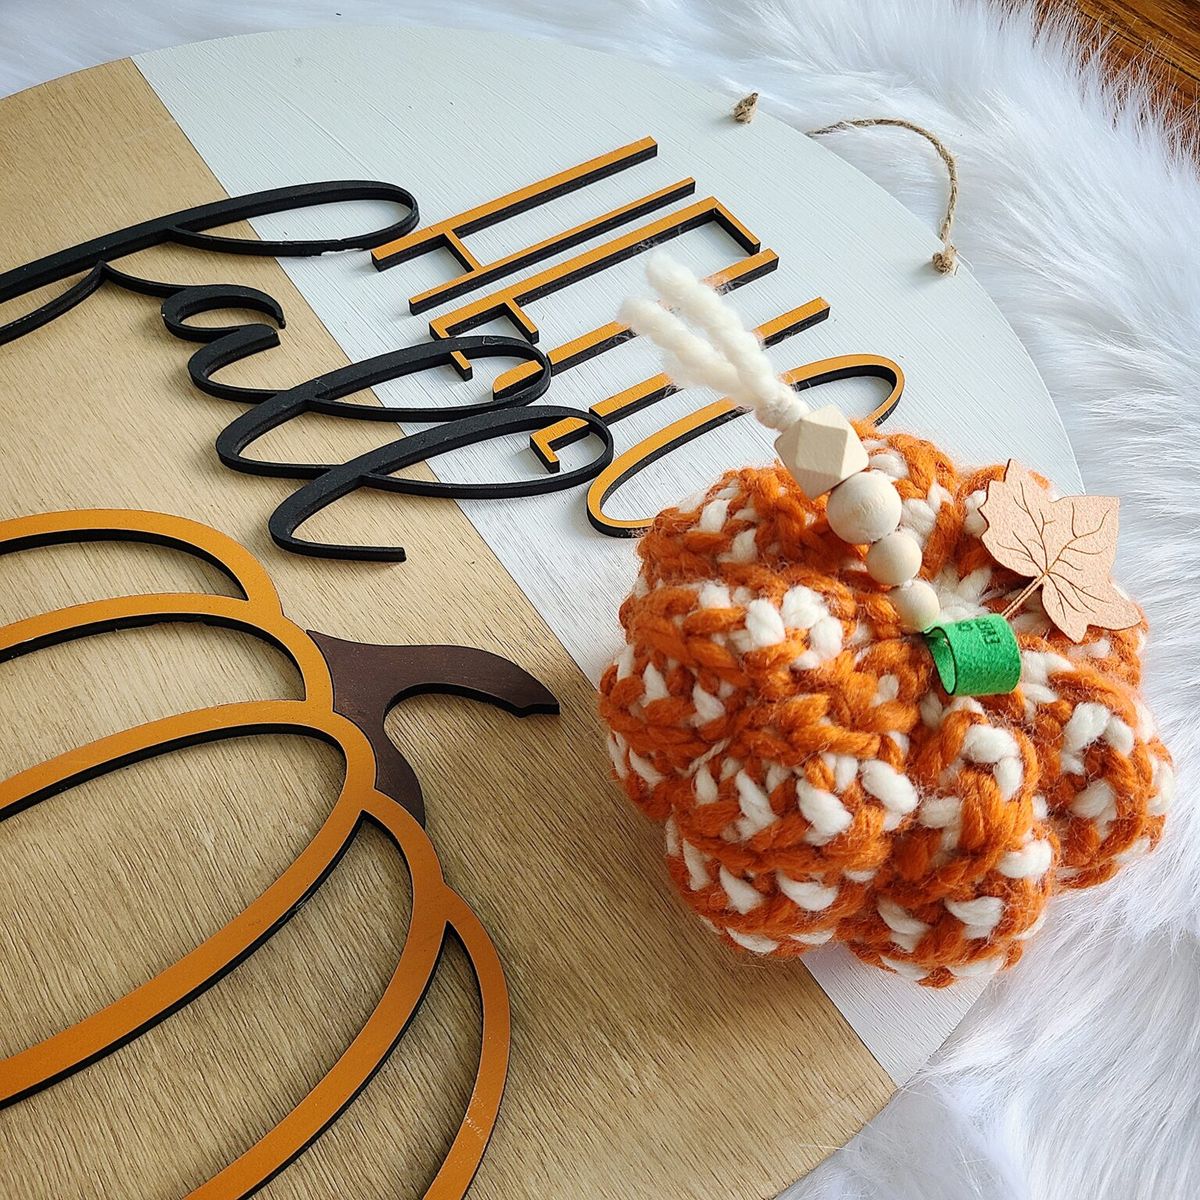
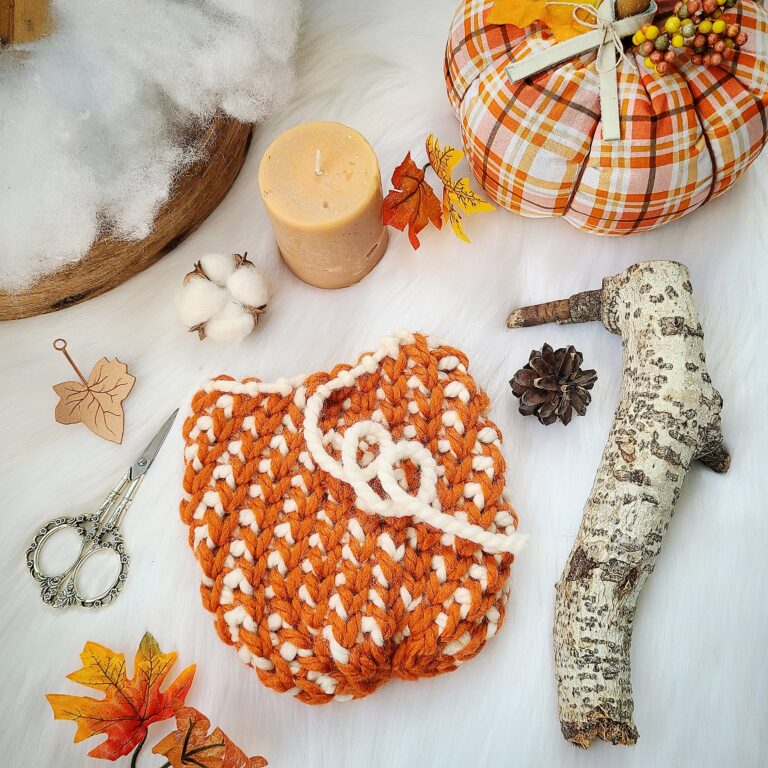
The Knitted Mountain Road Pumpkin is a charming and whimsical creation that brings a delightful touch of coziness and warmth to any space. This hand-knitted pumpkin features intricate detailing that mimics the texture of a real pumpkin, making it a unique and eye-catching decorative piece. Whether placed on a mantelpiece, shelf, or as a centerpiece on a table, this knitted gem adds a touch of homemade charm to your home decor. Its vibrant orange hue and soft, plush texture make it a comforting addition to any room, perfect for adding a pop of color during the fall season. With its inviting appearance and cheerful aesthetic, the Knitted Mountain Road Pumpkin is sure to bring a smile to your face and spark joy in your heart.

SKILL LEVEL:
Advanced Beginner (Easy)
MATERIALS:
- PRO “Takumi” Bamboo Knitting Needles (8 mm)
- PRO “Takumi” Bamboo Knitting Needles (10 mm)
- Super Bulky yarn (Lion Brand Wool Ease Thick and Quick, Malabrigo Rasta)
- Main Color: 1.6 oz, approx. 27 yards
- Contrast Color: 1.3 oz, approx. 23 yards
- Stuffing
- Darning Needle Set
- Locking Stitch Markers
- Optional: Embellishments, stem, tags, twine, raffia, leather strips, extra yarn for pumpkin dents
GAUGE:
Not relevant for this pattern; follows height measurements
TERMS:
- BO – Bind off
- CC – Contrast Color
- CO – Cast on
- K – Knit
- K2tog – Knit 2 stitches together
- Lhn – Left hand needle
- M – Stitch marker
- MC – Main Color
- P – Purl
- PM – Place marker
- Rep – Repeat
- Rhn – Right hand needle
- Rnd – Round
- RT – Right Twist. K into the second st on the needle without dropping the first st, K into the first st on the needle and then drop both stitches.
- Sl – Slip
- St(s) – Stitch(es)
NOTES:
- Asterisks (*) mark a repeated stitch pattern.
- Your stitch count is in parentheses at the end of relevant rounds.
- This pattern is adjustable to use any size needles and yarn in multiples of 2.
- I was able to make these on 16” circulars with a backwards loop cast on. You may use whatever kind of 8 mm needles that are most comfortable.
- You can adjust needle size up or down. I used 8 mm needles to get a tighter fabric so that the stuffing does not show through.
- Make sure to pull up a little slack on your working yarn when completing the first stitch in the Right Twist stitches. This pattern can tighten up as you work on it, especially if you already knit tightly.
- This pattern is worked one color at a time per row with the mosaic method. There are no floats or colorwork involved.
- When you slip stitches in this pattern, slip purl-wise with yarn in the back of your work.

PATTERN:
CO 32 sts using the Backward Loop (Basic) method on 8 mm (US 11) needles of choice with MC, PM, join to work in the round.
Round 1: MC, K all sts (32).
Round 2: CC, K all sts.
Round 3: MC, *RT.
Round 4: CC, K all sts.
Round 5: Sl first st, MC, *RT* to final st, sl final st from lhn to rhn, remove M. Sl that same st back to lhn, work first half of the final RT, PM, complete RT. First stitch of next round complete.
Rep rounds 2-5 until piece from CO edge measures approx. 6”, ending after a rnd 5 rep.
Decrease round: *K2tog to final st. Remove M and K2tog the first st that was slipped and the final st (16).
FINISHING:
BOTTOM: After finishing the final round, use your beginning tail and thread through the edge of each stitch in your co edge around the bottom.
Cinch the bottom closed and sew in the end.
TOP: Cut yarn, leaving a long tail. Thread tail through stitches.

BODY:
Stuff your pumpkin, making sure not to overfill.
Cinch the top closed (leave a hole for the stem when cinching shut, if desired).
Thread the needle through the top of the pumpkin to the bottom and back several times to shape it.
Sew in the ends.
Add pumpkin dents, tags, stems or any other embellishments.