Knitted Adorable Cherry
The knitted adorable cherry is an absolute delight! Its vibrant red color and cute design make it a charming addition to any space. Whether displayed on a shelf, attached to a keychain, or even gifted to a loved one, this tiny creation is sure to bring a smile to anyone's face. Its soft texture makes it perfect for cuddling or simply admiring its intricate details. You can't help but feel a sense of joy and warmth when looking at this little knitted cherry. It's a lovely reminder that even the smallest things can bring immense happiness.
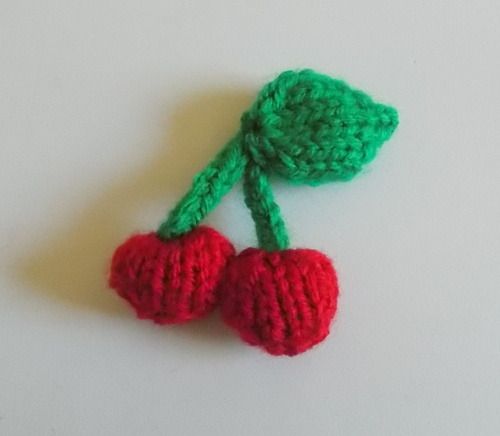
Materials:
- One Set Size 6 double Pointed Needles (dpns)
- Worsted Weight Red Yarn
- Worsted Weight Green Yarn
- Polyester Fiberfill Stuffing
- Tapestry Needle
Note: Gauge is not important to this project. If you use a different weight of yarn, simply adjust the needle size up or down accordingly to make a larger or smaller decoration.
Cherries (Make 2)
Using Red yarn, cast on 4 stitches onto one dpn.
Slide the stitches to the other end of the needle and knit the next round as for i-cord.
Rnd 1: (kf&b) 4 times (8 st)
Divide the stitches evenly onto two dpns and continue knitting in the round.
Rnd 2: Knit 1 round.
Rnd 3: kf&b, k2, (kf&b) twice, k2, kf&b (12 st)
Rnd 4-6: Knit 3 rounds.
Rnd 7: ssk, k2, k2tog, ssk, k2, k2tog (8 st)
-Insert a small amount of stuffing into the cherry.
-Cut the yarn, thread the tail into a tapestry needle and weave through all stitches on the needles, pulling tightly to close. With the tail still on the tapestry needle, insert the needle down into the closed-up hole, pulling the tail through the piece, pulling tightly to create a flat top with a slight divot in the middle. Weave the tail through a few more times to secure.
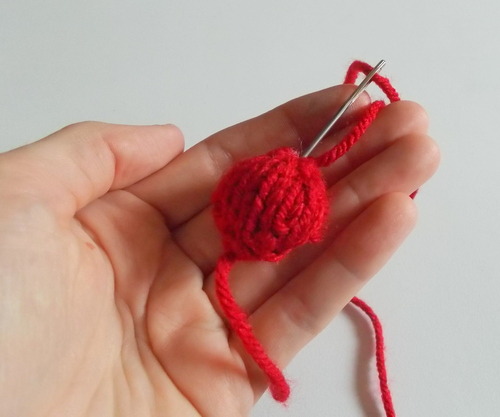
Make a second cherry in the same fashion as the first.
Align the cherries side by side, with one cherry slightly higher than the other. Using a scrap of red yarn, attach the two cherries with a few stitches. Weave in the ends.
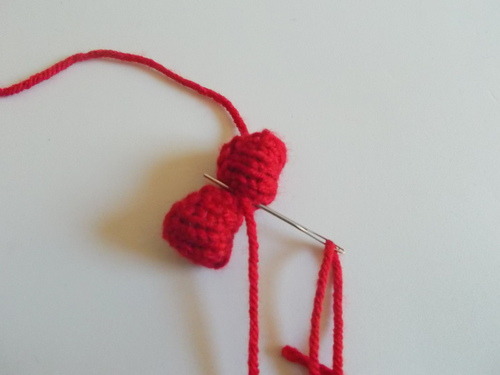
Leaf
Using Green yarn, cast on 4 stitches onto 1 dpn.
Slide the stitches to the other end of the needle, and knit the next 2 rounds as for i-cord.
Rnd 1: Knit 1 round i-cord.
Rnd 2: (kf&b) 4 times (8 st)
Distribute the stitches onto 2 needles and join to knit in the round.
Rnd 3: Knit 1 round.
Rnd 4: kf&b, k2, (kf&b) twice, k2, kf&b (12 st)
Rnd 5-8: Knit 4 rounds.
Rnd 9: ssk, k2, k2tog, ssk, k2, k2tog (8 st)
-Stuff the leaf. Cut the yarn, leaving a few inches of tail. Thread the tail into a tapestry needle and draw through all stitches on the needles, pulling tightly to close.
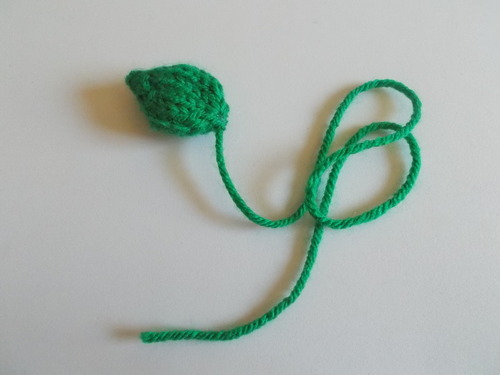
Do not weave in the tail yet – we’ll use it to attach the stems to the leaf.
Stem
Using Green yarn and leaving a tail for seaming, cast on 2 stitches onto 1 dpn.
Rnd 1-20: Knit 20 rounds of i-cord.
Cut the yarn, leaving a few inches of tail. Thread the tail into a tapestry needle and draw through the two stitches on the needle, pulling tightly to finish the i-cord.
-Leaving the tail on the tapestry needle, insert the needle into the center top of one of the cherries, pulling tightly to connect the stem to the cherry. Some of the i-cord may enter the top of the cherry. That’s fine – just don’t pull too much of it in. Weave in the end to secure the stem.
-Thread the tail from the other end of the i-cord into the tapestry needle, and insert into the top center of the second cherry, again pulling tightly to connect. Weave in the end to secure.
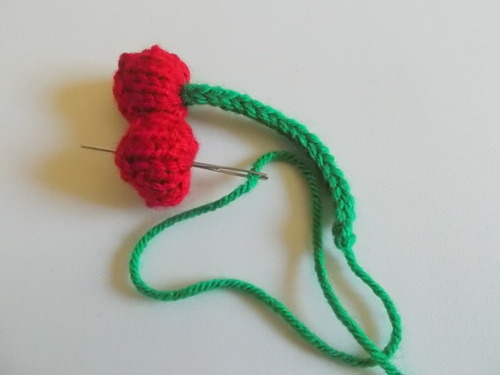
Attaching the stem to the leaf:
-Fold the stem in half – pinch together a few centimeters of the two halves of the stem near the fold.
-Line up the pinch of the stem near the last round of the leaf on whatever you would like to be the backside.
-Using the tail leftover from closing the leaf, attach the stem pinch to the back of the leaf with a few stitches.
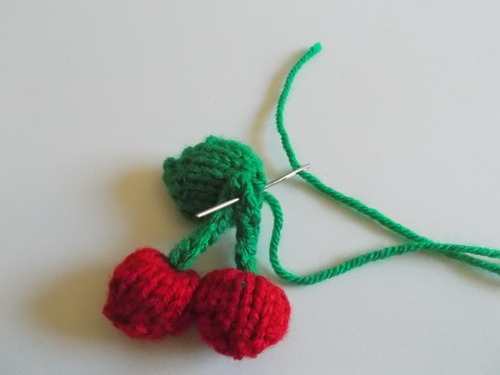
Weave in the ends.
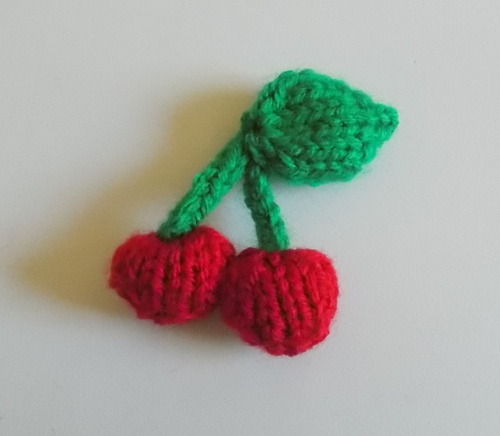
You can adjust the look of the cherries by changing which cherry is higher, seaming them exactly side by side instead of staggered, changing the pinch point of the stem to slightly off center, or changing the angle or direction of the leaf.