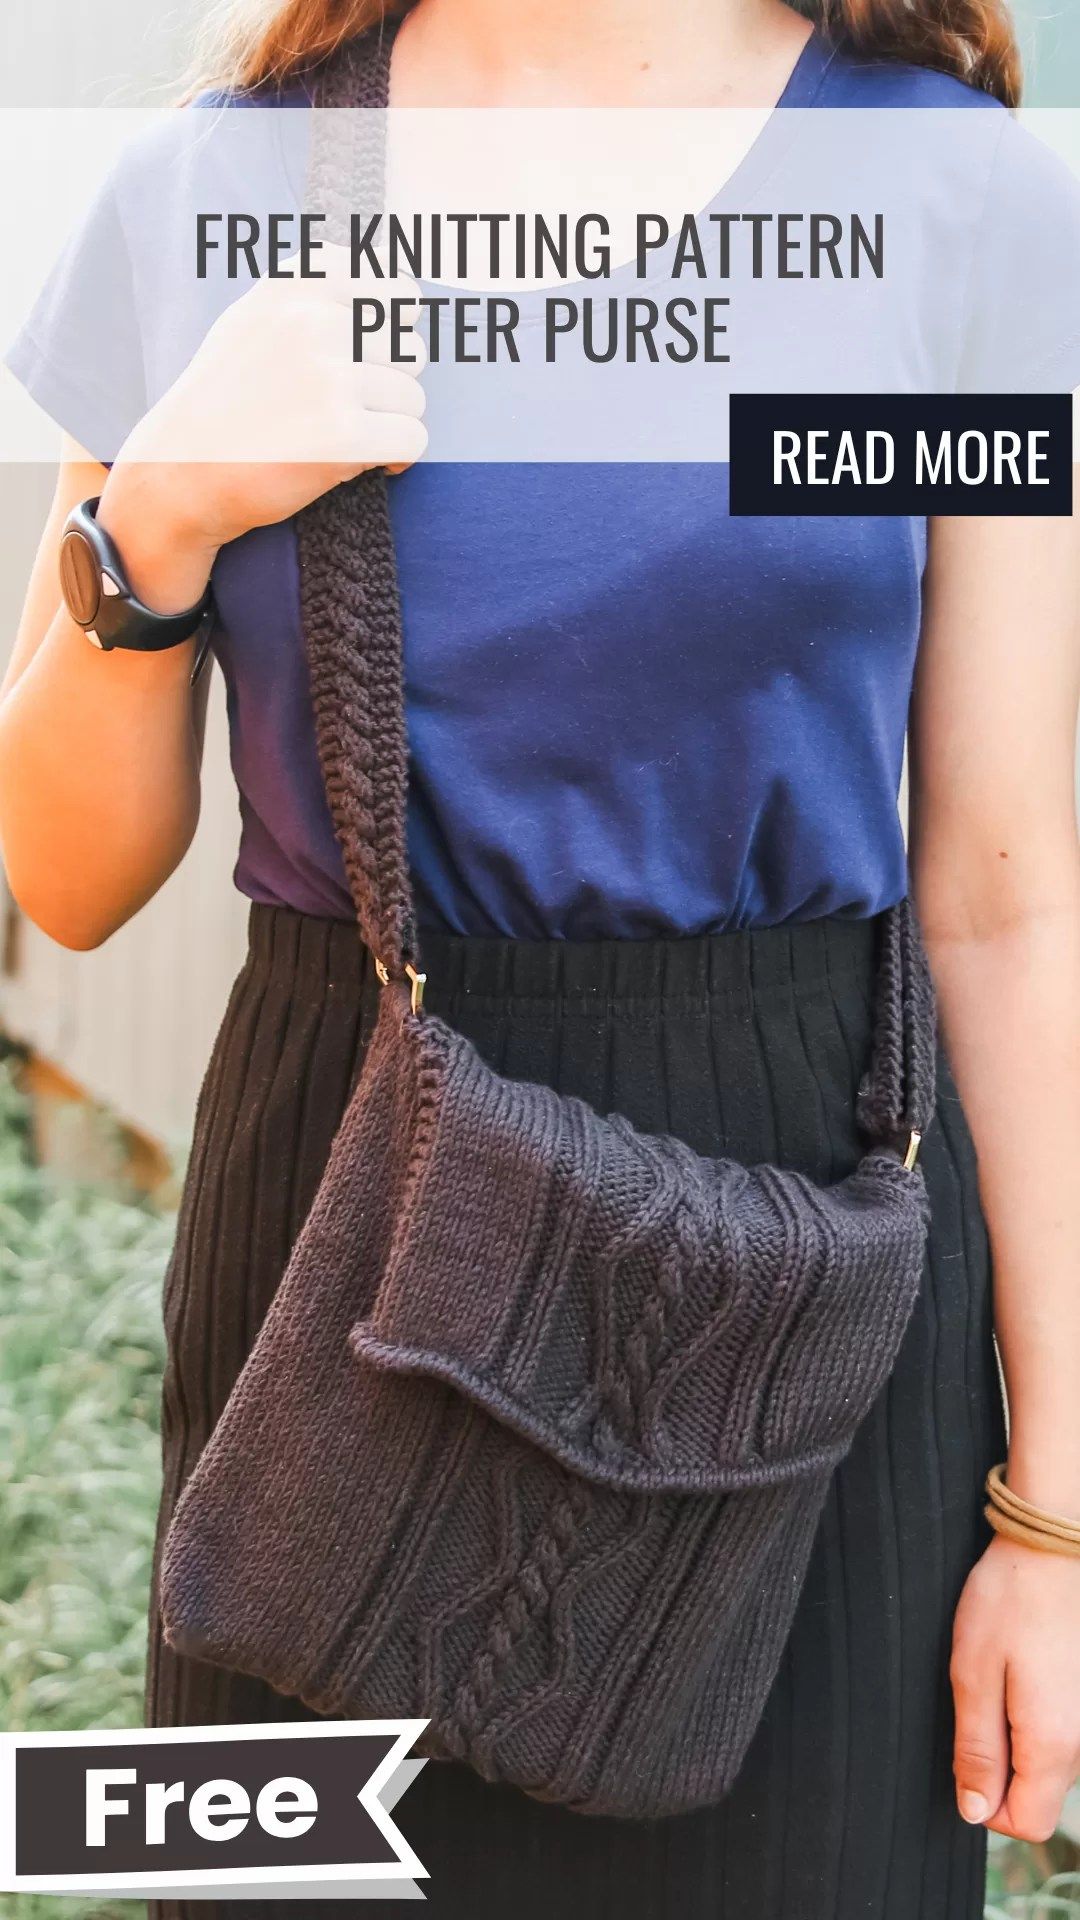
Knitted Adorable Purse
Looking for the perfect accessory to add a touch of charm to your outfit? Look no further than the knitted adorable purse! This delightful creation combines style and functionality in the most delightful way possible. The intricate knitting gives it a unique and cozy appeal that is sure to turn heads wherever you go. Whether you're heading out for a casual day with friends or a special event, this purse is the perfect companion to carry your essentials in style. With its adorable design and practical size, it's a must-have for anyone looking to add a bit of whimsy to their wardrobe. You'll love the way this knitted purse effortlessly elevates any outfit while keeping your belongings secure.
MATERIALS AND INFO
- Materials: 2 skeins of Lion Brand Coboo 100g/232yds , yarn needle, cable needles, stitch markers, magnet closures, Buckles for the strap
- Optional materials: fat quarter of a matching fabric, thread, needle (or you can use a sewing machine if you have one!), 1.5in canvas strapping
- Needle Size: 6(US) 4mm needles
Gauge (tension): 24sts x 36rows to make 4in/10cm square
Finished Measurement: 9x9x1.5in or 23x23x4cms
METHOD
This pattern is worked in 1 piece, working flat. It is sewn together at the end to form the shape. The strap has a fun and easy cable that matches the center of the full cable pattern for less stretch you can sew on some canvas strapping on the back of the strap but that is optional (though highly recommended!) and uses buckles to make it adjustable length. I like to add a fabric lining to keep the bag itself from stretching but that is not required.
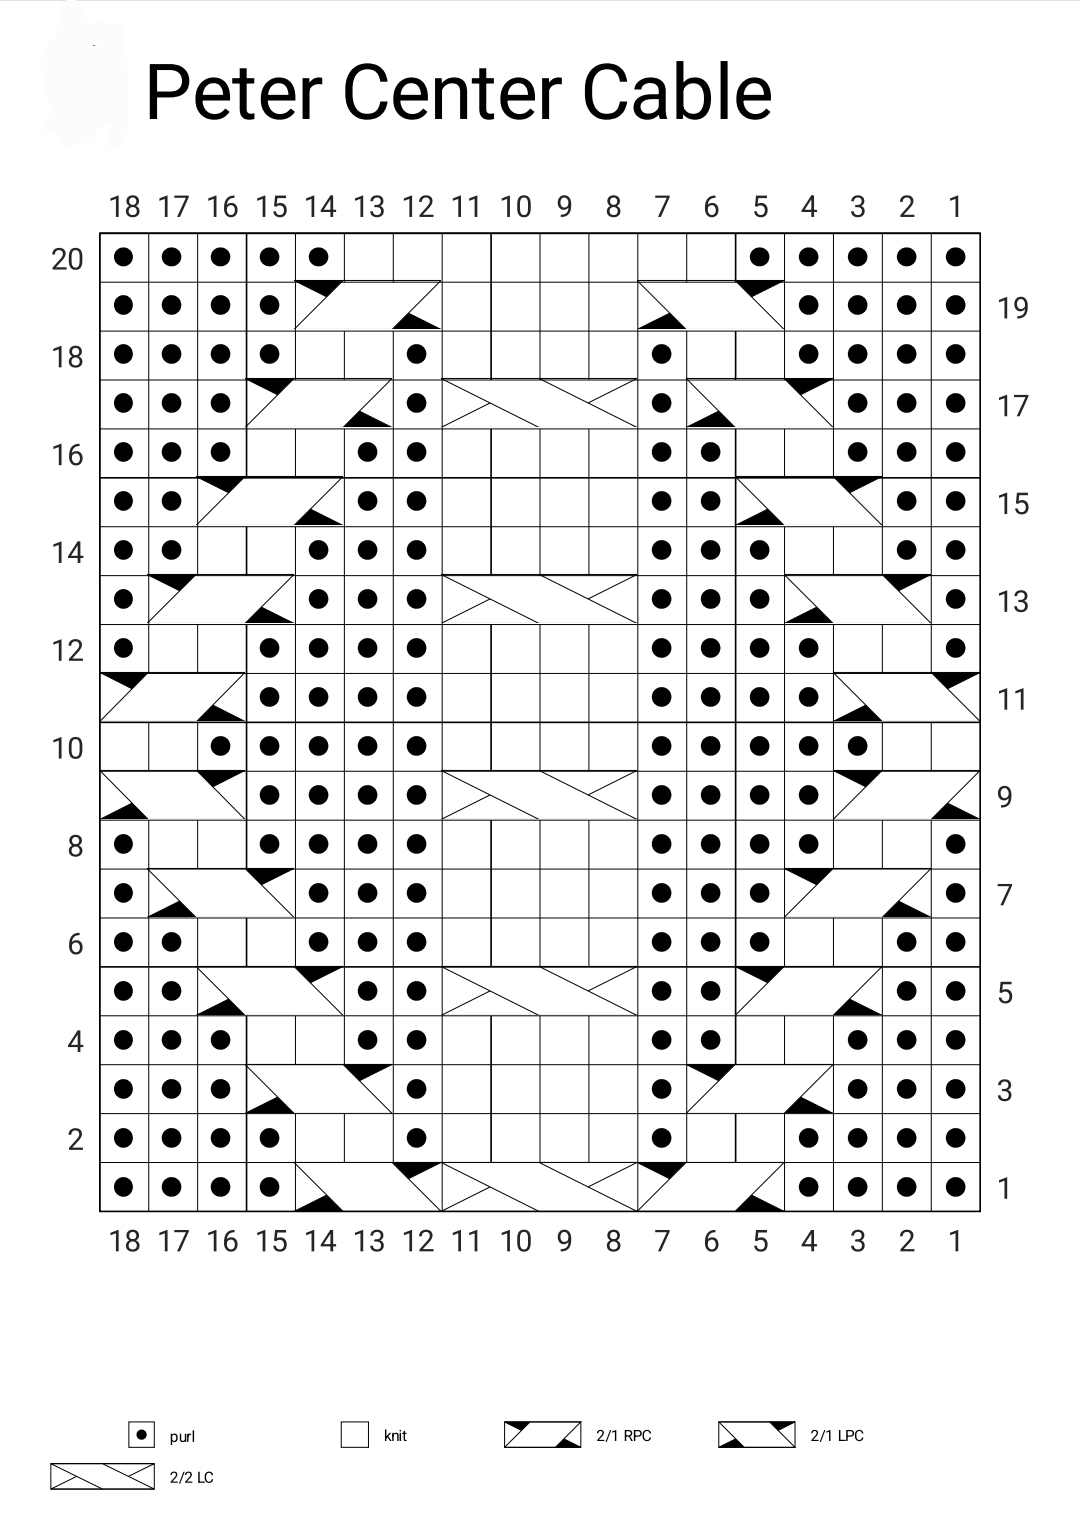
PETER CENTER CABLE STITCH PATTERN:
Row 1 (right side) – p4, 2/1RPC, 2/2LC, 2/1LPC, p4
Row 2 – k4, p2, k1, p4, k1, p2, k4
Row 3 – p3, 2/1RPC, p1, k4, p1, 2/1LPC, p3
Row 4 – k3, p2, k2, p4, k2, p2, k3
Row 5 – p2, 2/1RPC, p2, 2/2LC, p2, 2/1LPC, p2
Row 6 – k2, p2, k3, p4, k3, p2, k2
Row 7 – p1, 2/1RPC, p3, k4, p3, 2/1LPC, p1
Row 8 – k1, p2, k4, p4, k4, p2, k1
Row 9 – 2/1RPC, p4, 2/2LC, p4, 2/1LPC
Row 10 – p2, k5, p4, k5, p2
Row 11 – 2/1LPC, p4, k4, p4, 2/1RPC
Row 12 – k1, p2, k4, p4, k4, p2, k1
Row 13 – p1, 2/1LPC, p3, 2/2LC, p3, 2/1RPC, p1
Row 14 – k2, p2, k3, p4, k3, p2, k2
Row 15 – p2, 2/1LPC, p2, k4, p2, 2/1RPC, p2
Row 16 – k3, p2, k2, p4, k2, p2, k3
Row 17 – p3, 2/1LPC, p1, 2/2LC, p1, 2/1RPC, p3
Row 18 – k4, p2, k1, p4, k1, p2, k4
Row 19 – p4, 2/1LPC, k4, 2/1RPC, p4
Row 20 – k5, p8, k5
MAIN BODY OF BAG
Cast on 70sts
Work in Stockinette for 5 rows
Next Row: In this row you will add your buckles for you strap. Take the first 9sts and the last 9sts and place them on yarn needle (1yarn needle for each). Slide the buckle over these 9sts. Put theses 9 sts on either end back on your knitting needle. Fold the cast on edge so wrong sides are together, lining up the cast on edge with the current working sts. *Pick up the cast on stitch directly above the current stitch, k2tog, rep from * to the end of the row, the stitch count will not change.
Purl 1 row
Set-up Row 1: k22, p2, k2, p2, pm (Peter Center Cable marker) p5, (m1, k1) 4 times, p5, pm, p2, k2, p2, k22 (74sts)
Set-up Row 2: p22, k2, p2, k7, p8, k7, p2, k2, p22
Work in pattern, working Peter Center Cable between markers, until piece measures 10ins/25 cm measuring from cast on.
At the beginning of the next 2 rows bind off 9sts. (56sts)
You will now work as follows:
Right side row: k13, p2, k2, p2, sm work in Peter Center Cable, sm, p2, k2, p2, k13
Wrong side row: p13, k2, p2, k2, sm work in Peter Center Cable, sm, k2, p2, k2, p13
Work in pattern, working Peter Center Cable between markers, until piece measures 19.5ins/49 cm measuring from cast on.
FLAP
You will now work as follows:
Right side row: k13, p2, k2, p2, sm work in Peter Center Cable, sm, p2, k2, p2, k13
Wrong side row: k3, p10, k2, p2, k2, sm work in Peter Center Cable, sm, k2, p2, k2, p10, k3
Work in pattern, working Peter Center Cable between markers, until piece measures 24.5ins/61cm measuring from cast on.
HEM
Knit for 5 rounds
Fold over hem and sew it down.
STRAP
Cast on 8sts leaving a long enough tail to sew the strap to the buckle.
Row 1 – knit across
Row 2 – k2, p4, k2
Row 3 – k2, 2/2LC, k2
Row 4 – k2, p4, k2
Work rows 1-4 for a total of 50ins/135cms from cast on edge.
Bind off leaving a long enough tail to sew the strap to the sliding buckle.
With right side facing out, sew your strap onto buckle on the left side. Now thread the sliding buckle onto the strap, then thread the strap through the right side buckle so the wrong sides are together. Then sew the end of the strap to the underside of the middle of the sliding buckle. This sliding buckle will allow you to adjust the height of the purse for your preferred length.
FINISHING
Sew the sides closed using the “wings” created when the 9 edge stitches on each side were bound off. If you will not be adding a cloth linking than you will add your magnetic closure now.
OPTIONAL LINING
Fold the fat quarter in half, place your bag down and draw about 1/4in/.5cm bigger than the bag (this gives you a seam allowance). Cut the fabric out. With right sides together sew the side and bottom edges of the fabric. (it doesn’t need to be perfect since it will be inside the bag.) You can use a sewing machine here if you have one. Leave the top open.
Place your cloth bag inside your knit bag. I highly suggest tacking the cloth bag down in a few spots along the seam.
I like to add my magnetic closure once I have sewn in the cloth bag to make it more sturdy.
I also like to sew some canvas strapping to the back of the strap because with any weight in the purse the strap will stretch. The strapping prevents that stretching, keeping your strap at the original length even after lots of use.
Weave in all ends. Load with all of your necessities and enjoy!
ABBREVIATIONS
- k – knit
- P – purl
- pm – place marker
- sm – slip marker
- st – stitch
- 2/1LPC – slip the next 2sts onto cable needle and hold at front of work, p1 from left needle, then k2 from cable needle
- 2/1RPC – slip, the next st onto cable needle and hold at back of work, k2 from left needle, them p1 from cable needle
- 2/2LC – slip the next 2 sts onto cable needle and hold at front of work, k2 from left needle, k2 from cable needle