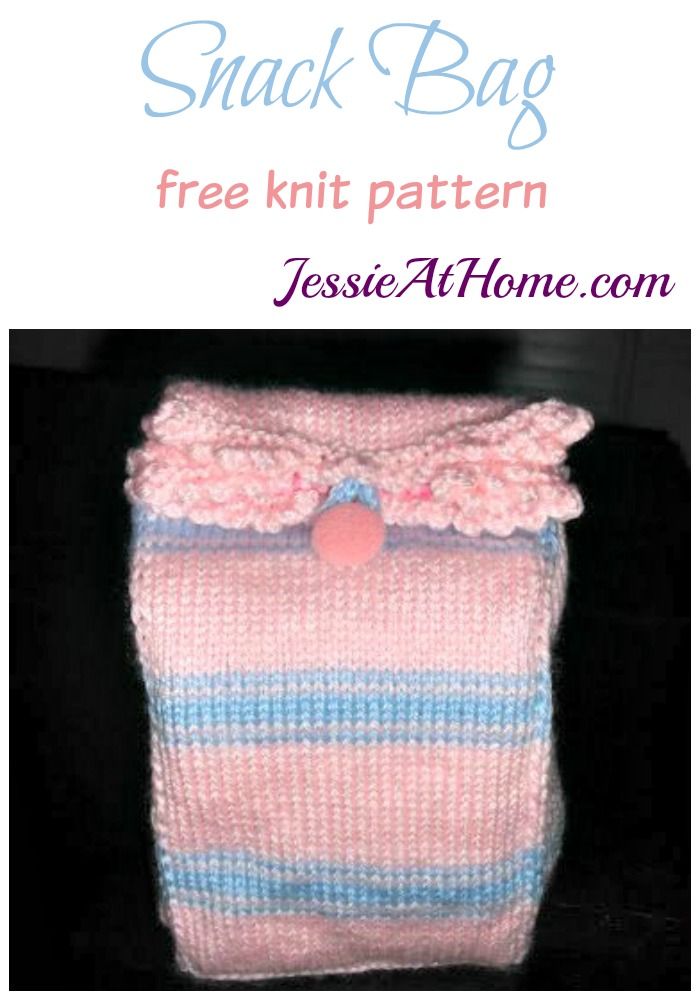
Knitted Snack Bag for School
A knitted snack bag for school is not only a cute accessory but a practical way to carry your favorite treats with you throughout the day. Imagine strolling down the school hallway with your handmade snack bag, filled with delicious snacks to keep you energized during classes. Not only does it add a personal touch to your daily routine, but it also helps reduce waste from single-use plastic bags. Plus, the cozy knit material adds a touch of warmth and comfort to your busy school day. It's a fun and eco-friendly way to bring a little piece of home with you wherever you go!
Yellow and green stripes made by using green in following rnds:
44, 48, 51, 53~54, 56~58, 60~80
Sizes: 4.5″ x 3″ x 9″
Yarn: DK weight, sample in photos is made with Bernat Softee Baby
Needle: Set of 5 size 5 double pointed needles
Gauge: 6 stitches per inch
Other Notions: Yarn needle for weaving in ends
Stitches and Skills used:
- CO ~ cast on
- WS ~ wrong side
- S ~ slip
- K ~ knit
- P ~ purl
- DP ~ double point
- PFB ~ purl front and back
- ST(S) ~ stitch(es)
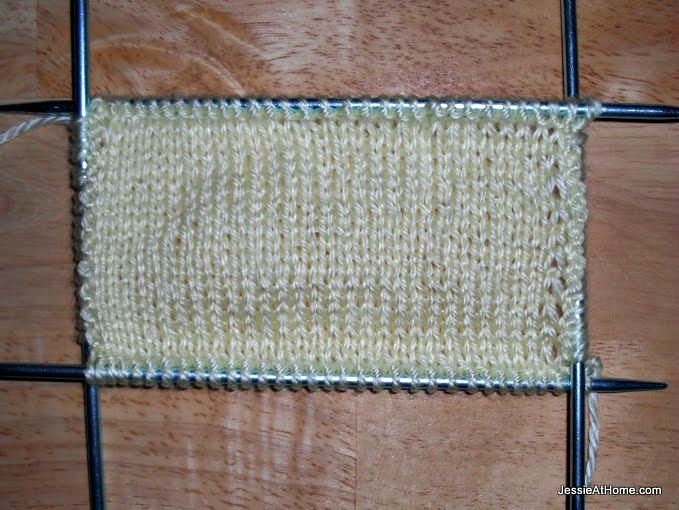
Snack Bag Bottom
CO 30 onto one needle, work in bottom in rows
Variation: use a provisional cast on to make picking up these stitches latter a little easier
Row 1~19 odd: (WS) s1 purl wise, p to end
Row 2~20 even: s1 knit wise, k to end do not bind off, continue with bag sides
Bottom with provisional cast on
Snack Bag Sides
Rnd 1: with one dp needle, pick up 19 sts along (short) side of bottom, p into each st; with next dp needle, pick up 30 sts along next (long) side of bottom, pfb in first st, p28, pfb in last st; with next dp needle, pick up 19 sts along (short) side of bottom, p into each st; with last dp needle, working in 30 live sts from last row of bottom, pfb in first st, p28, pfb in last st
After rnd 1 of sides
Rnd 2~8 even: k19, (next needle), s1purl wise, k30, s1 purl wise, (next needle), k19, (next needle), s1 purl wise, k30, s1 purl wise
Rnd 3~9 odd: k all
Rnd 10~74 even: k9, p1, k9, (next needle), s1purl wise, k30, s1 purl wise, (next needle), k9, p1, k9, (next needle), s1 purl wise, k30, s1 purl wise
Rnd 11~73 odd: k9, p1, k9, (next needle), k32, (next needle), k9, p1, k9, (next needle), k32
Rnd 75: p all
Picot Bind Off: k1, *k1, slip last st back onto left needle, co2, bind off 4 (1 st on right needle), rep from * around bag top. Clip thread, end work and weave in ends.
Button Loop
CO3: work I~Cord long enough to make a loop for your button of choice
Variation: co 20 or so (depending on the size of your button), then bind off all sts
Variation: crochet a ch st chain long enough for button loop
Snack Bag Lining
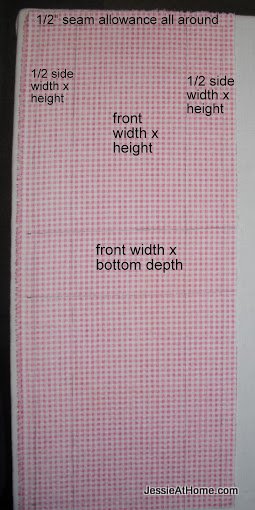
This bag can be used without a lining, but it may stretch out with use. I choose to make a fabric lining for my bag to help avoid the stretching. Here is a quick tutorial on how I made my lining.
First I drew it out on the inside of my fabric. Make a rectangle that is as wide as the one front plus one side of your bag, and as long as twice the height of your bag plus the depth of your bag. Add a half inch seam allowance around the rectangle. Draw in stitching lines as in the following picture:
Fold in half along center of bottom (right sides together) and sew side seams.
Smush the bottom corner into a triangle and stitch the bottom of the side to the side of the bottom (the pictures should help)
Clip the triangle bit off, leaving a ½” seam allowance.
Press the four side edges and top stitch very close to edge to make the bag hold its shape.
Fold the top over ½” and slip lining into bag. Whip stitch lining into bag just below trim line.
Sew on button and button loop and enjoy!