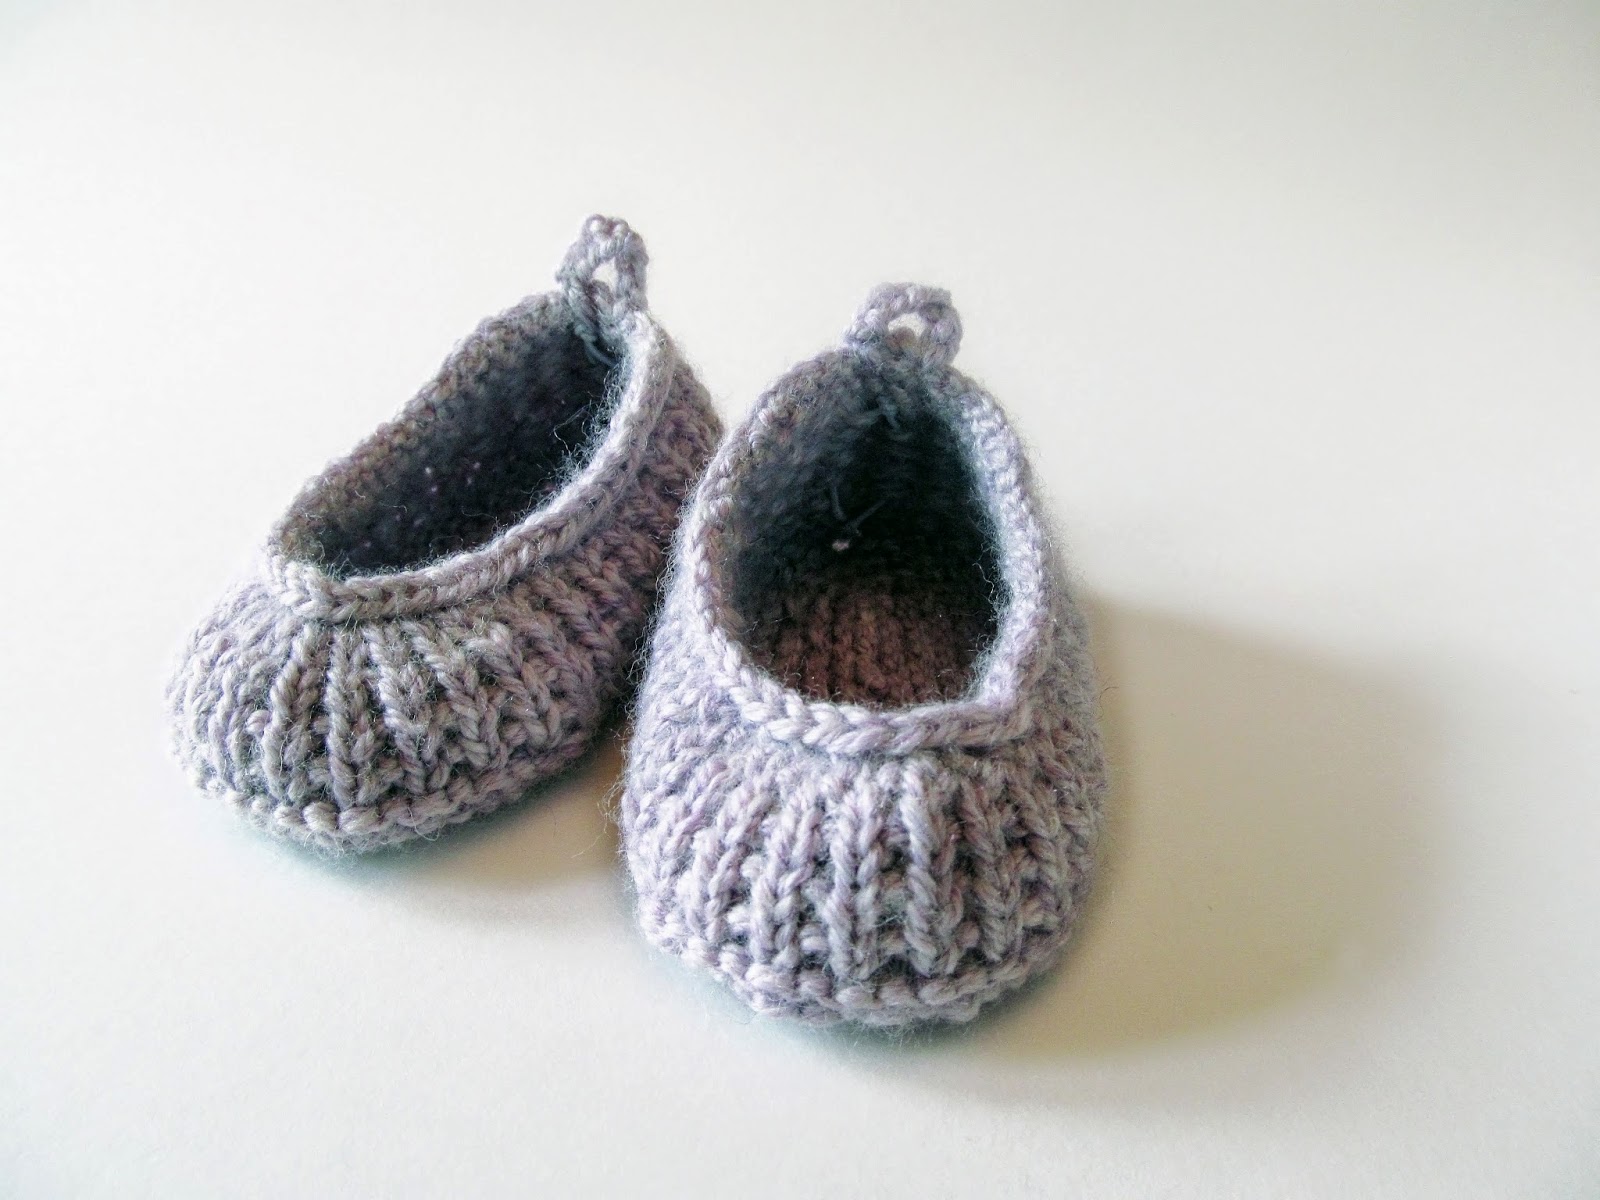
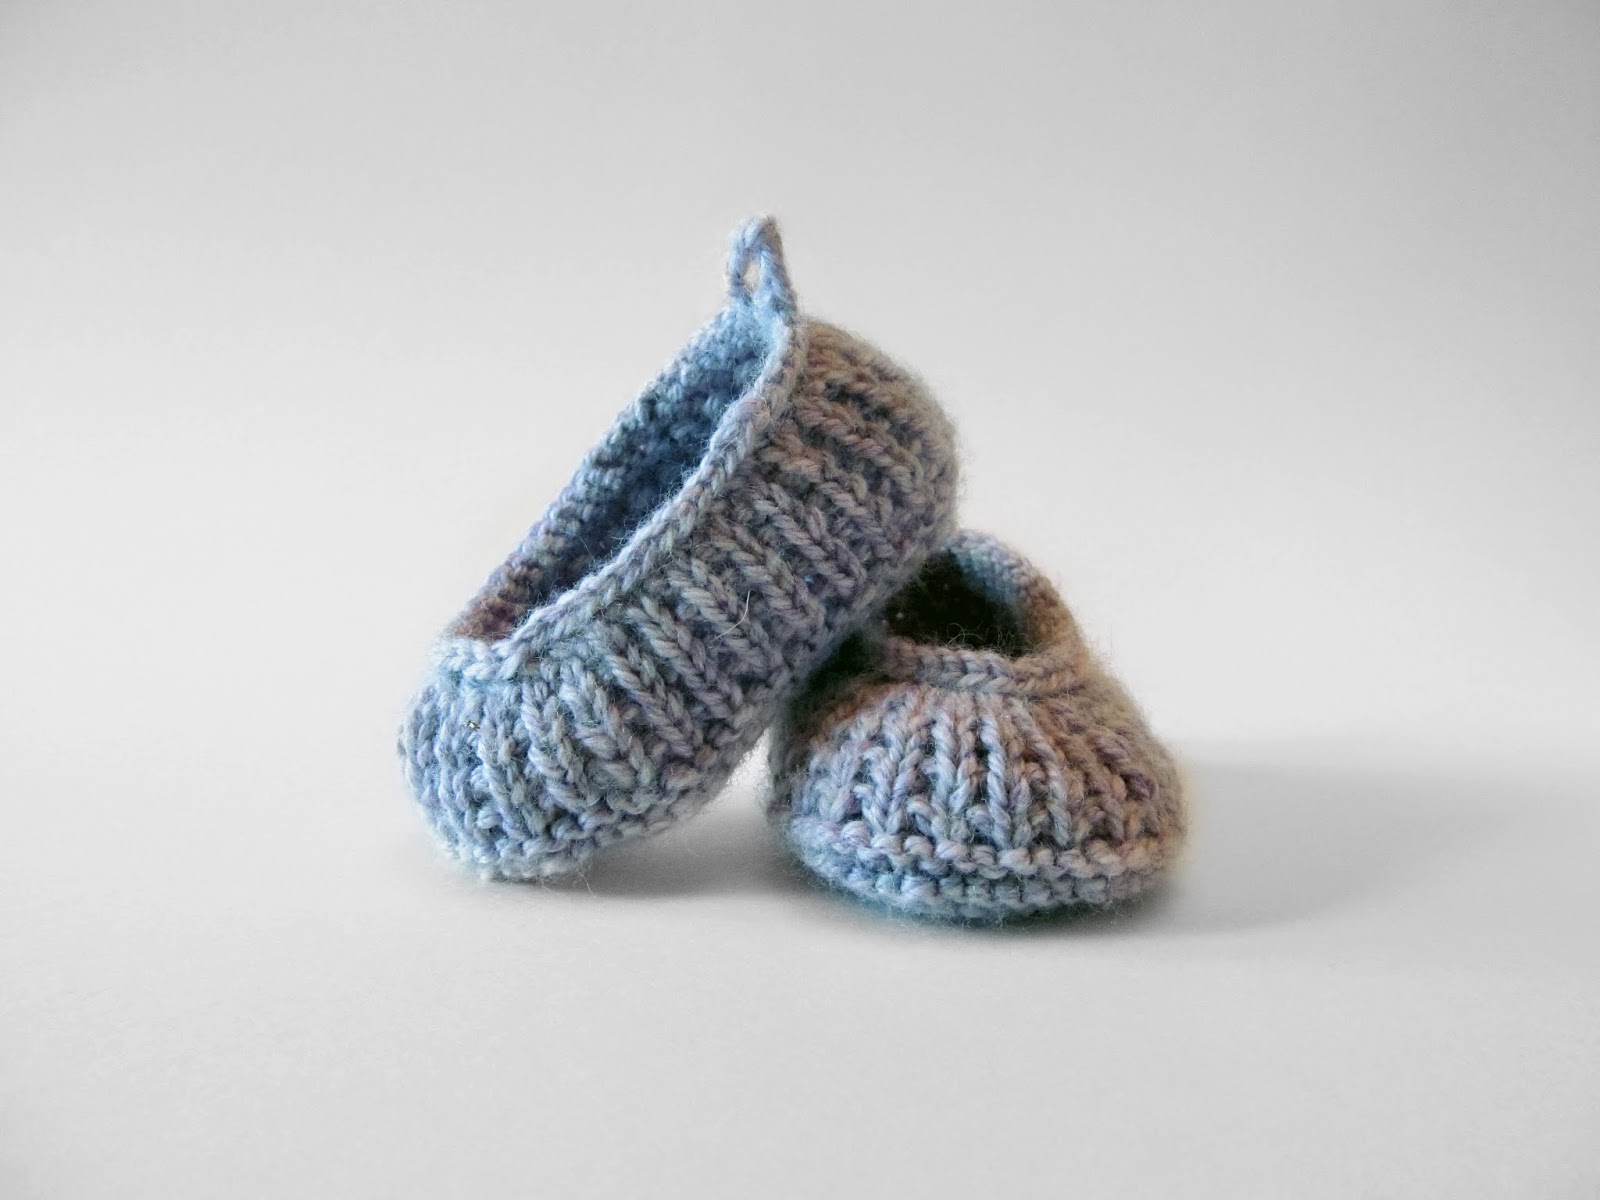
Knitted Baby Ballet Flats
These knitted baby ballet flats are just the sweetest addition to any little one's wardrobe! Each pair is lovingly crafted with soft yarn, making them cozy and comfy for your baby's delicate feet. Not only are they adorable, but they also add a touch of charm to any outfit. Whether it's for a special occasion or just a casual day out, these ballet flats are sure to make your little one look absolutely precious. Get ready to receive compliments wherever you go with these cute and stylish knitted baby ballet flats - they're the perfect finishing touch for any baby ensemble!

You will need:
- Dk weight yarn
- US #2 (3mm) dpns
- Beading cord elastic (two 10’’ pieces) - This stuff
- large yarn needle
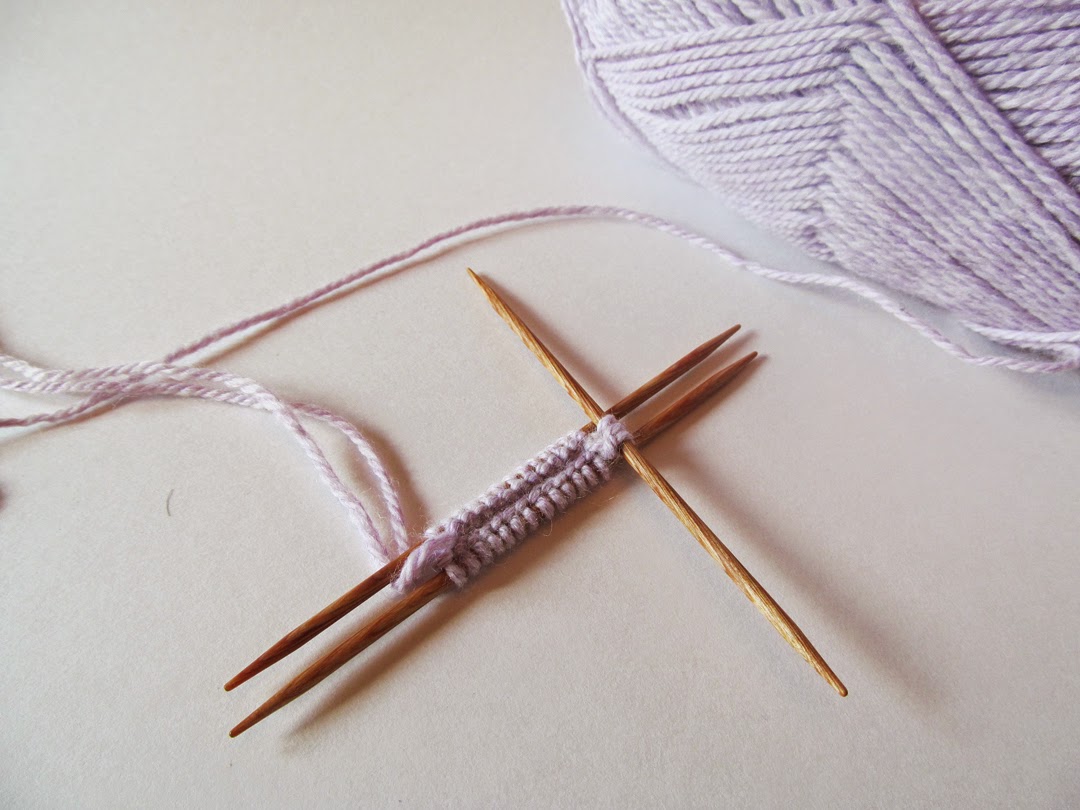
Cast on 25 (29, 33, 37) sts with your preferred seamless cast on
Join in the round and distribute sts across either three or four dpns, depending on preference.

I prefer to place my stitches across three dpns, and use the “breaks” between needles in place of stitch markers, but you can distribute them whichever way is most comfortable for you.
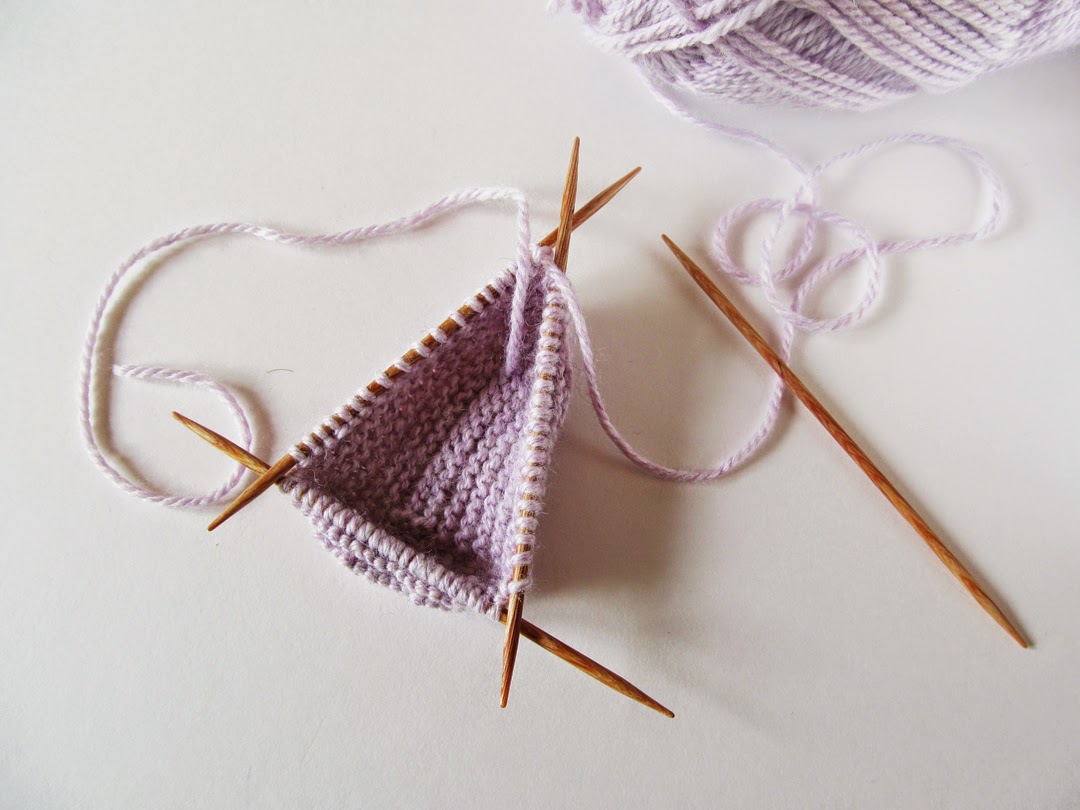
The sole is worked in garter stitch starting with a “wrong side” round:
Round 1 and all odd rounds: Purl
Round 2: [k1, m1] twice, k10 (12, 14, 16), m1, k1, m1, k10 (12, 14, 16), [m1, k1]twice
Round 4: [k1, m1] twice, k12 (14, 16, 18), [m1, k1] three times, m1, k12 (14, 16, 18), [m1, k1]twice
Round 6: [k1, m1] twice, k14 (16, 18, 20), [m1, k1] twice , m1, k3, [m1, k1] twice, m1, k14 (16, 18, 20), [m1, k1]twice
Round 8: k1, m1, k17 (19, 21, 23), [m1, k2] twice, m1, k5, m1, [k2, m1] twice, k17 (19, 21, 23), m1, k1
You should have a total of 57 (61, 65, 69) stitches at this point.
Knit 4 (4, 6, 6) more rounds of garter stitch, ending with a knit round

Now for the top of the bootie, which is knit in 1x1 garter rib:
Round 1: k1, p1
Round 2: k
Repeat these two rounds for a total of 8 (8, 10, 10) rounds, ending with a k round.
Knit one more round of k1,p1
Next work decreases to shape the toe:
k20 (20, 22, 22), ssk 4 (5, 5, 6) times, k1, k2tog 4 (5, 5, 6) times, k20 (20, 22, 22)
Now we need to make a short row across the back of the heel:
[k1,p1] across 9 sts, w&t, p9, [p1, k1] across 9 sts, w&t, k9
You should end up back at the beginning of the round.
The next round will be the bind off round, but before we do that we need to put in the elastic. This step is totally optional, but it will make a big difference in helping the booties stay on. Cut a piece of elastic 10 inches long, and thread it onto a large yarn needle. Starting at the beginning of the round at the back of the heel, thread the elastic through the stitches without taking them off the needles. (This is the same way you’d put in a lifeline, only using elastic instead of waste yarn.) If you find that it gets a bit tight, you can slip your stitches onto smaller dpns to make it easier. Be careful not to pull the other end of you elastic too far through!
Bind off using a stretchy bind off. I prefer the k2tog tbl bind off. (K2 tog, slip resulting stitch back to the left needle, k2tog tbl, and repeat.) Tie an overhand knot in the elastic at the back of the heel, and trim the tails to around an inch long. The elastic should be completely hidden under the cast off, resulting in a magically super-stretchy edge.
You want the elastic to be snug enough to help the bootie stay on, but not so snug that it distorts the shape. Tuck the tails into the purl bumps on the inside of the bootie. Sew in your ends, and you’re done!
