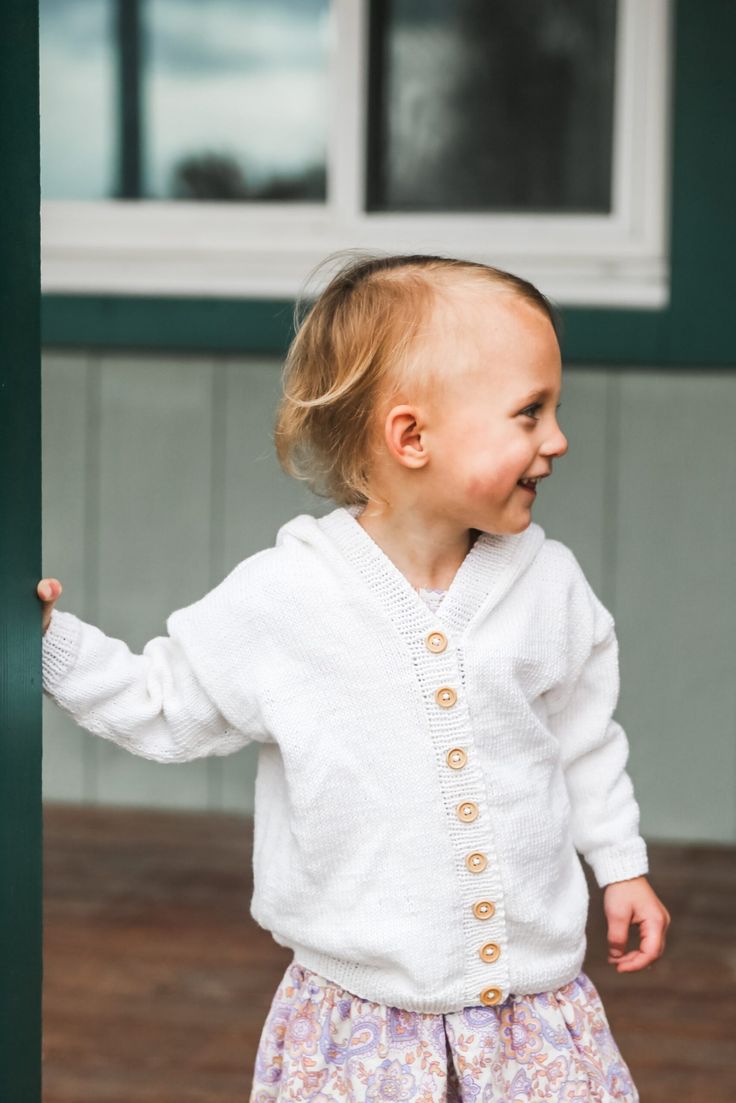
Knitted Hooded Baby Cardigan
The knitted hooded baby cardigan is not only adorable but also perfectly cozy for your little one. The soft knit fabric will keep your baby warm and comfortable, while the hood adds a touch of cuteness to their outfit. Whether you're planning a day out or just snuggling at home, this cardigan is a must-have for any baby's wardrobe. It's versatile, easy to pair with different onesies or pants, making dressing up your little one a breeze. Get ready for some extra "awws" when your baby rocks this sweet and stylish cardigan!
Materials and Info
Size: 0-3m, 3-6m (6-12m, 12m) 18m, 24m
Materials: Approximately 2, 2 (3, 3) 4, 4 balls of Premier Cotton Fair 317yd/290m 3.5oz/100g, 8 3/8in buttons, yarn needle, stitch markers
Needle Size: 2(US) 3mm & 4(US) 3.5mm straight and dpn
Gauge (tension): 28sts & 36 rows to make 10cm square in stockinette, using size 4(US) 3.75mm needles
Chest Measurement: 41, 44 (47, 50) 52, 54 cm
METHOD
This pattern is for a drop sleeve style that is worked flat from the bottom up with 10cm of ease in stockinette stitch (knit right side row, purl wrong side row).
Baby John Hooded Cardigan Pattern
BACK
Cast on 74, 78 (82, 86) 88, 92 sts using the smaller circular needles
Work 2, 2 (2, 2.5) 2.5, 2.5 cms of (k1, p1) rib.
Switch to larger size circular needles.
Work in stockinette until your work measures 14, 15.5 (17.5, 19.5) 21, 22.5 cm measured from the cast-on edge. Place markers on each end of the row to mark armhole.
Continue working until work measures 23, 25 (28, 31) 33, 35 cms from cast on edge ending after completing a wrong side row.
SHOULDERS
Bind off 22, 23 (24, 25) 26, 27 place next 30, 32 (34, 36) 36, 38 sts on stitch holder, bind off 22, 23 (24, 25) 26, 27 .
LEFT FRONT
Cast on 35, 37 (39, 41) 42, 44 sts using smaller needle
Work 2, 2 (2, 2.5) 2.5, 2.5 cms of (k1, p1) rib.
Switch to larger size circular needles.
Work in stockinette stitch until your work measures 14, 15.5 (17.5, 19.5) 21, 22.5 cm measured from the cast-on edge. Place marker on sleeve end of the row to mark armhole.
Continue working until work measures 23, 25 (28, 31) 33, 35 cms from cast on edge, ending after completing a wrong side row
SHOULDERS
Bind off 22, 23 (24, 25) 26, 27 sts, place remaining 13, 14 (15, 16) 16, 17 sts on a stitch holder.
RIGHT FRONT
Cast on 35, 37 (39, 41) 42, 44 sts using smaller needle
Work 2, 2 (2, 2.5) 2.5, 2.5 cms of (k1, p1) rib.
Switch to larger size circular needles.
Work in stockinette stitch until your work measures 14, 15.5 (17.5, 19.5) 21, 22.5 cm measured from the cast-on edge. Place marker on sleeve end of the row to mark armhole.
Continue working until work measures 23, 25 (28, 31) 33, 35 cms from cast on edge, ending after completing a wrong side row
SHOULDERS
Place 13, 14 (15, 16) 16, 17 sts on stitch holder, bind off 22, 23 (24, 25) 26, 27 sts.
SLEEVES (MAKE 2)
Cast on now 36, 38 (38, 40) 42, 44 sts on smaller circular/straight needles.
Work 2, 2 (2, 2.5) 2.5, 2.5 cms of (k1, p1) rib.
Switch to larger size circular needles
Work in tockinette for 4 rows.
Next row: inc 1 sts on each end every other row 6, 7 (8, 7) 7, 7 times, then every 4th row 2, 3 (4, 6) 7, 8 times. 54, 58 (62, 66) 70, 74 sts]
Continue working in lace pattern until work measures 11.5, 13.5 (15.5, 17.5) 19, 20.5 cms from cast on edge. Bind of all stitches.
HOOD
Join both shoulder seams, using yarn on a tapestry/yarn needle.
Place all neck stitches on larger needles 13, 14 (15, 16) 16, 17 left front, 30, 32 (34, 36) 36, 38 back, 13, 14 (15, 16) 16, 17 right front, for a total of 56, 58 (64, 68) 68, 72 sts on your needles
With right side facing, increase 22, 26 (28, 30) 34, 32 sts evenly for an ending stitch count of 78, 84 (92, 98) 102, 104
Continue in stockinette stitch until your work measures 14, 15 (16, 17.5) 18, 18.5 ins from start of hood, ending after completing a wrong side row.
Decrease rows
Row 1 – k36, 39 (43, 46) 48, 49 ssk, k2, k2tog, k36, 39 (43, 46) 48, 49
Row 2 – work in stockinette stitch
Row 3 – k 35, 39 (43, 45) 47, 48 ssk, k2, k2tog, k35, 39 (43, 45) 47, 48
Row 4 – work in stockinette stitch
Continue in this manner until your work measures 17.5, 19 (20, 21) 22, 22.5 from start of hood, ending after completing a wrong side row.
Do not bind off. Divide hood stitches equally onto 2 needles and kitchener stitch the hood closed.
FRONT RIB EDGES
Using smaller needles, with right side facing, pick up and knit 2sts for every 3 rows from the bottom of left all the way around the hood and back down the right front.
Work these stitches in k1p1 ribbing for 4 rows.
Mark for buttons as follows, pm 3sts from the bottom, then place the remaining 7 markers every 2.5, 2.5 (3, 3) (3.5, 3.5) cms along the ribbed band.
Button hole row: work in k1p1 to first marker, yo, k2tog, [work in k1p1 to next marker, yo, k2tog] repeat [to] until all button holes are complete.
Work in k1p1 ribbing for 4 more rows.
Bind off in pattern.
FINISHING
Sew the sleeves on, side seams and sleeve seams. I prefer to use the mattress stitch because it almost appears seamless. Weave in all ends. Sew the buttons on along the left front edge across from the buttonholes
ABBREVIATIONS
- K – knit
- P – purl
- PM – place marker
- SM – slip marker
- K2tog -knit 2 stitches together
- YO – yarn over
- SSK – slip, slip, knit the slipped sts together.
- M1- Insert the left needle under the strand that runs between two stitches from back to front, then knit this strand
Kitchener Stitch:
Hold the two pieces of knitting parallel to one another with the wrong sides facing. Thread the working yarn with a yarn needle. *Insert the yarn needle knitwise into the first stitch on the front knitting needle. Draw through the stitch and slip the stitch off of the front needle. Insert the yarn needle purlwise into the next stitch on the front knitting needle. Draw through the stitch. Leave the stitch on the needle. Insert the yarn needle purlwise into the first stitch on the back knitting needle. Draw through the stitch and slip the stitch off of the back needle. Insert the yarn needle knitwise into the next stitch on the back knitting needle. Draw through the stitch. Leave the stitch on the needle. Repeat these steps beginning at the * until all of your stitches have been grafted together.