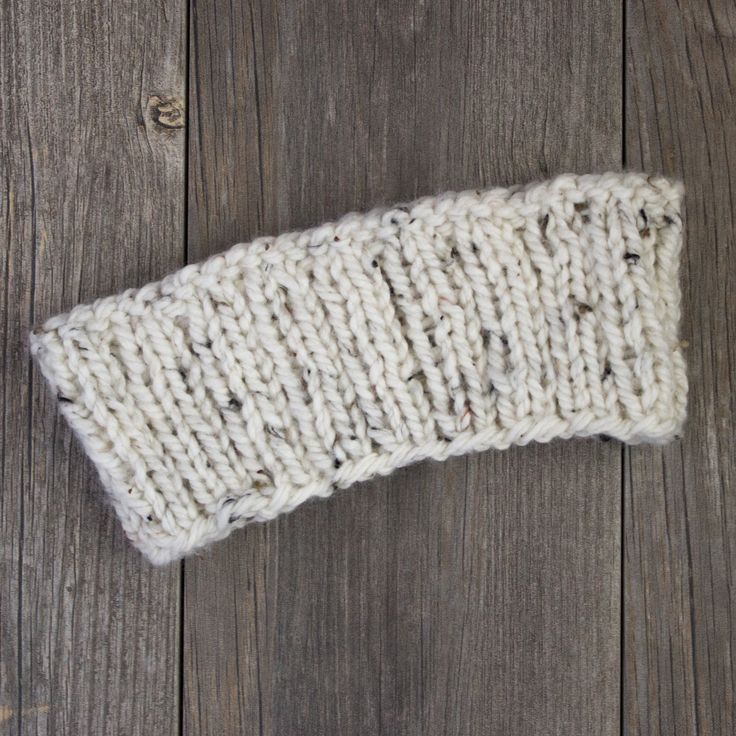
Super Simple Ribbed Headband
The Super Simple Ribbed Headband is a fantastic accessory that adds a touch of style and warmth to any outfit with ease. The ribbed design gives it a classic look while remaining trendy and comfortable. Whether you wear it for a casual outing or a workout session, this headband will keep your hair in place and your ears cozy. It's a fun and quick project to knit or crochet, perfect for beginners and experienced crafters alike. So grab your yarn and needles, and get ready to create a cute and practical accessory that will elevate your everyday look effortlessly!
This pattern is worked in the round. If using circular needles, you will want needles aat least the length of your headband circumference. To obtain a gauge of 13 stitches and 16 rounds per 4" (10 cm) in K2, P1 pattern, I used US size 9 (5.5 mm) needles.
For the double thick version, you will also need a set of needles two sizes smaller than what you used to get gauge (so, I used US size 7/4.5 mm). The amount of yarn that you need to knit this pattern is dependent on the size that you choose to knit -- 15, 18, 24 (27, 34, 40) yds / 14, 16, 22 (25, 31, 37) grams Bulky Weight Yarn for the single thick version and 38, 45, 59 (67, 79, 93) yds / 35, 41, 54 (61, 72, 85) grams Bulky Weight Yarn for the double thick version.
If you wish to modify the size of your dishcloth, you can easily do so.
Instructions - Single Thick Version:
To start, you will cast on 36, 42, 48 (54, 57, 60) stitches using a long-tail cast on method.
Place your stitch marker to indicate the beginning of the round. Join in the round, being careful to not twist the stitches.
You will now work your ribbing for the headband. This round is created by working (K2, P1) to the end of the round. Now, repeat that round for a total of 10, 10, 12 (12, 14, 16) rounds/ 2.5, 2.5, 3 (3, 3.5, 4) inches.
Bind off purlwise. Weave in ends, and block if desired. Enjoy!
Instructions - Double Thick Version:
To start, you will cast on 36, 42, 48 (54, 57, 60) stitches using a provisional cast on and the needle size you used to obtain gauge.
Place your stitch marker to indicate the beginning of the round. Join in the round, being careful to not twist the stitches.
You will now work your ribbing for the headband. This round is created by working (K2, P1) to the end of the round. Now, repeat that round for a total of 12, 12, 14 (14, 16, 18) rounds.
Switch to your smaller needle size. You will now continue to work your ribbing pattern for an additional 14, 14, 16 (16, 18, 20) rounds. The total number of rounds worked should now be 26, 26, 30 (30, 34, 38) rounds / 6, 6, 7 (7, 8, 9) inches.
Fold in half such that the right side faces out and bind off using the kitchener stitch and your provisional cast on. Weave in ends, and block if desired. Enjoy!