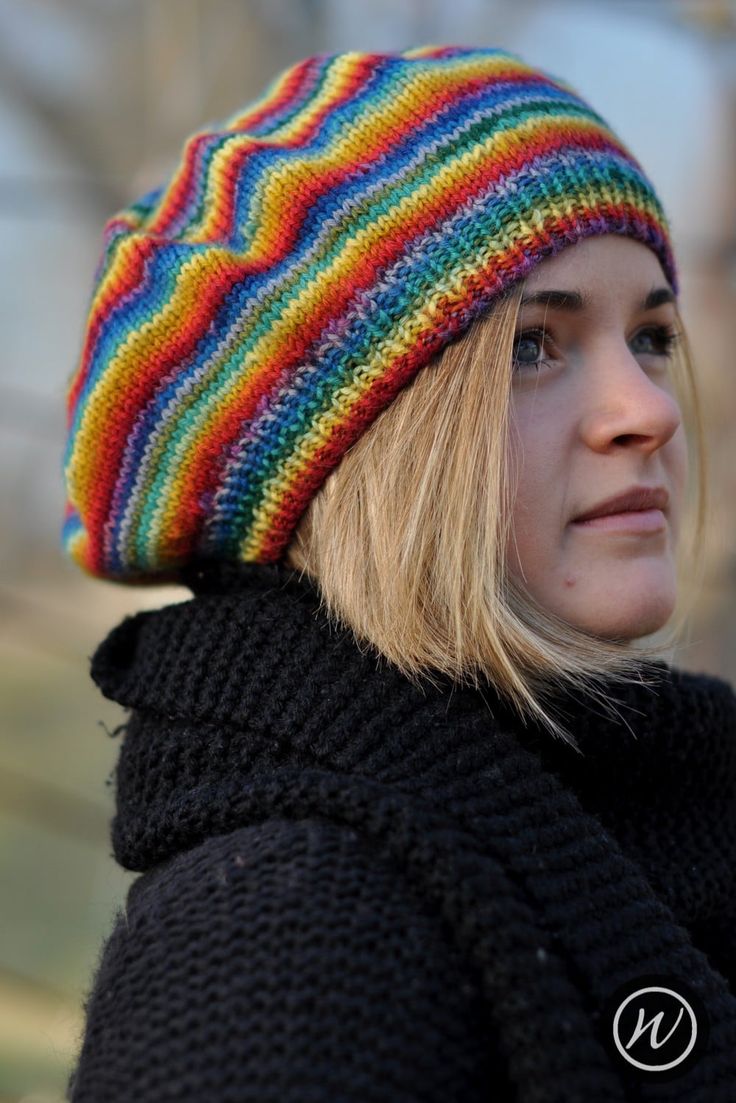
Knitted Rainbow Beret
Oh, the knitted rainbow beret is like wearing a splash of happiness on your head! Its vibrant colors bring a cheerful pop to any outfit. This accessory is not just a hat, it's a statement piece that radiates warmth and style. Picture yourself strolling down the street with this cozy beret, instantly turning heads and spreading joy with every step. It's a fun and playful way to add a touch of whimsy to your wardrobe. So, why not brighten up your day with a knitted rainbow beret and let your colorful personality shine through!
Yarn
44 [54, 66, 78, 94, 108] m/ 49 [59, 73, 86, 103, 118] yd
DK/Sports weight oddments
Needles & Notions
Set 3.25mm/UK10/US3 & 3.5mm/UK–/US4 DPNs/Circular or size needed to obtain gauge
Stitch marker as necessary
Tapestry needle
Sample Details
Shown in DK/sports weight oddments
(see the Rainbow Ball tutorial for yarn requirements)
Shown in size 23in/58.5cm on model with 22in/55.75cm head
Gauge
24 sts x 36 rows to 4in/10cm on 3.25mm needles over St.St
22 sts x 34 rows to 4in/10cm on 3.5mm needles over St.St
Sizes
To fit sizes: 15 [17, 19, 20, 21, 23] in/ 38 [43.25, 48.25, 51, 53.25, 58.5] cm
Finished size: 13.25 [14.75, 16, 17.25, 18.75, 20] in/ 33.75 [37.5, 40.75, 43.75, 47.5, 51] cm
Skills Required
Alternate Cable Cast-on
Knitting in the round
Increases and Decreases
I-cords
Draw-through Bind-off
Blocking a Hand Knit Hat
Abbreviations
K: knit
P: purl
rpt: repeat
R/rnd(s): rounds
st(s): stitch(es)
M1: pick up the horizontal loop before the next stitch, place it onto the left needle & knit into the front of it
k2tog: knit next 2 sts together
How To
Using 3.25mm needles and Alternate Cable-cast on method, cast on 80 [88, 96, 104, 112, 120] sts. Join in the round, being careful not to twist sts. Place stitch marker to indicate start of round.
Brim
Now work K1, P1 rib for 1 [1, 1.25, 1.25, 1.5, 1.5] in/2.5 [2.5, 3.25, 3.25, 3.75, 3.75] cm then work increase round once as follows:
Inc Rnd: *K2, M1; rpt from * to end [120, 132, 144, 156, 168, 180 sts]
Change to 3.5mm needles.
Body
Now work stocking stitch in the round (knit every stitch) for 3.5 [4, 4.5, 5, 5.5, 6] in/9 [10, 11.5, 12.75, 14, 15.25] cm
Crown
15in size jump to Rnd 11, 17in size jump to Rnd 9, 19in size jump to Rnd 7, 20in size jump to Rnd 5, 21in size jump to Rnd 3, 23in size start at Rnd 1.
Rnd 1: *K13, k2tog; rpt from * to end [168 sts]
Rnd 2 & all even rnds: Knit all sts
Rnd 3: *K12, k2tog; rpt from * to end [156 sts]
Rnd 5: *K11, k2tog; rpt from * to end [144 sts]
Rnd 7: *K10, k2tog; rpt from * to end [132 sts]
Rnd 9: *K9, k2tog; rpt from * to end [120 sts]
Rnd 11: *K8, k2tog; rpt from * to end [108 sts]
Rnd 13: *K7, k2tog; rpt from * to end [96 sts]
Rnd 15: *K6, k2tog; rpt from * to end [84 sts]
Rnd 17: *K5, k2tog; rpt from * to end [72sts]
Rnd 19: *K4, k2tog; rpt from * to end [60 sts]
Rnd 21: *K3, k2tog; rpt from * to end [48 sts]
Rnd 23: *K2, k2tog; rpt from * to end [36 sts]
Rnd 25: *K1, k2tog; rpt from * to end [24 sts]
Rnd 27: *k2tog; rpt from * to end [12 sts]
Break yarn and draw through remaining 12sts, tighten to close.
Alternatively, for an I-cord decoration, work the following rounds before closing the stitches:
Rnd 1: *K2tog; rpt from * to end [6 sts]
Rnd 2: *K2tog; rpt from * to end [3 sts]
Work as per I-cord for 1in/2.5cm. Break yarn and draw through remaining 3sts, tighten to close.
Finishing
Weave in all ends. A gentle wash and blocking is required to help the decrease lines settle in and lay flat.