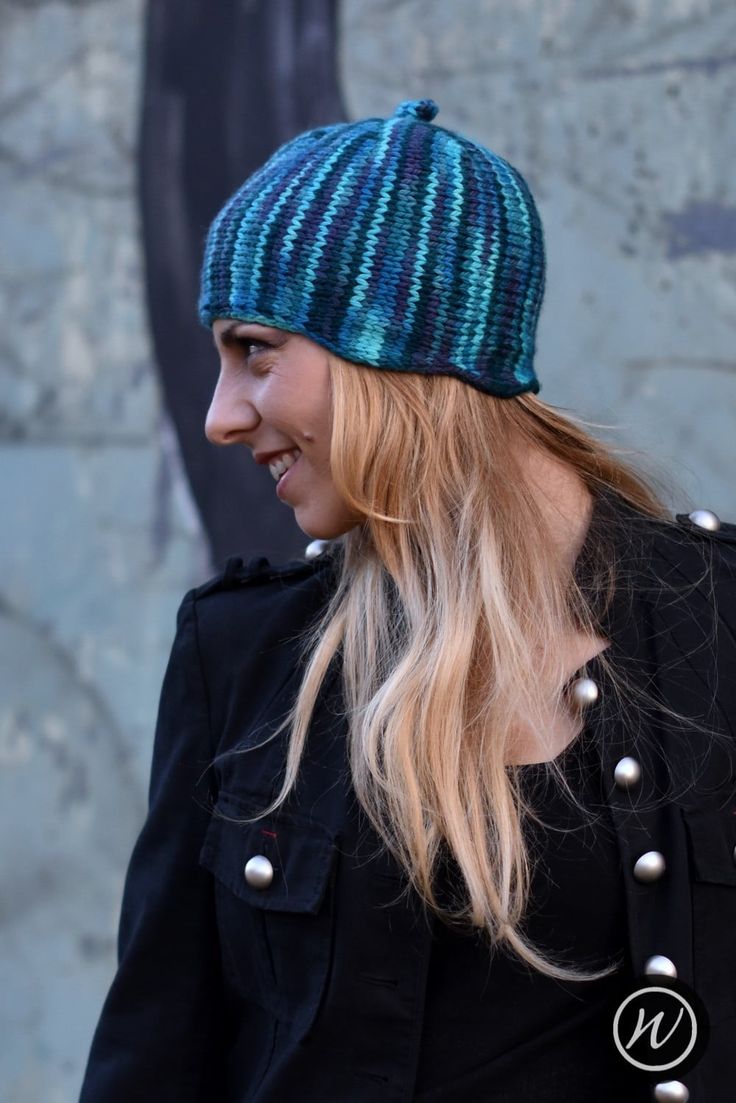
Knitted Pixie Flora Hat
The Knitted Pixie Flora Hat is the perfect accessory to add a touch of whimsy and warmth to your winter wardrobe! Made with soft, cozy yarn and adorned with charming floral details, this hat is guaranteed to keep you feeling snug and stylish on chilly days. With its unique design and playful flair, the Knitted Pixie Flora Hat will undoubtedly become your go-to piece for adding a fun and quirky touch to any outfit. So go ahead, embrace your inner fashionista with this delightful hat that is sure to brighten up even the dreariest of days!
Yarn
107yd/98m/100g
Bulky weight, multi-plied yarn.
Needles & Notions
Pair 6mm/UK4/US10 straight needles or size needed to obtain gauge
Approx 2yd/2m waste yarn
6mm crochet hook
Stitch marker as necessary
Tapestry needle
Sample Details
Lorna’s Laces Shepherd Chunky [107yd/98m per 100g; 100% Wool]
Note
The pattern is written to allow you to mix and match, creating a different style each time. There are 3 styles of ‘panels’, and the Hat requires 7 consecutive panels. The grafted (kitchener) seam is best worked at the back of the Hat
For the Hat shown, work panel A twice, panel C once, panel A twice, panel C once and then panel A once. Why not work panel B only for a fully scalloped edge? Or panel A only for a beanie?
Gauge
15 sts x 20 rows to 4in/10cm on 6mm needles over St.St.
Sizes
To fit sizes: 22 [24] in/56 [61] cm
Finished size: 19.5 [22.25] in/49.5 [56.5] cm
Skills Required
Crochet Provisional cast-on
Increases and Decreases
Wrap & Turn Short Rows
Grafting Stocking Stitch
Sideways Draw-through Bind-off
Blocking a Hand Knit Hat
Abbreviations
K: knit
P: purl
rpt: repeat
st(s): stitch(es)
M1: pick up the horizontal loop before the next stitch, place it onto the left needle & knit into the front of it
p2tog: purl next 2sts together
SR: wrap and turn; work a short row
There are 3 styles of panel in this pattern, allowing you to mix ‘n’ match to create your own style of Hat! There is a regular straight brim panel, which alone would give a beanie-style Hat. There is then a soft scalloped edge, which could be used on its own or combined with the straight panel for a soft, feminine Hat. The final panel is elongated and is ideal for creating a earflap style. Notes on how to combine the different options to create the Hats shown are included.
Only 2 sizes are included – however, a change in gauge or knitting only 6 panels instead of 7 will give a variety of sizes. Do remember though that row gauge is the key in this pattern to obtaining a good fit!
How To
For all panels, using waste yarn, cast on 30 [31] sts. Change to main yarn.
Panel A (plain edge)
Row 1: Purl all sts
Row 2: K25 [26], SR
Row 3: Purl to end
Row 4: K24 [25], SR
Row 5: Purl to end
Row 6: K23 [24], SR
Row 7: Purl to end
Row 8: K22 [23], SR
Row 9: Purl to end
Row 10: K21 [22], SR
Row 11: Purl to end
Row 12: K20 [21], SR
Row 13: Purl to end
Small size jump to row 16, large size continue
Row 14: K20, SR
Row 15: Purl to end
Row 16: Knit all sts picking up the wraps as you go
Panel B (short scallop)
Row 1: P29 [30], M1, P1
Row 2: K26 [27], SR
Row 3: P25 [26], M1, P1
Row 4: K26 [27], SR
Row 5: P25 [26], M1, P1
Row 6: K26 [27], SR
Row 7: Purl to end
Small size jump to row 10, large size continue
Row 8: K26, SR
Row 9: Purl to end
Row 10: K25, SR
Row 11: P22, P2tog, P1
Row 12: K23, SR
Row 13: P20, P2tog, P1
Row 14: K21, SR
Row 15: P18, P2tog, P1
Row 16: Knit all sts picking up the wraps as you go
Panel C (long scallop/earflap)
Row 1: P29 [30], M1, P1, cast on 6 [7] sts
Row 2: K32 [34], SR
Row 3: P31 [33], M1, P1
Row 4: K32 [34], SR
Row 5: P31 [33], M1, P1
Row 6: K32 [34], SR
Row 7: Purl to end
Small size jump to row 10, large size continue
Row 8: K33, SR
Row 9: Purl to end
Row 10: K31 [32], SR
Row 11: P28 [29], P2tog, P1
Row 12: K29 [30], SR
Row 13: P26 [27], P2tog, P1
Row 14: Cast off 6 [7] sts, K21, SR
Row 15: P18, P2tog, P1
Row 16: Knit all sts picking up the wraps as you go
Finishing
Remove waste cast on yarn and transfer live sts onto 2nd needle. Ensure both needles are aligned. Cut yarn, leaving 1 metre for grafting. Thread yarn through top edge stitches at crown, tighten, then proceed to graft edges with kitchener stitch (tutorial link above)
Weave in all ends. Crochet UK-dc/US-sc all the way around the bottom edge to neaten. A gentle blocking is required to help shaping settle. A light pressing may be required to stop the edges curling.