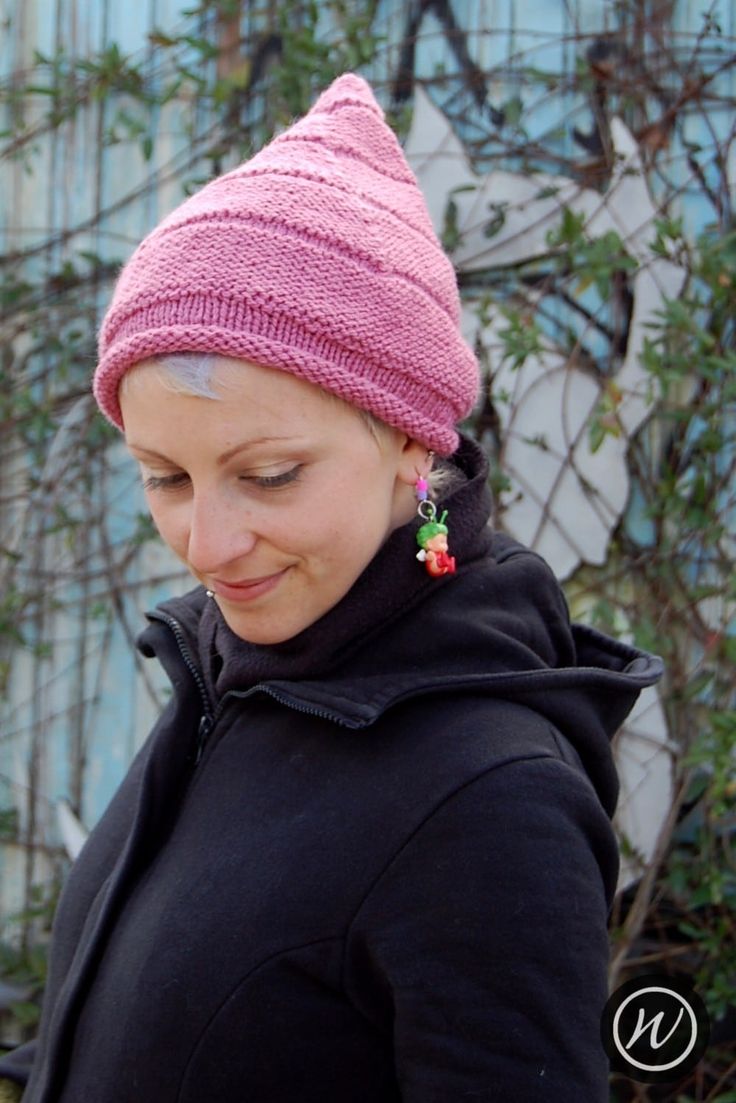
Knitted Ribba Hat
Oh, the Knitted Ribba Hat, a cozy and stylish accessory perfect for chilly days! This charming hat offers warmth and a touch of flair to any outfit, making you look effortlessly cool while keeping you snug. The ribbed pattern adds a delightful texture and the soft material feels like a warm hug for your head. Whether you're heading to the mountains or strolling through the city, the Knitted Ribba Hat is your go-to companion for a fashionable and comfy look.
Yarn
113 [128, 145] yd/103 [117, 132 m
21yd/19m for a 6x6in/15x15cm swatch in St.St.
Chunky weight, single ply yarn
Needles & Notions
Set 5.5mm/UK5/US9 DPNs/Circular or size needed to obtain gauge
Stitch marker as necessary
Tapestry needle
Sample Details
Shown in HandPaintedYarn.com Handspun Bulky [135/123m per 100g; 100% Wool
Shown in size 22in/56cm on model with 20.5in/52cm circumference head
Gauge
16 sts x 20 rows to 4in/10cm on 5.5mm needles over St.St.
Sizes
To fit size: 20 [22, 23] in/50.75 [56, 58.5] cm
Finished size: 17.25 [18.75, 20.25] in/43.75 [47.5, 51.5] cm
Skills Required
Cable Cast-on
Knitting in the round
Increases and Decreases
Draw-through Bind-off
Blocking a Hand Knit Hat
Abbreviations
K: knit
P: purl
rpt: repeat
R/rnd(s): rounds
st(s): stitch(es)
M1: pick up the horizontal loop before the next stitch, place it onto the left needle & knit into the front of it
k2tog: knit next 2 sts together
p2tog: purl next 2 sts together
How To
Using Cable Cast-on method, cast on 69 [75, 81] sts.
Join in the round, being careful not to twist sts. Place stitch marker to indicate start of round.
Brim
Now work St.St for the Brim by knitting every round for 2in/5cm (or desired length) then work increase round once as follows:
Inc Rnd: *K3, M1; rpt from * to end [92, 100, 108] sts
Body
Rnds 1 to 10: Knit all sts
Rnds 11 & 12: Purl all sts
These 12 rounds form the horizontal rib pattern repeat. Continue working these 12 rounds throughout the remainder of the Hat.
At the start of the 2nd horizontal rib repeat, shaping will start for the crown.
Crown
Rnd 1: *K21 [23, 25], k2tog; rpt from * to end [88, 96, 104] sts
Rnd 2: Knit all sts
Rnd 3: *K20 [22, 24], k2tog; rpt from * to end [84, 92, 100] sts
Rnd 4: Knit all sts
Rnd 5: *K19 [21, 23], k2tog; rpt from * to end [80, 88, 96] sts
Rnd 6: Knit all sts
Rnd 7: *K18 [20, 22], k2tog; rpt from * to end [76, 84, 92] sts
Rnd 8: Knit all sts
Rnd 9: *K17 [19, 21], k2tog; rpt from * to end [72, 80, 88] sts
Rnd 10: Knit all sts
Rnd 11: *P16 [18, 20], p2tog; rpt from * to end [68, 76, 84] sts
Rnd 12: Purl all sts
You are decreasing 4sts evenly every other round, over the 12 round repeat. Continue working through the 12 rounds to form the pattern.
The number of stitches between the decreases will reduce by 1st each decrease row. When a decrease round is worked during the purl section of the horizontal rib repeat, substitute the k2tog with a p2tog.
Continue working the decrease pattern whilst at the same time maintaining the horizontal rib repeats until 8 sts remain, ending after a decrease round.
Next Rnd: *k2tog; rpt from * to end [4 sts]
Break yarn and thread through remaining 4sts to tighten and close.
Alternative Version
Should prefer your Hat to be in reverse to that shown, rather than reversing the pattern completely and working large amounts of purling, at last stitch of the Increase Round, place yarn to back, slip next st onto right hand needle, bring yarn forward, pass stitch back to left needle, leave yarn at front of work – i.e. work a wrap and turn short row.
Finishing
Weave in all ends. A gentle wash and blocking is required to help the decrease lines settle in and lay flat.