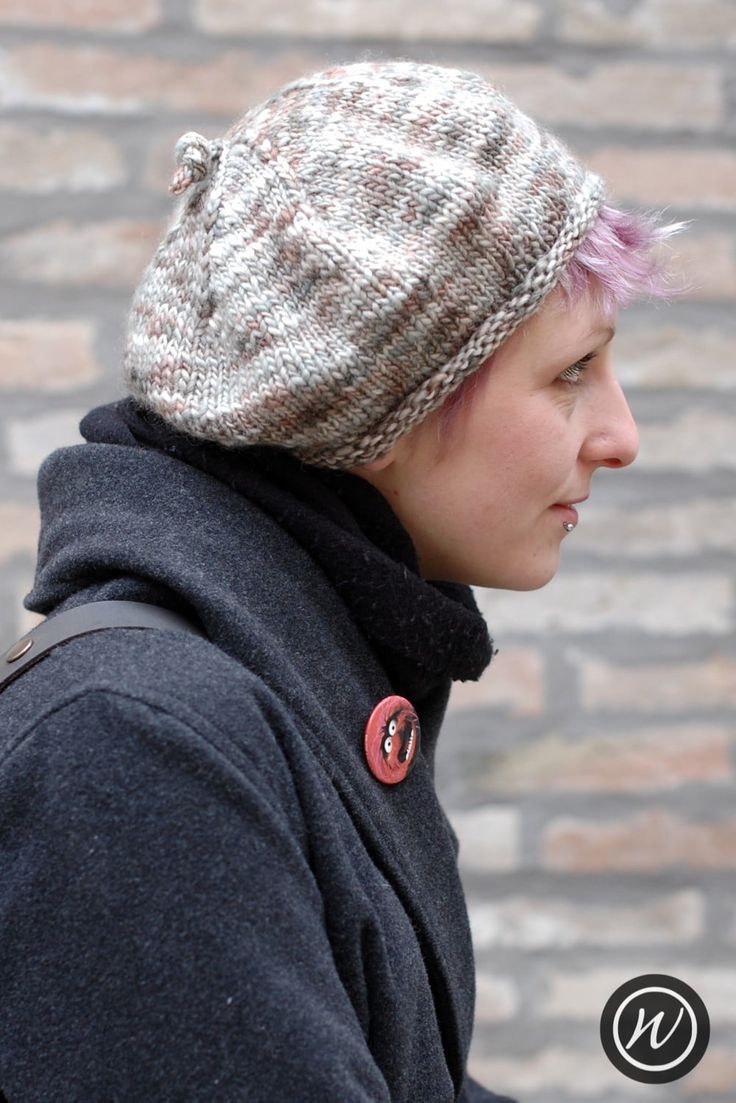
Knitted Rollin’ Beret
The Knitted Rollin’ Beret is a delightful addition to any winter wardrobe! With its soft, cozy knit and stylish rolled brim, this beret is perfect for adding a touch of whimsy to your outfits. Whether you're heading out for a coffee date or a casual stroll in the park, this hat will keep you warm and looking fabulous. The fun design and colorful options make it easy to mix and match with your favorite winter ensembles. Embrace the chilly weather in style with the charming Knitted Rollin’ Beret!
Yarn
135yd/123m/100g
Heavy Aran or Chunky weight, single or multi-ply yarn.
Needles & Notions
Set 5mm/UK6/US8 DPNs/Circular or size needed to obtain gauge
Stitch marker as necessary
Tapestry needle
Sample Details
Shown in HandPaintedYarn.com Handspun Bulky [135yd/123m per 100g; 100% Wool]
Note
To alter the size, increase or decrease your cast-on amount by 4 sts – each lot of 4 sts measures 1 in/2.5 cm around the brim.
Gauge
16 sts x 20 rows to 4in/10cm on 5mm needles over St.St.
Sizes
To fit size: 19 [20, 21, 22] in/48.25 [51, 53, 56] cm
Finished size: 17 [18, 19, 20] in/43.25 [46, 48.25, 51] cm
Not sure which size to make? Check my handy size and measuring guide!
Skills Required
Cable Cast-on
Knitting in the round
Increases and Decreases
I-cords
Draw-through Bind-off
Blocking a Hand Knit Hat
Abbreviations
K: knit
P: purl
rpt: repeat
R/rnd(s): rounds
st(s): stitch(es)
M1: pick up the horizontal loop before the next stitch, place it onto the left needle & knit into the front of it
k2tog: knit next 2 sts together
How To
Cast on 68 [72, 76, 80] sts
Join in the round, being careful not to twist sts.
Place stitch marker to indicate start of round.
Brim
Now work for the brim by knitting every round for 2 in/5 cm then work increase round once as follows:
Inc Rnd: *K2, M1; rpt from * to end [102, 108, 114, 120] sts
Body
Rnd 1: Knit all sts (creates St.St in the round)
This round forms the pattern for the main body. Work in pattern until the main body of the Hat (excluding the brim) measures approx. 3.75 [4, 4.25, 4.5] in/9.5 [10, 10.75, 11.5] cm
Crown
19in size jump to Rnd 4, 20in size jump to Rnd 3, 21in size jump to Rnd 2, 22in size start at Rnd 1.
Rnd 1: *K18, K2tog; rpt from * to end [114 sts]
Rnd 2: *K17, K2tog; rpt from * to end [108 sts]
Rnd 3: *K16, K2tog; rpt from * to end [102 sts]
Rnd 4: *K15, K2tog; rpt from * to end [96 sts]
Rnd 5: *K14, K2tog; rpt from * to end [90 sts]
You are decreasing 6 sts per round. Keep going like this, with one stitch less between the decreases on each round until you only have 6 sts remaining. You could use stitch markers to show where the lines of decreases are, but this method produces a visible line which looks nice and is easy to see as you work.
For a regular finish, break yarn and thread through remaining 6 sts and tighten to close.
For an I-cord finish at the crown, work next round and then work as I-cord for desired length before finishing.
Next Rnd: *K2tog; rpt from * to end [3 sts]
Finishing
Weave in all ends. This Hat will require a gentle blocking to appreciate the fullness of the shape. It is best to block this Hat flat, as a circle with the crown at the centre.